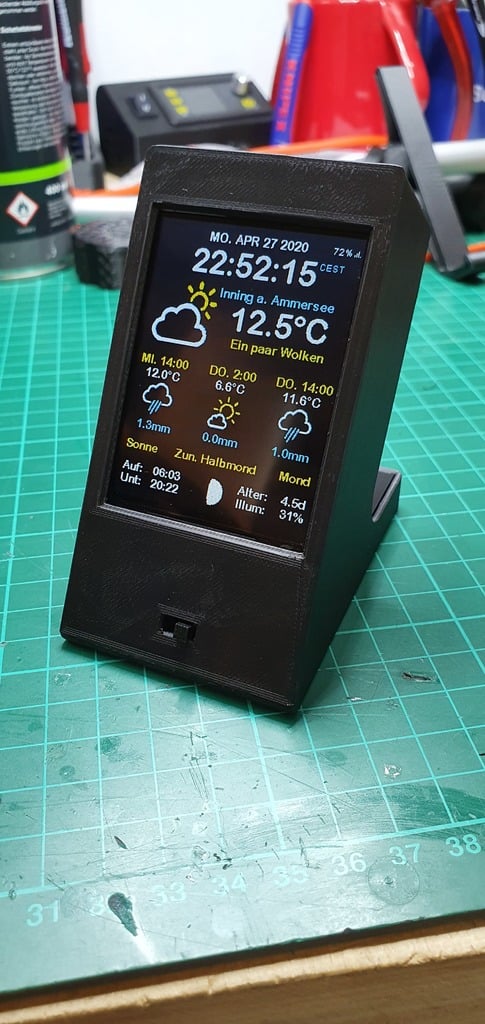
ESP8266 WiFi Colored Weather Station
thingiverse
#ESP8266 WiFi Colored Weather Station You need: 1x ESP8266 Wemos D1 Mini 1x TP4056 18650 type C 1x 18650 one battery container 1x 2,8 inch TFT LCD Module 240*320 1x Switch SS12F15VG6 Some wires and tools are also required. You will need: 1x Soldering iron Some solder Tools: Hot glue I followed the instructions provided in the following links: https://www.instructables.com/id/ESP8266-Colored-Weather-Station/ https://docs.thingpulse.com/guides/wifi-color-display-kit/ However, I encountered a problem with 12/24h mode, which was resolved by changing IS_STYLE_12HR = !IS_STYLE_12HR; to IS_STYLE_12HR = IS_STYLE_12HR; on line 230 in the main code. This simple change eliminated the blinking time issue. Here is how I fixed it: if (p.y < 80) { IS_STYLE_12HR = IS_STYLE_12HR; } else { screen = (screen + 1) % screenCount; #The Housing - 3D Print Print with support to ensure a sturdy structure. #Assembly Solder the electronic components and verify that everything works properly. 1. Install the switch 2. Install the display 3. Install the battery container and battery 4. Install the TP4056 and Wemos Secure all parts using hot glue. #Close the backcover and enjoy your handiwork.
With this file you will be able to print ESP8266 WiFi Colored Weather Station with your 3D printer. Click on the button and save the file on your computer to work, edit or customize your design. You can also find more 3D designs for printers on ESP8266 WiFi Colored Weather Station.
