ESP8266 Sonoff Programmer
thingiverse
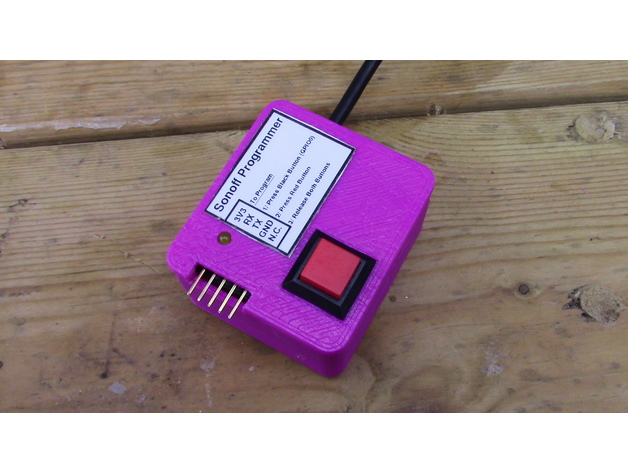
First and foremost, avoid connecting the mains power to the Sonoff module during programming. Personally, I wouldn't trust the PCB's electrical isolation and value my PC's USB inputs. We also need to control the power to the ESP8266 to program it. To put the ESP8266 into programming mode, we must hold the GPIO0 input low during a reset or power-up cycle. On the Sonoff module, neither the reset nor GPIO0 is available on the optional headers. However, the black push button is connected to the GPIO0 and pressing it takes this line low, so then all we need to do is cycle the power. This is how this box works. Parts - USB serial cable - http://www.ebay.com/itm/Auto-Converter-Adapter-Module-USB-To-COM-Cable-USB-To-RS232-TTL-UART-PL2303HX-/182504686740?hash=item2a7e208494:g:yjcAAOSwXYtY2JFR - Normally closed push button - http://www.ebay.com/itm/Square-Momentary-On-Off-Normally-Closed-Push-To-Break-Switch-SPST-/252245252476?var=&hash=item3abafd197c:m:mDzggwvqL3y84SrcnNRIVLw - ASM1117 3V3 Regulator - 3mm LED - 100R Resistor - 5 pin 0.254mm 90 degree header - USB cable cut to length - Case - Can be 3D printed To use, solder a 5 pin header to the Sonoff PCB and connect the programmer to the Sonoff board, remembering not to connect the mains. Using the Arduino IDE, select the USB device; the light on the programmer should light up. Press and hold the black push button and press the Red button, then release both buttons. Now you're ready to program the Sonoff. YouTube https://www.youtube.com/watch?v=cAO2zGWNwWWW&feature=youtu.be P.S. I have included the FreeCad File used to make this item.
With this file you will be able to print ESP8266 Sonoff Programmer with your 3D printer. Click on the button and save the file on your computer to work, edit or customize your design. You can also find more 3D designs for printers on ESP8266 Sonoff Programmer.