ESP8266 Programmer
thingiverse
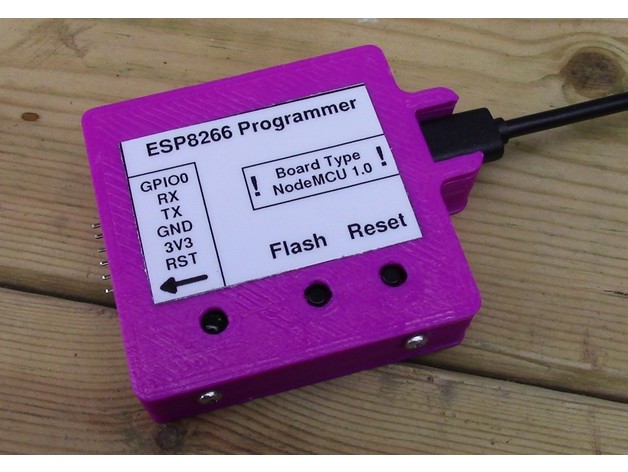
To enter programming mode on the ESP8266, simply hold the GPIO0 input low during a reset or power-up cycle. The NodeMcu module handles this automatically, so you don't need to press any buttons - just program from within the Arduino IDE. The NodeMcu module takes care of lowering GPIO0 and briefly holding the reset low, then the IDE programs the chip. If uploads are slow, try increasing the Arduino IDE's upload speed; 230400 baud works well and saves time. Parts: NodeMcu board - http://www.ebay.com/itm/161833537754 5mm Green LED BC184L NPN transistor (or any signal transistor) 10K resistor 2K2 resistor 330R resistor 6 pin 90 degree header Prototyping board, cut to size. 6mm Tact switch with 7mm or large button For more details, see YouTube at https://www.youtube.com/watch?v=P2UC_UFZNS8
With this file you will be able to print ESP8266 Programmer with your 3D printer. Click on the button and save the file on your computer to work, edit or customize your design. You can also find more 3D designs for printers on ESP8266 Programmer.