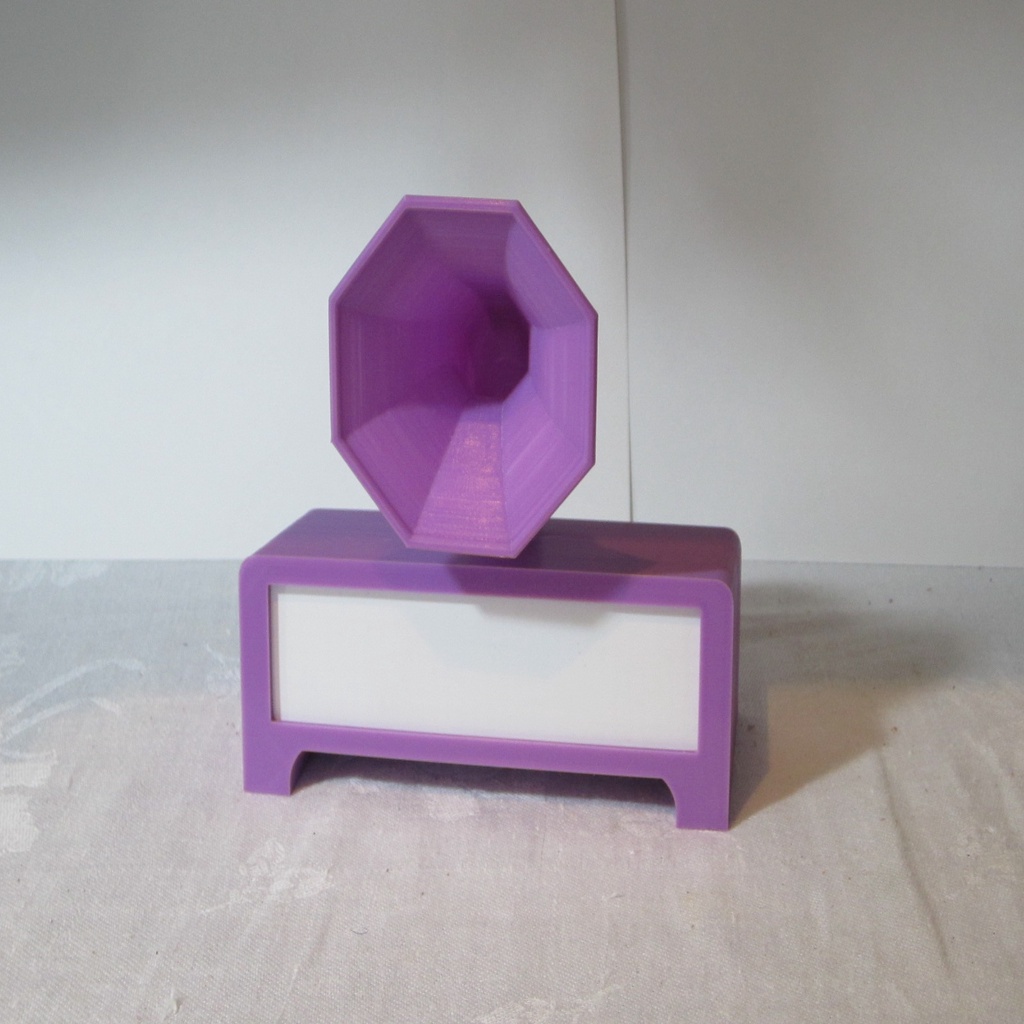
ESP8266 Matrix Display Case Remix
prusaprinters
<p>I wanted to use this great thingy from wabbitguy to make a display case for a WiFi scrolling message display. I modified this to incorporate a buzzer to announce a new message or just to be annoying. A passive buzzer fits into the base of the horn and connects to the nodemcu module.</p> <p>I modified the back cover to pop into the case without screws. I removed the back screw bulges on the case, as well, as I was having problems sliding the mount into the case with all the components installed on the mount. I also added a 12.7mm hole to put in a latch button for an on and off switch.</p> <p>I also changed the mount a little as I ruined my MAX7219 module trying to screw it into the original mount (totally my fault). This modification allows you to just set the module into the slot at the front without any screws. As in the original, a screw on the bottom secures the mount to the case. I also had to mirror the mount to install the nodemcu on the other side which was more convenient for me. Easy enough to reverse again.</p> <p>A piece of thin white polystyrene sheet acts as an LED defuser.</p> <p>I only used supports for the horn as it's a weird shape and wasn't sure how it would turn out.</p> <p>I had a bit of a time getting the buzzer to work with the sketch and ended up with a couple of buttons for the webserver page that I hadn't planned on. Not elegant, but it worked for me after many frustrating days of fiddling with the code (still relatively new at Arduino stuff).The sketch is a combination of lots of different bits from many other sources and library examples and one or two bits of my own. All easy enough to find on the internet. I do not claim ownership in the slightest. I will be happy to send it to anyone who requests it.</p> <p>Here's a video of the final project - <a href="https://youtu.be/nZ9SdPsexlA">https://youtu.be/nZ9SdPsexlA</a></p> <p>UPDATE: I replaced the original horn with a slightly better one and I also added a 1.5x larger horn that I hope will increase the volume of the buzzer (haven't printed it yet as of this update).</p> <p>UPDATE2: Horn 2 was too thick (I just scaled the original one) and it was tricky for me to get the supports correct, so I made a third horn in two parts. Still using supports for the main horn, but it's printing much cleaner. The nozzle part of the horn needs no supports. The thinner walls should increase the volume of the buzzer even more.</p> <p>Don’t know why some of the images are not showing, but all the files download correctly.</p> <h3>Print Settings</h3> <p><strong>Printer Brand:</strong></p> <p>Creality</p> <p class="detail-setting printer"><strong>Printer: </strong> <div><p>Ender 5</p></div> <p><strong>Rafts:</strong></p> <p>No</p> <p class="detail-setting supports"><strong>Supports: </strong> <div><p>Yes</p></div> <p><strong>Resolution:</strong></p> <p>0.15</p> <p><strong>Filament:</strong></p> any PLA <ul> <li></li> </ul> </p></p> Category: Electronics
With this file you will be able to print ESP8266 Matrix Display Case Remix with your 3D printer. Click on the button and save the file on your computer to work, edit or customize your design. You can also find more 3D designs for printers on ESP8266 Matrix Display Case Remix.
