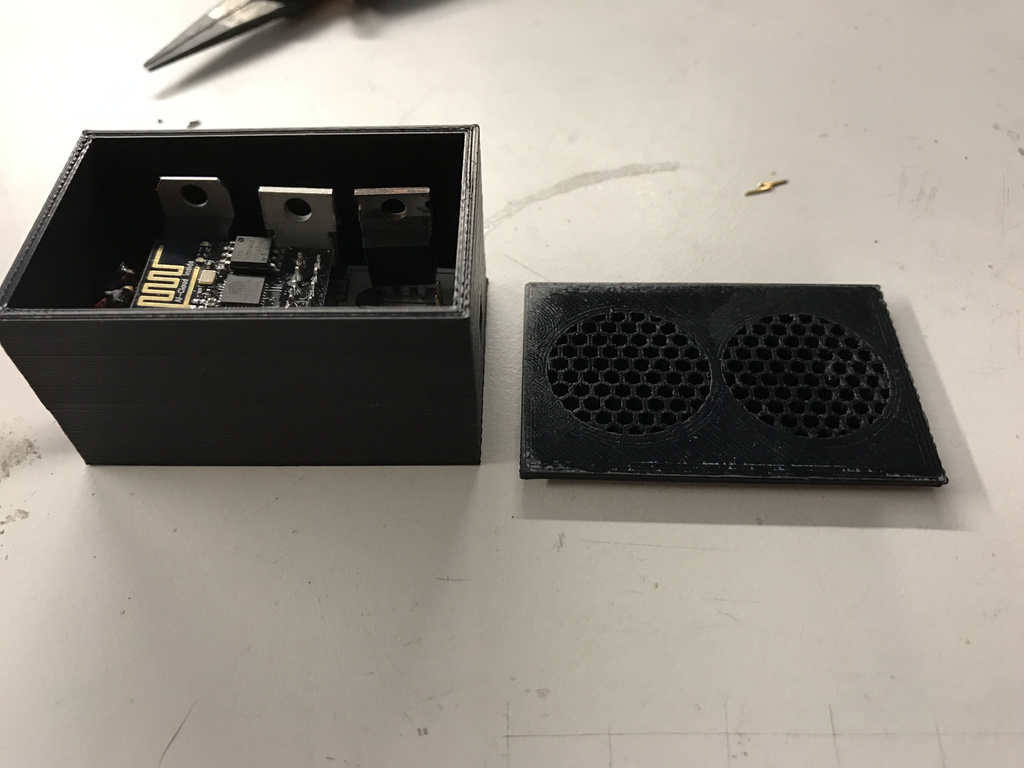
esp8266 HomeKit Dimmer PCB BOX
thingiverse
Here are a few tips to build a PCB and box for your HomeKit LED dimmer: First, you'll need to decide on the dimensions of your box. For this project, I chose a simple rectangular shape with a height of 3.5 inches and a width of 2.25 inches. To create the circuit board, start by designing it using a PCB software such as Eagle or KiCad. You can then use a laser cutter to engrave the design onto a piece of copper clad board. Once you have your PCB, assemble the components according to the diagram provided. This includes the LED dimmer chip, a capacitor, and two resistors. Next, build the box for the dimmer using a 3D printer or by hand with wood or plastic. Attach the circuit board to the inside of the box using screws or adhesive. Finally, install the HomeKit module according to the manufacturer's instructions. This typically involves connecting it to your router and linking it to your Home app. With these steps completed, you should now have a fully functional LED dimmer that can be controlled through your iPhone or iPad.
With this file you will be able to print esp8266 HomeKit Dimmer PCB BOX with your 3D printer. Click on the button and save the file on your computer to work, edit or customize your design. You can also find more 3D designs for printers on esp8266 HomeKit Dimmer PCB BOX .
