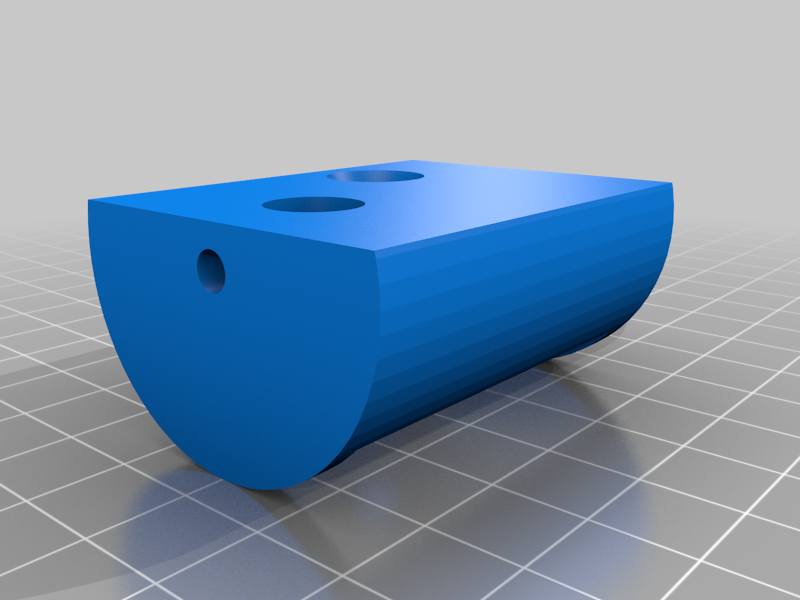
ESP32-CAM mount
thingiverse
ESP32-CAM Mount System for Home Assistant Used with Home Assistant, this ESP32-CAM mount system will be updated with pictures and necessary materials. Parts List: Camera Used: https://www.amazon.com/gp/product/B07S5PVZKV/ref=ppx_yo_dt_b_asin_title_o00_s04?ie=UTF8&psc=1 Power System Parts: Buck Boost Power Board: https://www.amazon.com/gp/product/B07T7ZCTNK/ref=ppx_yo_dt_b_asin_title_o02_s01?ie=UTF8&psc=1 Lipo Micro USB Charger: https://www.amazon.com/gp/product/B06XQRQR3Q/ref=ppx_yo_dt_b_asin_title_o05_s00?ie=UTF8&psc=1 Switch: https://www.amazon.com/gp/product/B0817QGXL2/ref=ppx_yo_dt_b_asin_title_o00_s01?ie=UTF8&psc=1 Lipo is a Regular 18650, 2500mAh. Wiring is Spare and Lying Around. Everything is Set Up to Use 4mm Brass Threaded Inserts and 3mm Screws. A Raspberry Pi Heatsink is Used on the ESP32-CAM. For the Most Part, Everything Fits Nicely and is Hot Glued into Place. Clone ESP32-CAM's Received and Each Fits Differently in the Holder, so Some Fitment Work May Happen. The Lipo is for Battery Backup and to Help Ease the Work on the USB Charger. It Works Great with Home Assistant (with Esphome Add-on, you can Mod Cam Settings OTA so Only the First Flash is Hard Wired). Link to Programming: https://www.youtube.com/watch?v=-towjof_ixU Handy Flasher: https://github.com/esphome/esphome-flasher
With this file you will be able to print ESP32-CAM mount with your 3D printer. Click on the button and save the file on your computer to work, edit or customize your design. You can also find more 3D designs for printers on ESP32-CAM mount.
