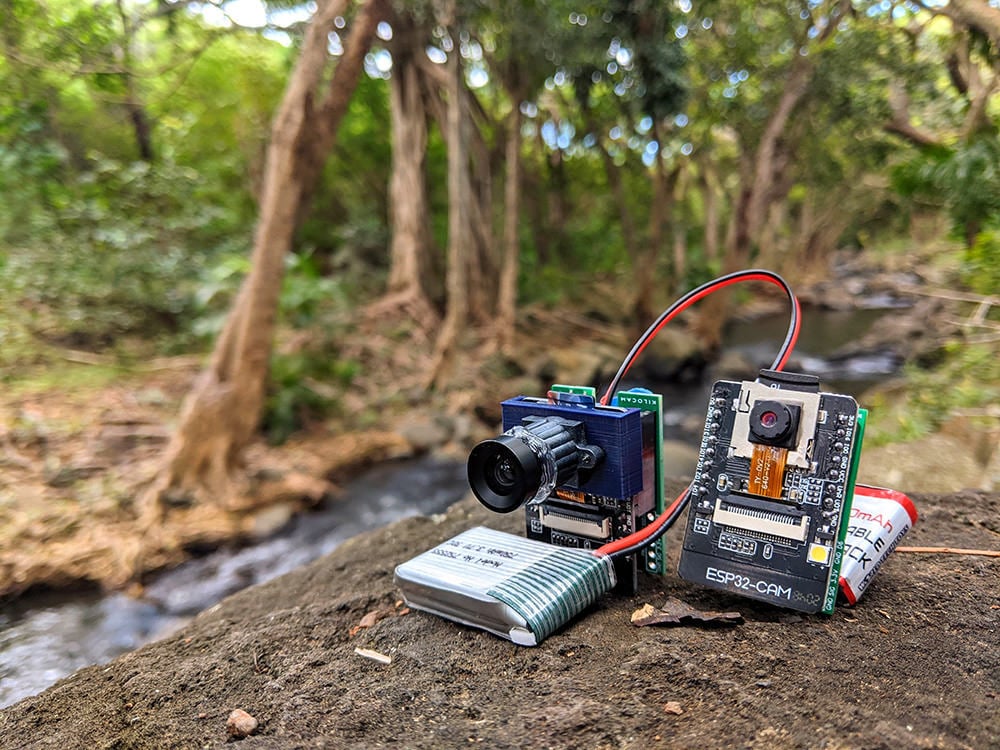
ESP32-Cam Lens Adapter (for M12 Lenses)
thingiverse
EverydayEngineer on YouTube provided the idea for this file when he created an adapter from prototyping board so he could connect an M12 lens mount and lens to his ESP32-Cam board. Loosely based on his design I made a 3D printable version, and it works great! Print with the tabs against your print bed, as shown, and with supports turned on. As this is a small part, 100% infill is recommended. To use this you will need an ESP32-Cam board, a standard M12 lens mount with its tiny M2 screws, and an M12 lens. Remove the lens and sensor from the ESP32-Cam and use pliers to gently remove the lens, leaving the OV2640 sensor exposed. Insert the square OV2640 sensor into the square hole on the adapter board so the exposed sensor faces outward and the ribbon cable is opposite from the "tabs" on the adapter board. Attach your M12 lens mount over the sensor using the two screw holes provided. Slide the adapter with sensor and lens mount over your ESP32-Cam board so the ribbon cable can be attached to the socket on the ESP32-Cam, the "rails" on either side of the adapter should wrap around the edges of your ESP32-Cam, and the "tabs" at the top of the adapter should rest against the back of the ESP32-Cam and keep the adapter board from sliding downward. Attach the ribbon cable to the ESP32-Cam board, screw on your lens, and get to focus testing! Most M12 lenses can be focused by screwing the lens in or out, and I recommend using hot-glue to fix the lens in place after you have correctly set the focus. This adapter is part of a long-term habitat monitoring project called KiloCam, check out more at my YouTube channel! https://www.youtube.com/channel/UCnKxDlyr9r8vfZM3PJlFiGg
With this file you will be able to print ESP32-Cam Lens Adapter (for M12 Lenses) with your 3D printer. Click on the button and save the file on your computer to work, edit or customize your design. You can also find more 3D designs for printers on ESP32-Cam Lens Adapter (for M12 Lenses) .
