ESEE IZULA-II Scales
prusaprinters
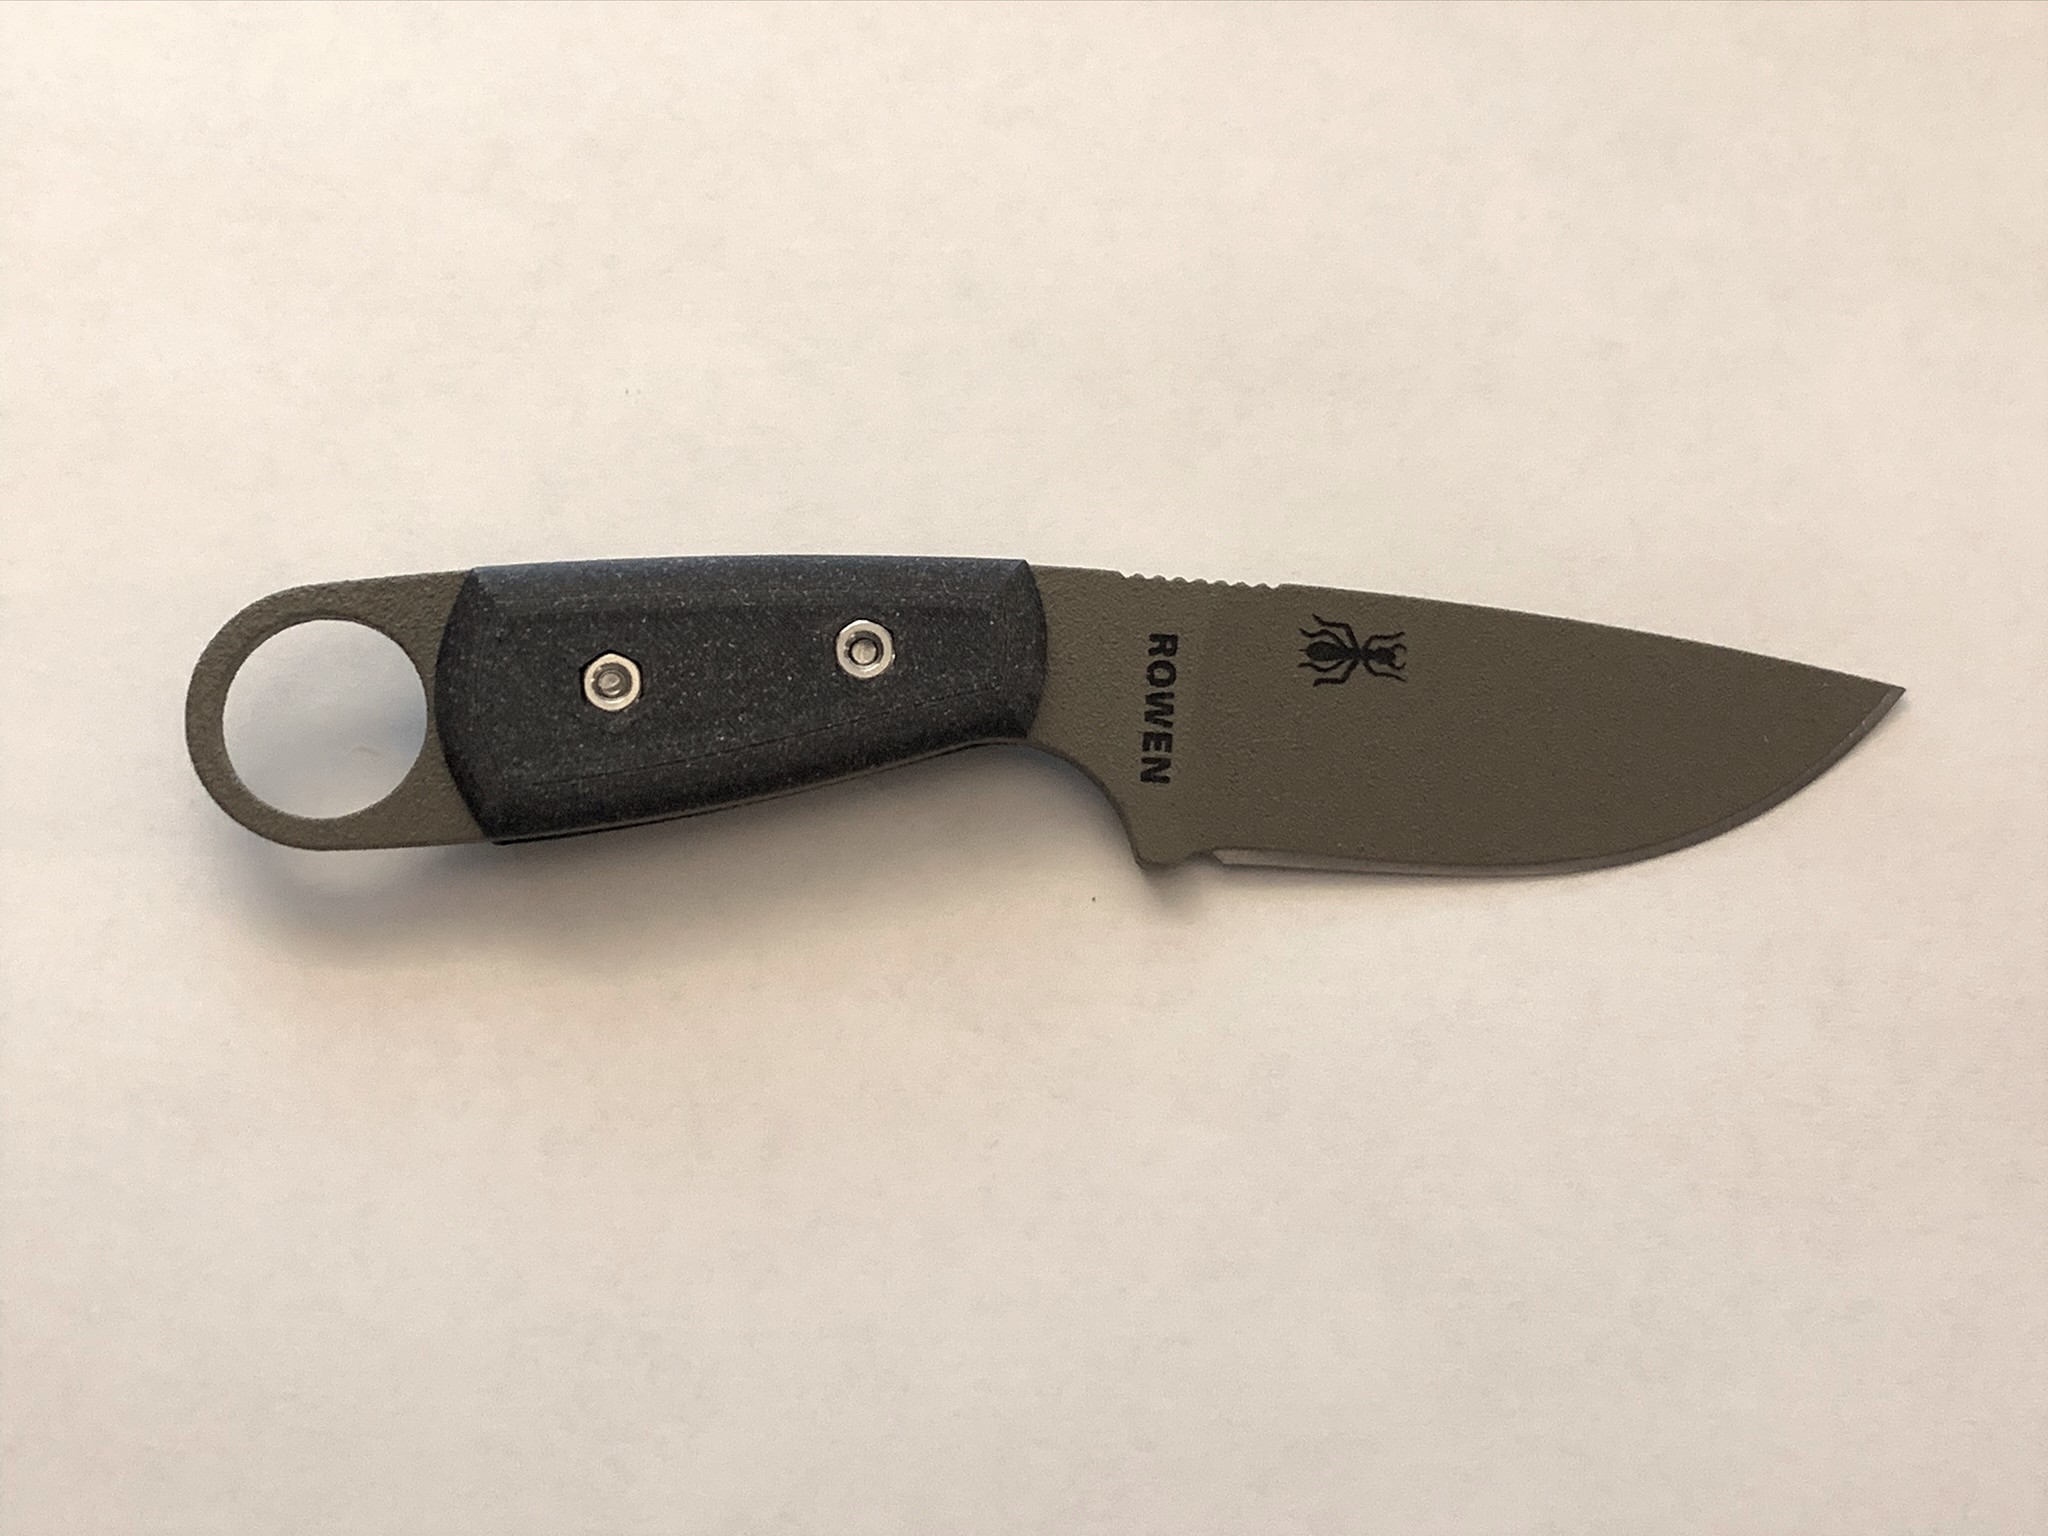
<p>The ESEE IZULA-II is famous for being sold without scales so buyers can customize to their choosing, or to use a paracord wrap. I typically used a paracord wrap, but wanted to try out designing 3D printable scales. I printed this in PLA, but will probably reprint in PETG once my shipment comes</p> <h3><strong>Parts Needed</strong></h3> <p><strong>2x M3x10 Machine Screws.</strong><br/> I used the ones from <a href="https://www.amazon.com/gp/product/B07FCN64HV/ref=ppx_yo_dt_b_asin_title_o05_s01?ie=UTF8&psc=1">this case</a>. You should be able to use any M3x10 screw but for the record my screws were ~12mm long, with a head depth of ~2mm, a thread diameter of ~3mm and a head diameter of ~5.35mm.</p> <p><strong>2x M3-0.5 Nuts</strong><br/> Again I used the ones from the case, and they should be the same for whatever you buy, but for the record my nuts were 5.5mm wide measured from parallel sides, or ~6.2mm measured tip to tip.</p> <h3><strong>Design Process</strong></h3> <p>So I don't 8really* know what I'm doing, so no guarantee this is the best method, but this is what I did, in case someone wants to recreate the process.</p> <p><strong>1) Trace the outline</strong><br/> Using the pen tool in Photoshop I traced around an image I had of the knife. I didn't bother carving out the grimping ridges, and it's not perfect but it came out alright. I then filled in the outline with paint bucket and exported as a .png (uploaded as well).</p> <p><strong>2) Convert to vector image</strong><br/> Using Inkscape I converted the .png into a vector image and saved as a .svg file. I have uploaded a copy.</p> <p><strong>3) Design in Fusion360</strong><br/> So I had issues scaling the file to the size of the knife. I couldn't figure out how to scale the .svg I imported after uploading, so I ended up having to upload it, measure it to find out how much I needed to scale it, close that one and upload a new one scaled at the right size. It worked okay but if anyone has a better method please let me know. After that I just drew two lines across the body and extruded out the scale and the middle section. I fileted the scale body at a 5.00mm radius. I have uploaded a copy of my Fusion360 Project.</p> <p><strong>4) Drill out the holes</strong><br/> So I probably should have done this in Fusion360 to make customization a little easier in the future, but I am still limited in my skills. So since I only needed to deal with basic shapes from here on out I switched to Microsoft 3D Builder. I subtracted out a cylinder for each screw hole, each screw head, and each nut. I've uploaded "IZULA-II Scales - pre cut version.3mf" which should allow for easier adjustments.</p> <h3><strong>Customization</strong></h3> <p>I would love to try and add some cool features to the scales. Not sure when I'll get around to it but I'm thinking some low-poly geometric shapes, knurling, or other embossing could be cool. I'd love to see other people remix this into a cool new design.</p> <h3>Print instructions</h3><p><strong>Step 1.</strong><br/> Place 2 M3-0.5 nuts into the right facing scale. Ive printed a few of these and the force required to get them in ranged from them falling in place to using hammer. Most I could press in with my thumb. No matter what as long as its in there flush tension should hold it together.</p> <p><strong>Step 2.</strong><br/> Screw in two M3x10 screws in through the left facing scale and into the middle piece. I screw them in until there is a small nub sticking out the back of the middle piece</p> <p><strong>Step 3.</strong><br/> Load all three pieces together around the knife. Tighten screws.</p>
With this file you will be able to print ESEE IZULA-II Scales with your 3D printer. Click on the button and save the file on your computer to work, edit or customize your design. You can also find more 3D designs for printers on ESEE IZULA-II Scales.