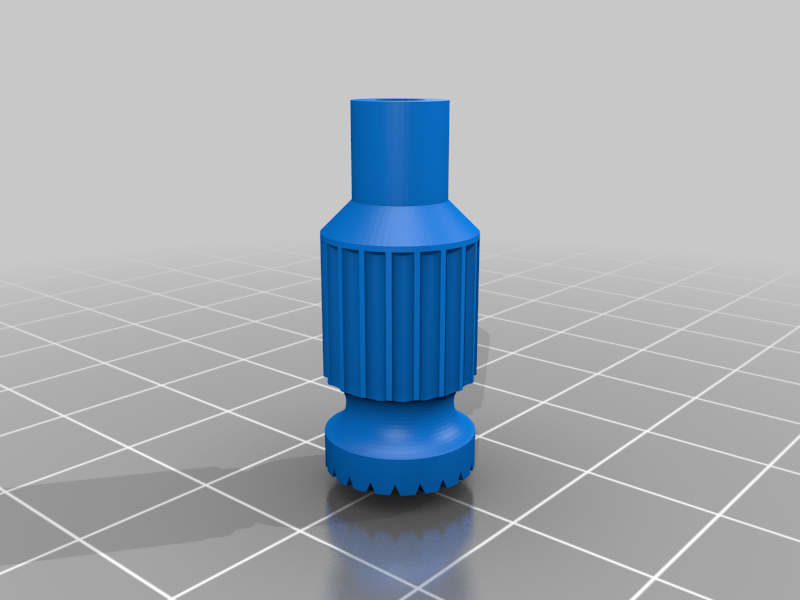
ER8 eachine novice 3 transmitter gimbal
thingiverse
I didn't like the feel of those stock transmitter gimbals either - they're just too small for my thumb and pinch grip, making it a real challenge to hold onto. That's why I designed this direct replacement with an M3 thread modeled inside. To get the best results, print it at 0.12 layer height and 100% infill. Before screwing it onto your Er8 transmitter, run an M3 screw down the gimbal first - or even better, tap the thread out with an M3 tap. This will help loosen up the thread and fully form it, making screwing on a whole lot easier. The shafts on the transmitter that hold the gimbal can be a bit finicky, so make sure you don't apply too much force while screwing on - they have a weak grip on the plastic and might start to spin if you try to muscle it in. When printing the gimbal, be sure to do it vertically with the flat part facing down on the bed. Don't forget to activate your z-hop or it'll knock over as soon as it's done printing - and make sure your bed is squeaky clean before starting (isopropyl alcohol works wonders for that).
With this file you will be able to print ER8 eachine novice 3 transmitter gimbal with your 3D printer. Click on the button and save the file on your computer to work, edit or customize your design. You can also find more 3D designs for printers on ER8 eachine novice 3 transmitter gimbal .
