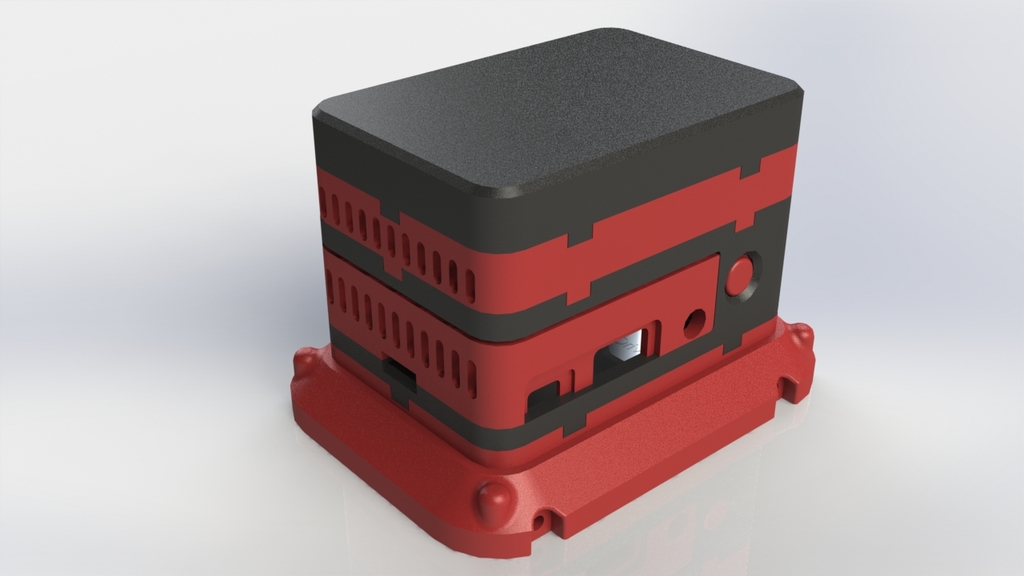
ePIc PlethoraPI Case ( Raspberry pi 2 and 3 case)
thingiverse
A stackable, expandable Pi case for those who like to put their Pis in an array. It's just the tip of the iceberg on this project. I wanted to get it out there and see what people think about it. I printed most of the parts myself, so I'm confident they all will work. I'd love to hear if there are ways to improve on it or make it more versatile, so feel free to comment with your suggestions. As always, show off those finished products - I'd like to see some in action. Parts have been uploaded with correct orientation for ease of printing. *** By design, you should be able to remove any Pi from the cluster by simply pressing on the round recess on the part called cover and sliding it out without having to unsnap layers. However, after testing this, you'll need to have no fan or mount the fan in the tray as not to get in the way of the Pi sliding out. The cooling is better if it's hanging down, but it doesn't allow the Pi to be slid out. To install the Pi into the main part, place the cover onto the PI and slide it into the main - it snaps into place. No screws are needed except for adding the 40mm fans if you add the cooling layer. These parts need to be printed with supports: * ePIc PlethoraPi Cover * ePIc PlethoraPi Main * ePIc PlethoraPi Main OPT 1 * ePIc PlethoraPi Top w legs * ePIc PlethoraPi bottom w legs To make one case, you'll need to print the following files: * ePIc PlethoraPi Bottom (Any Version) * ePIc PlethoraPi Main * ePIc PlethoraPi cover * ePIc PlethoraPi Top (Any Version) If you want to add a layer for cooling, you'll also need to print: * ePIc PlethoraPi Fan I made two versions of the main and fan parts. The ones labeled OPT 1 have some steampunked-style details on them if you're interested in that sort of thing. I created legs on the top or bottom for people who want to manage cables, stand up on a table, or be mounted to a wall. UPDATE - 1.23.19: I added rendering and file for a bottom to hold an 2.5" hard drive. * ePIc PlethoraPi Bottom w HD You'll need to print this part with supports and add screws to hold the hard drive in from the sides. UPDATE - 1.31.19: A fellow printer noticed not enough room around the sdcard for it to be removable without taking off the insert, so I made the cutout slightly larger in the main body for clearance. I also added a recess in the main cover for the HDMI and power plug to allow them to be plugged in more securely. Additionally, I updated the orientation of the bottom w hd to be correct for printing.
With this file you will be able to print ePIc PlethoraPI Case ( Raspberry pi 2 and 3 case) with your 3D printer. Click on the button and save the file on your computer to work, edit or customize your design. You can also find more 3D designs for printers on ePIc PlethoraPI Case ( Raspberry pi 2 and 3 case).
