Enzyme Inhibitor Drug Design Activity
pinshape
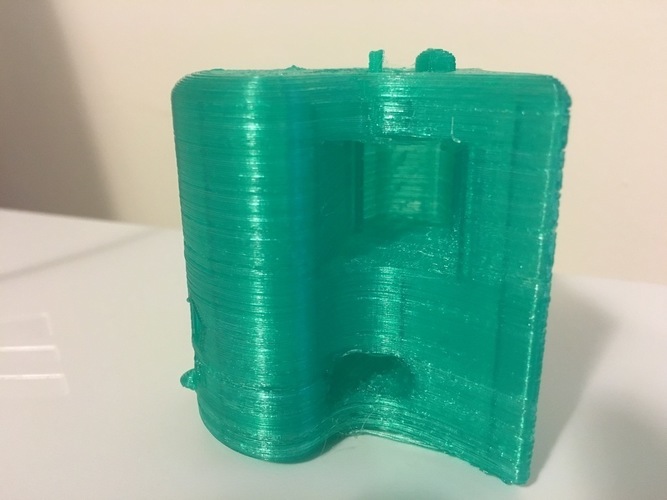
Students will learn about pharmaceutical chemistry by designing small molecule drugs that target active sites on enzymes. They'll use a printable enzyme with multiple target sites to practice drug design using basic CAD software like Tinkercad or 123D Design. The activity will help students understand how scientists create inhibitors that fit snugly into these sites, blocking the enzyme's normal functions. To start, students should already know about enzymes, active sites, and competitive and non-competitive inhibition. They'll need a basic understanding of protein structure and its relation to function. Optionally, they can be introduced to using CAD software before diving into the activity. The objectives are clear: students will explain the difference between competitive and non-competitive inhibitors, describe how small molecule drugs can act as inhibitors, design 3D-printable shapes in CAD, connect molecular geometry to enzyme target site shapes, and describe the real-world process of drug design. Here's a step-by-step guide for the lesson plan: 1. Introduce students to enzymes, active sites, and inhibitors. 2. Provide examples of small molecule drugs that act as inhibitors, such as allergy medicines, pain relievers, and antibiotics. 3. Have students download the enzyme STL file and open it in CAD software like Tinkercad or 123D Design. 4. Assist students as needed to design "small molecule drugs" that fit snugly into active sites and allosteric binding sites on the enzyme. 5. Once designs are complete, guide students through the use of a basic slicing program to prepare their prints. 6. Print the designs using a 3D printer like the Da Vinci Jr., with rafts and supports only needed for non-competitive files. 7. Check which designs were successful by seeing which fit well into active sites on the printed enzyme. Post-printing assembly is straightforward: insert the non-competitive piece into the side of the active site closest to the bottom of the enzyme, ensuring it doesn't slide due to its rectangular shape. Students will be able to explain how different students created slightly different designs for the same target sites, comparing them to real-world drugs like Claritin and Zyrtec. This discussion should highlight how slight differences in molecular structures can lead to varying side-effects and half-lives in the body. Finally, have students try to recreate their drug designs using molecular geometries, connecting their designs to real-world processes like drug testing, packaging, and human trials. Materials needed include laptops with CAD software, a 3D printed model of the protein, and a basic understanding of enzymes and inhibition.
With this file you will be able to print Enzyme Inhibitor Drug Design Activity with your 3D printer. Click on the button and save the file on your computer to work, edit or customize your design. You can also find more 3D designs for printers on Enzyme Inhibitor Drug Design Activity.
