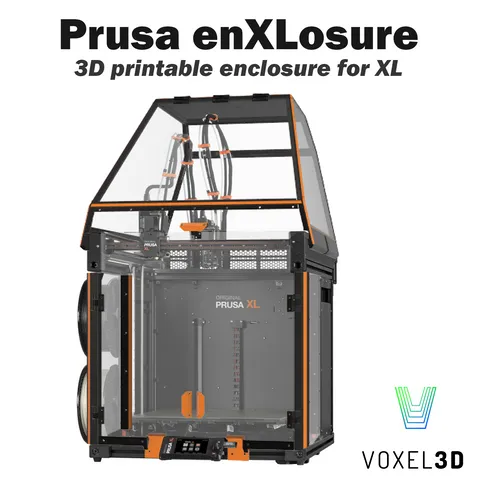
EnXLosure; minimalist and printable Prusa XL enclosure with doors (Design files)
prusaprinters
This listing contains all design files in step and Fusion360 format. They can be used for easy remixing/modifications. All stl models are still available for free via the original, free listing found hereThings you need;Prints; - Filament; approx. 1,825 kg of PETG material, so less than 2 spools of filament. - Printing time; approx. 40,75 hours (in 0.32 SPEED @XL 0.6, Input Shaping firmware) approx. 48 hours (in 0.32 SPEED @XL 0.6, Stable release firmware)Hardware; - 121x M3x8 bolts (panels) + 5 spare - 24x M3x10 bolts (hinges to panels) + 2 spare - 24x M3 washer (hinges to panels) + 2 spare - 24x M3 locknut (hinges to panels) + 2 spare - 121x M3 brass insert (panels) + 5 spare (Note; needs to be voron type) - 16x M4x8 bolts (bottom frame mounting) + 2 spare - 7x M4x35 bolts (hinge mechanism) + 1 spare - 16x M4 T-nut for 3030-profile (bottom frame mounting) + 2 spare - 7x M4 locknut (hinge mechanism) + 1 spare - 8x 20x4mm round neodymium magnet (4mm high) - 8x 6x3mm round neodymium magnet (3mm high)All panels in 3mm clear acrylic or polycarbonateHardware can be sourced by yourself or bought on AliExpress via this link;(I get a small portion of sales generated if purchased via AliExpress to support the project. Aliexpress link includes panels from high-quality polycarbonate ) IMPORTANT NOTE;PETG, ASA, ABS and other materials slightly shrink after printing. This shrinkage can be up to 0.50%. This might look little, but even this relates to 2mm on the longest part.Therefore I suggest printing the shrinkage tool first at 100% scale and measuring the shrinkage of your petg material. After this, scale all parts with this value to get the correct results.Instructions;- print shrinkage tool at 100% scale in your material. (Infill 25% cubic / 2 or 3 perimeters)- measure the sizes of the print, it should be 475mm long.- Divide 475 by the value you measured to get your shrink percentage. - Example; measured the length to be 473mm. - Calculate shrinkage; 475 : 473 x 100 = 100.42% - To compensate for shrinkage, print at 100.42%- Print the shrinkage tool again at your found scale in the same material - Verify the length of tool. It should be 475mm. A deviation of 0.4 +/- is acceptable. ASSEMBLY VIDEO;Huge thanks to youtuber @Adventures with Dr. Joe for making an instructional assembly video. If you have any questions, you can refer to his video via this link.
With this file you will be able to print EnXLosure; minimalist and printable Prusa XL enclosure with doors (Design files) with your 3D printer. Click on the button and save the file on your computer to work, edit or customize your design. You can also find more 3D designs for printers on EnXLosure; minimalist and printable Prusa XL enclosure with doors (Design files).