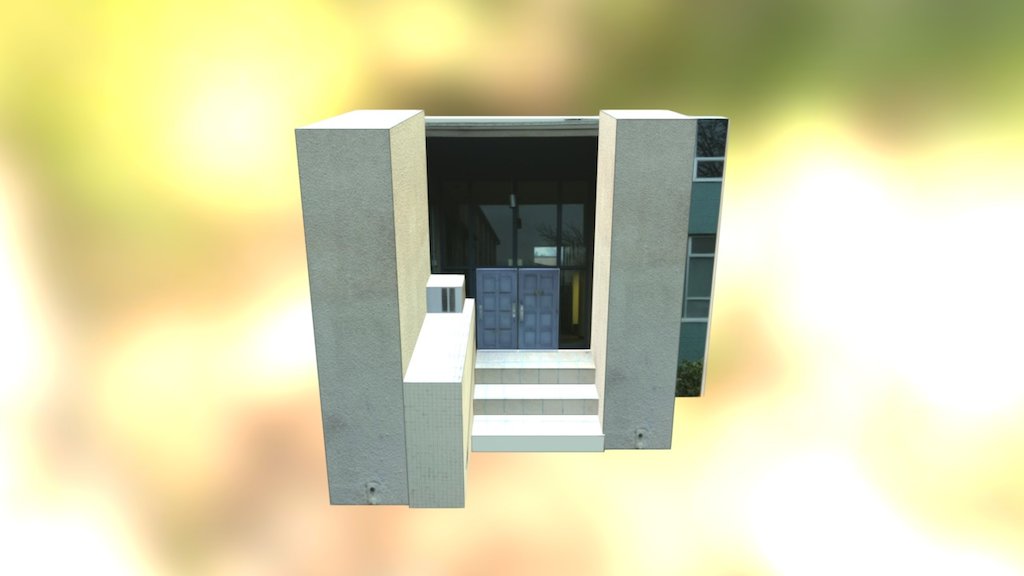
Entrance
sketchfab
Mapping 3D objects onto a 2D surface to visualize their structure and organization is an essential skill in computer graphics. This UV mapping exercise will guide you through the process of creating a seamless texture atlas for a simple 3D model. **Objective** Create a UV map for a basic 3D object, ensuring that all vertices are correctly assigned to a 2D surface. **Materials** * A 3D modeling software (e.g., Blender) * A 3D object (e.g., a cube or sphere) **Step-by-Step Instructions** 1. **Open the 3D modeling software**: Launch your chosen software and create a new project. 2. **Import the 3D object**: Load the 3D model into the software, either by importing an existing file or creating one from scratch. 3. **Select the object**: Choose the 3D object you want to map in the UV space. 4. **Enter UV editing mode**: Switch to the UV editor, which is typically accessed through a menu option or keyboard shortcut. 5. **Create a new texture atlas**: In the UV editor, create a new texture atlas by clicking on the "New" button or using the keyboard shortcut. 6. **Assign vertices to the 2D surface**: Select each vertex of the 3D object and assign it to the corresponding location on the 2D surface. 7. **Seamlessly map the texture**: Use the UV editor's tools to ensure that all vertices are correctly assigned, resulting in a seamless texture atlas. **Tips and Variations** * **Use a grid overlay**: Enable the grid overlay in the UV editor to help with vertex assignment and spacing. * **Apply symmetry**: If your 3D object has symmetrical features, apply symmetry to the UV map to reduce the number of vertices and improve efficiency. * **Experiment with different mapping techniques**: Try different UV mapping techniques, such as planar or spherical mapping, to achieve unique results. **Deliverables** * A UV mapped 3D object with a seamless texture atlas * A written description of your approach and any challenges you encountered By completing this exercise, you will gain hands-on experience with UV mapping and develop the skills necessary to create high-quality textures for 3D models.
With this file you will be able to print Entrance with your 3D printer. Click on the button and save the file on your computer to work, edit or customize your design. You can also find more 3D designs for printers on Entrance.
