Energy Conservation Lab - 3D Printed Car
thingiverse
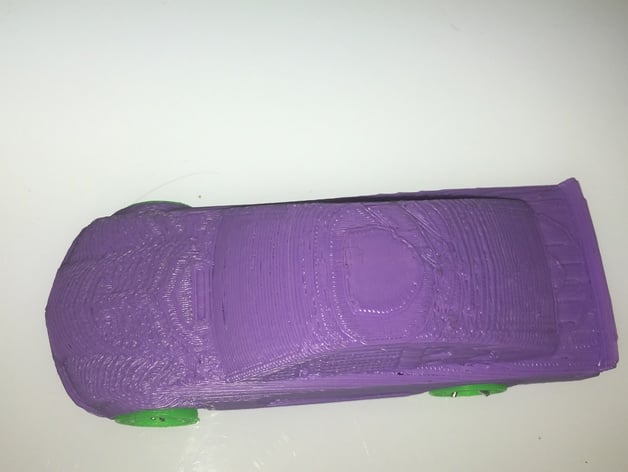
Project #1 - Energy Conservation Initiative This project centers on employing a 3D printed car to validate and confirm the Law of Energy Conservation. The 3D model utilized is borrowed from PetroPixel, available at https://www.thingiverse.com/thing:1642619. Print Settings Printer: Flashforge 3D Creator Pro Rafts: Yes Supports: Yes Resolution: .27 Infill: 15% Notes: The car and parts can be scaled down based on requirements or preferences. Post-Printing A scaled-down model of the car was created. Wheels were attached using paperclips. How I Designed This SketchUp was utilized to rescale the car files (body, pins, wheels), while Replicator G slicing software was employed to create the 3D file for printing purposes. Overview and Background Students in a physics or physical science setting will engage in a lab activity involving a 3D printed car. Students will utilize the lab environment to drop a measured mass (the car) from a specific height, calculated using a ruler or tape measure, to determine potential energy. They will also calculate kinetic energy by utilizing other variables and velocity, which is calculated using a timer and distance. Students will fill out data on an accompanying worksheet. Objectives: Students will use a physical system to test and confirm the Law of Conservation of Energy. Skills Learned (Standards): HS-PS3-2: Develop and use models to illustrate that energy at the macroscopic scale can be accounted for as a combination of energy associated with the motions of particles (objects) and energy associated with the relative positions of particles (objects). Lesson Plan and Activity Step 1: Debrief class on lab activity. Step 2: Distribute worksheet. Step 3: Establish groups (3-4). Step 4: Pass out 3D Printed Cars (fully assembled). Step 5: Have students mass their cars. Step 6: Have students measure the height of their lab tables. Step 7: Begin the lab by having students slide cars over their tables. Step 8: Have students time the car until impact with the ground; measure horizontal distance. Step 9: Have students take accurate measurements until data is consistent (3 tries is usually enough). Step 10: Have students calculate potential energy & kinetic energy of their car drops (can be assisted by teacher with calculations). Step 11: Finish worksheets. Step 12: Debrief Lab activity (go over lab worksheet and discuss general findings/trends). Duration of Lesson 1 hour lab. Preparation The teacher MUST PRE-PRINT all the car materials and assemble them prior to the lab (1 car per 4 students). Lab Area At least two groups (to compare data). Scales. Timer (phone apps can work too!). Meter stick/Tape measure. *Knowledge of kinetic energy and potential energy. Rubric and Assessment As a rule for evaluating students for this activity, one way is utilizing a 4 point scale. See the attachment below for details. References http://www.nextgenscience.org/pe/hs-ps3-2-energy
With this file you will be able to print Energy Conservation Lab - 3D Printed Car with your 3D printer. Click on the button and save the file on your computer to work, edit or customize your design. You can also find more 3D designs for printers on Energy Conservation Lab - 3D Printed Car.