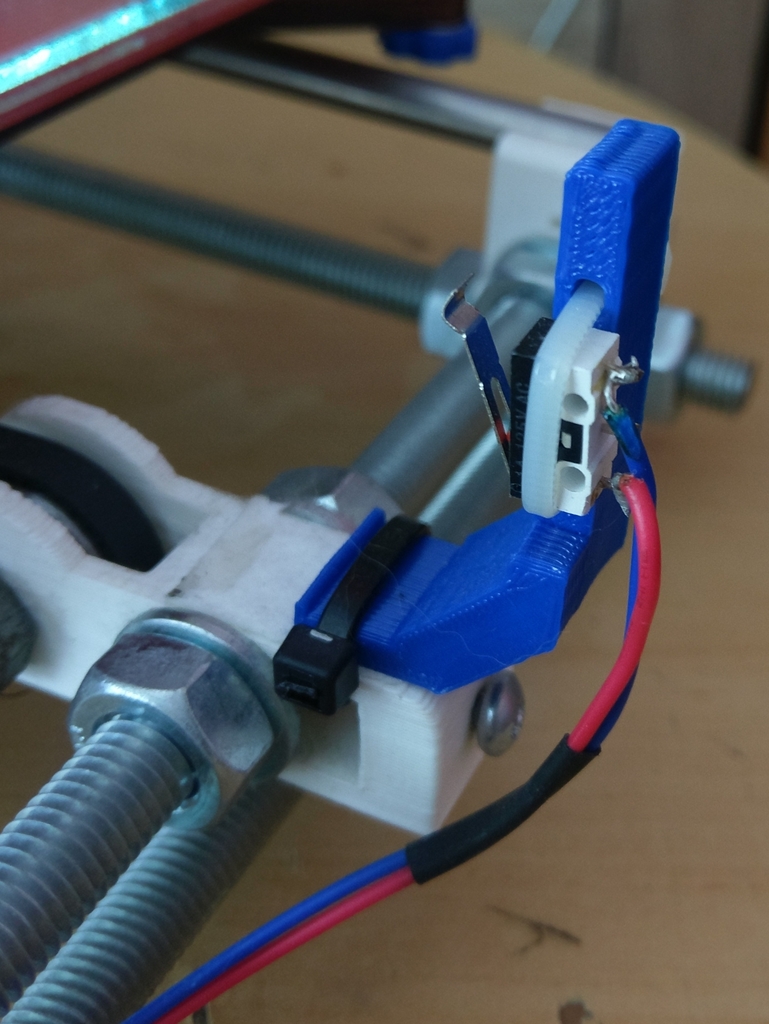
Endstop Y-axis for Prusa i3
thingiverse
For Prusa i3 enthusiasts, calibrating the Y-axis endstop is a crucial step to ensure seamless printing performance. Begin by locating the Y-endstop switch, usually situated at the bottom of the printer's frame near the X-carriage. This switch is responsible for signaling the printer when it reaches the minimum point on the Y-axis. To set up the Y-axis endstop, start by loosening the screws holding the endstop switch in place. Next, adjust the switch to sit snugly against a fixed point on the Y-rail, usually a metal bar or a printed component specifically designed for this purpose. Once adjusted, tighten the screws firmly to secure the switch. Now, it's time to calibrate the endstop itself. With the printer powered off and the X-carriage in its home position, carefully insert the endstop probe into the Y-endstop hole on the carriage. Make sure it clicks securely into place. Next, turn on the printer and navigate to the "Axis" or "Endstops" menu. Look for the "Y-endstop" option and adjust its setting until the probe triggers smoothly when extended. To confirm proper calibration, print a test object with features that require Y-axis movement, such as a cube or a tower. If everything is calibrated correctly, the printer should move smoothly along the Y-axis without any hesitation or skipping steps.
With this file you will be able to print Endstop Y-axis for Prusa i3 with your 3D printer. Click on the button and save the file on your computer to work, edit or customize your design. You can also find more 3D designs for printers on Endstop Y-axis for Prusa i3.
