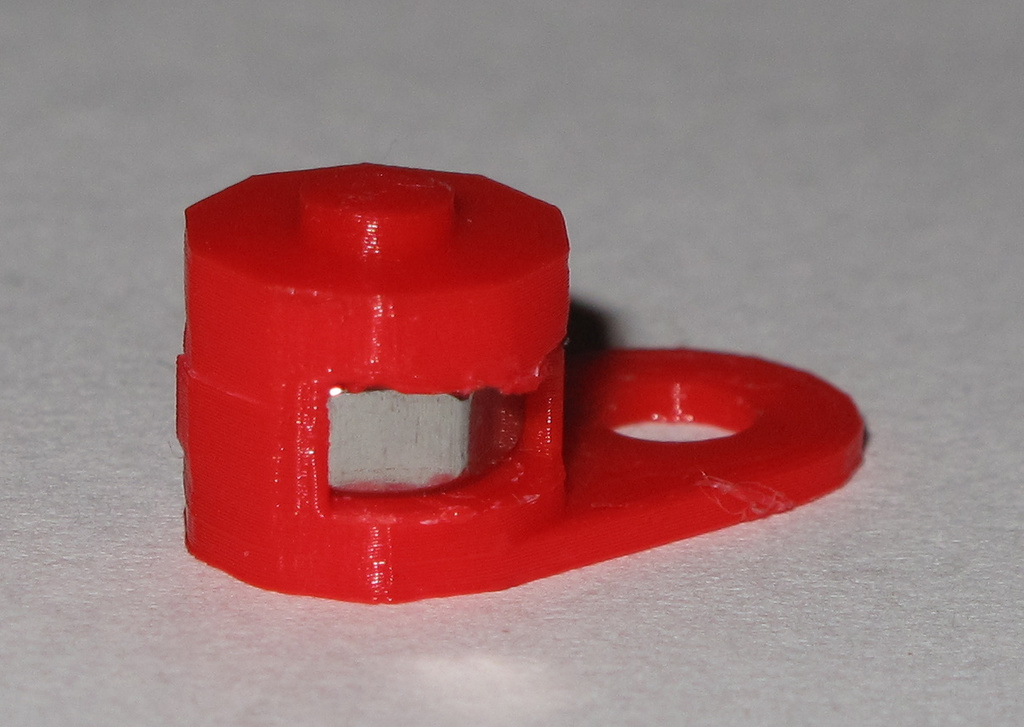
Ender-5 Z-Axis offset changer
thingiverse
I wanted to work alternately with either a magnetic or glass build plate. This spacer helps lower the workload significantly. A small spacer can be screwed onto the Ender 5's spacer screw if switching to a thicker glass build plate is desired. To prevent losing this small item, I added a tab to hang it on the screw when not in use. It should be customizable, but unfortunately, the customizer doesn't work for me, so I couldn't test it. Note: Never activate auto-home with an installed glass plate. Cracking glass would not produce a pleasant sound ;). I attached two STL files with the following build parameters: - 7mm screw height - 0.95mm magnetic plate height - 3mm glass plate height The file with the 1mm extended top knob can be used to fine-tune with sandpaper or a fine file. Printing: It's possible to print it without support, but the height seems more precise if printed with support. Therefore, use less support if possible; removing it can be tricky. A drill is recommended to remove support from inside the hole.
With this file you will be able to print Ender-5 Z-Axis offset changer with your 3D printer. Click on the button and save the file on your computer to work, edit or customize your design. You can also find more 3D designs for printers on Ender-5 Z-Axis offset changer.
