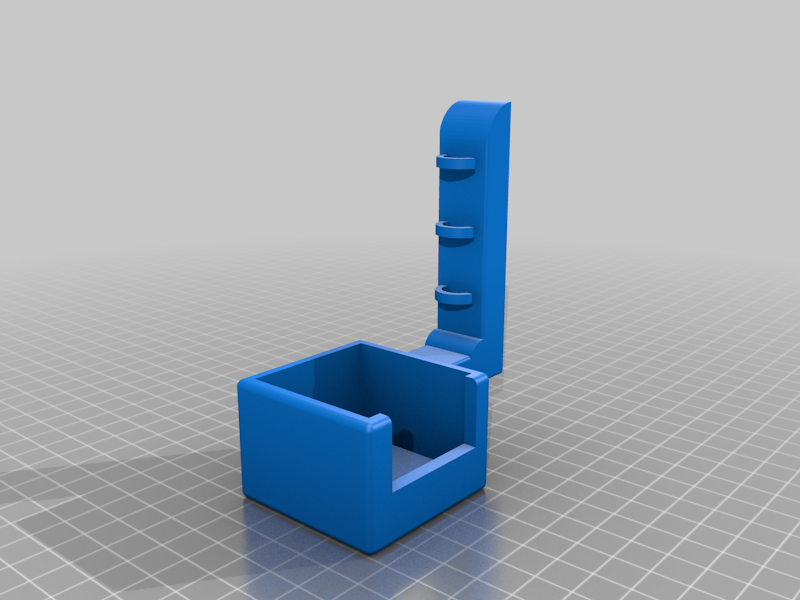
Ender 5 X axis stepper cable guide (remixed)
thingiverse
This is remixed using a couple of sources. The main design came from here: Ender 5 X axis stepper cable guide by cavac https://www.thingiverse.com/thing:4371316 I used the graphics from here: Creality Ender-3 Logo by tom666 https://www.thingiverse.com/thing:3078936 The Rounded cube module I got form here: https://danielupshaw.com/openscad-rounded-corners/ I liked the idea of the x-axis cover + cable guide, but I have my spool on the back right, and the (right hand) model that Cavac created would hit the spool when the Y-axis was too far back. So I wanted a Left Hand version*. I also wanted some smoother corners and something for the top. The last 2 design changes were accomplished using the Ender logo models from Tom666 (with a slight change to the Dragon model) and the Rounded Cube library from Dan Upshaw. * I did have to rotate the x-axis stepper motor to make the LH guide work. I updated the dragon model to center it in the attached stl, that was the only "change" made to it. I needed it centered to be able to orient/place it programmatically for the Left Hand (LH) versus Right Hand (RH) designs. I have included all of the files you will need to generate your own STLs, but also included one of each "version". I am 99.9% sure that the Customizer here will not work to pull in the files needed, but to run it locally you just need the 2 .scad and Dragon_centered.stl and Creality_Ender-3_Logo.stl all in the same directory when opening the x-stepper_cable_guide.scad in OpenSCAD. Configuration options: logo_picture: logo1 / logo2 ** Which logo stl to use, aligned with the files specified by logo1_stl and logo2_stl logo_style: raised / recessed / none ** Will make the top graphic either raised or recessed (inset) or nothing at all (blank) arm_position: LH / RH ** Left Hand or Right Hand orientation logo1_stl: <path to the logo1 graphic stl> logo2_stl: <path to the logo2 graphic stl> I set it so that the graphic would always be oriented facing the front of the printer no matter which arm_position you use (LH or RH). I also added some hooks/rings for "guiding" the cables up the guide arm. I preferred not to have to use tie wraps. I wanted to use SVG files for the graphics, as those are easier to import, center/orient and scale, but I could not find any for the Ender logos. But there were plenty of STLs of the logos, so I just used those. Post Print cleanup. I chose the raised dragon design and printed with the top of the cover face down on the bed, with supports from the bed only. The clean up took about 15+ minutes to chisel out the supports, but I somehow managed to not chip off any of the finer details on the dragon. When I was preparing the pictures in one of them I noticed that it looks like I lost the top of the right horn. But I went back to the printer to check and it is still there, so that must have been a trick of the light. When I printed it I forgot about the guide hooks until the printer hit that layer. I did not set any supports for them, so I was not sure what to expect, but it turned out OK. They did require a little clean up but they are still pretty solid and cleaned up well enough. The fit onto the existing x-axis cover was just the right amount of snug. Props to Cavac for a well done design. I printed using PLA+ (just what I had loaded up) and it feels more than sturdy enough. I did use a pretty high infill percentage (80%), but that is my go-to for any parts with any weight on them. I normally print such parts in PETG, but I was running low so I went with the PLA+ instead.
With this file you will be able to print Ender 5 X axis stepper cable guide (remixed) with your 3D printer. Click on the button and save the file on your computer to work, edit or customize your design. You can also find more 3D designs for printers on Ender 5 X axis stepper cable guide (remixed).
