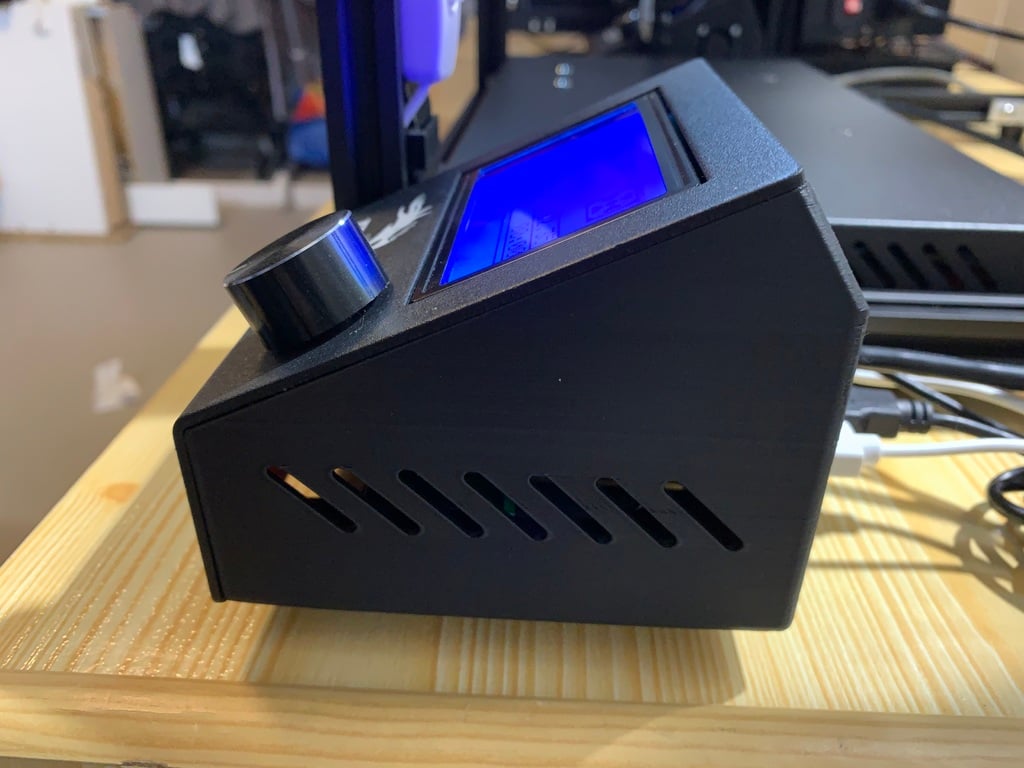
Ender-5 station (LCD + Raspberry Pi)
thingiverse
The Ender-5 station boasts two key advantages: a mount for Raspberry Pi 4 and an LCD cover. To connect these components, I employed a buck converter along with one micro USB to USB-C adapter. This setup is remarkably simple and doesn't require any soldering, making it accessible to everyone. A reliable source for this product can be found at Amazon via the following link: https://www.amazon.com/-/pt/gp/product/B00R5JL8WI/ref=ppx_yo_dt_b_asin_title_o02_s00?ie=UTF8&psc=1 I invested a significant amount of time perfecting the STL design for the Ender-5 station's LCD mount. After printing six prototypes, I finally achieved a flawless model. One notable feature of this station is the raspberry Pi mount, which provides easy access to micro SD cards without requiring the entire system to be shut down. For cooling purposes, I opted to use a fan with my Raspberry Pi 4. However, given the generous ventilation grids on this station, it's not strictly necessary to employ a fan when using Octopi software. Raspberry Pi 4 fans are supported by the following design: https://www.thingiverse.com/thing:4097379 For those interested in creating an Ender-3 station, I invite you to check out my previous project: https://www.thingiverse.com/thing:3700643 If you're looking for a guide on how to control Octoprint with the printer's LCD screen, be sure to consult the provided Guide file.
With this file you will be able to print Ender-5 station (LCD + Raspberry Pi) with your 3D printer. Click on the button and save the file on your computer to work, edit or customize your design. You can also find more 3D designs for printers on Ender-5 station (LCD + Raspberry Pi).
