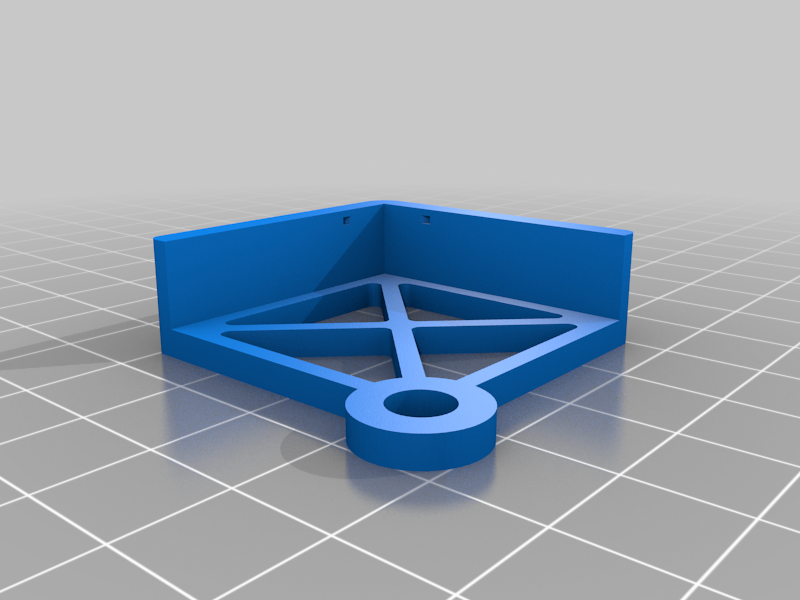
Ender 5 Pro Glass Bed Clips
thingiverse
After buying the glass bed from Creality, I realized that no clips were included. To address this issue, I've been working on creating models for these clips, but they are still a work in progress. I welcome any suggestions from fellow makers! Here's my current build plate setup: * Original build plate * Original magnet pad (in case I ever want to switch back to the original bed) * Glass bed from Creality It takes about 25 minutes to print each corner. To mount the glass bed, follow these steps: 1. Remove all four bed leveling nuts. 2. Take out the spring. 3. Install the 3D printed part. 4. Put the spring back in place. 5. Repeat this process for the remaining three corners. 6. Get four safety pins. 7. Cut off the sharp point of each pin. 8. Trim after the curved section. 9. Insert the pin into its corresponding hole. 10. Level the bed. Keep in mind that you may need to adjust the Z-axis sensor due to the added height on the underside (3mm). Updates: * On July 4, 2020, I decided to remove the clip system because the upper part warped under the pressure of the bed clamping down. * I've since added 45-degree angled holes to accommodate a needle. * Additionally, I uploaded an STL file for the hot end corner. As of December 4, 2020, I recommend printing the parts in heat-resistant plastic. However, after ten prints, the plastic started warping.
With this file you will be able to print Ender 5 Pro Glass Bed Clips with your 3D printer. Click on the button and save the file on your computer to work, edit or customize your design. You can also find more 3D designs for printers on Ender 5 Pro Glass Bed Clips.
