Ender 5 fan duct
thingiverse
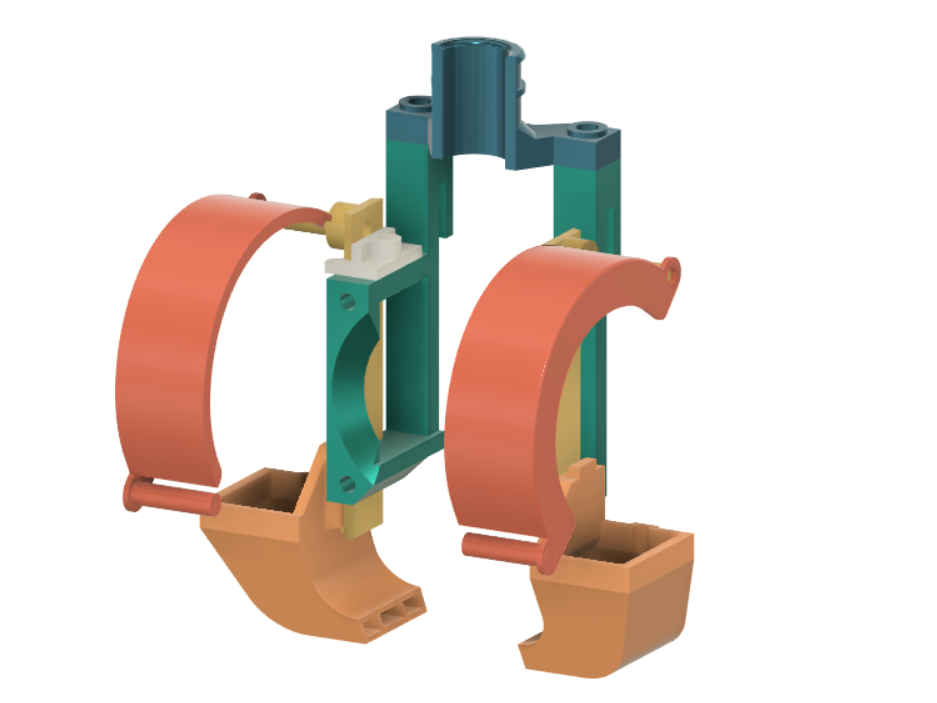
A versatile duct system for Creality Ender 5 printers. It accommodates either a single or dual 5015 fans seamlessly. After extensive testing, I can confidently say it works flawlessly. The print and assembly process is remarkably straightforward. If any component breaks, it's incredibly easy to reprint and replace. A unique design feature worth noting is that the duct doesn't rely on screws at the backplate; instead, it securely hangs from side brackets, ensuring stability. Please keep in mind that this project is still a work in progress. Design Philosophy: * Robust construction * Lightweight profile * Simple printing process * Effective air flow management to minimize hot-end fan impact on parts * Easy modification and remixing possibilities * Effortless installation * Efficient part cooling Instructions: ========== Materials Needed: ------------- 4 x M3 screws for the hot-end fan. The original hot-end fan screws should suffice. 4 x M2 screws for the cable holder and lifters. The original part cooling fan screws can be used. 2 x M3x20mm screws, which are required to secure the 5015 fans. Prints Required: --------- It is highly recommended to use PETG due to its durability during assembly. PLA may also work, but I have not personally tried it. 1 x Left side bracket.stl 1 x Right side bracket.stl 1 x Cable holder.stl 2 x Part fan bracket lifter.stl 2 x 5015 Part fan bracket.stl 2 x 5015 Fan nozzle.stl (One copy needs to be mirrored) Optional: * 2 x 5015 fan cover.stl (One copy needs to be mirrored) Assembly: ------------- While I may have missed something in this guide, the assembly process is relatively straightforward. 1. Mount left/right side bracket over the backplate. 2. Secure the hot-end cooling fan with all four screws. 3. Attach the part fan bracket lifters onto 5015 part fan bracket 4. Slide the 5015 part fan bracket into the slots on the left/right side bracket. 5. Insert the 5015 fan nozzle onto the 5015 part fan bracket, on both sides. 6. Install the 5015 fans. 7. Attach the 5015 fan cover. 8. Secure the 5015 fans in place using screws. 9. Mount the cable holder. 10. Use a small cable tie to secure any loose cables. 11. Adjust the fan nozzle using the screws on the lifters. Issues: Here's an updated list of things I'm currently focusing on: * Improving nozzle focus * Increasing adjustability on 5015 brackets (nozzle too short) * Enhancing durability of 5015 covers Updates: 2020-04-27: 5015 part fan brackets.stl, 5015 Fan nozzle.stl
With this file you will be able to print Ender 5 fan duct with your 3D printer. Click on the button and save the file on your computer to work, edit or customize your design. You can also find more 3D designs for printers on Ender 5 fan duct.
