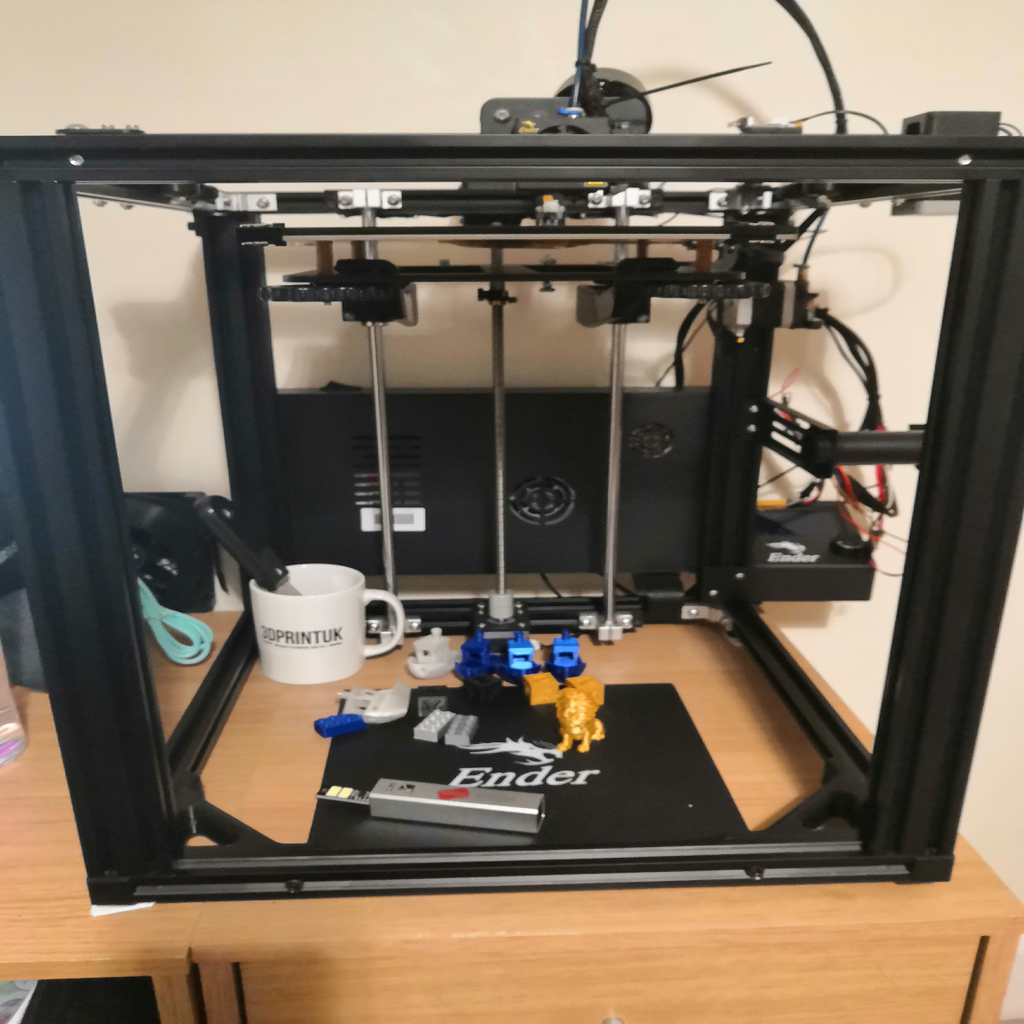
Ender 5 Control Box Rear Mount
thingiverse
UPDATE: Uploaded wrong file for the Control Box mount.Now corrected. Wanted to upgrade the printer's design by mounting the control box vertically at the back, freeing up space underneath for storage and allowing for easier wire upgrades to the SKR V1.3 without adding extra length. This also simplifies cable management by hiding wires behind the control box. If you still use the original Creality Board, the USB and SD slot remain accessible from the top of the printer. The Z wires can exit through the original bottom hole, while all other wires come out through the LCD screen hole. This design reuses every existing bolt and frame hole, minimizing waste and making installation smoother. However, accessing the control box becomes slightly more complicated with this setup. But once everything is set up, you shouldn't need to revisit it often. Two brackets fit snugly into place on either side of the Z mount bar. Two corner brackets hold the printer's frame rigid where the control box used to sit, utilizing the same four bolts that previously secured it in place.
With this file you will be able to print Ender 5 Control Box Rear Mount with your 3D printer. Click on the button and save the file on your computer to work, edit or customize your design. You can also find more 3D designs for printers on Ender 5 Control Box Rear Mount.
