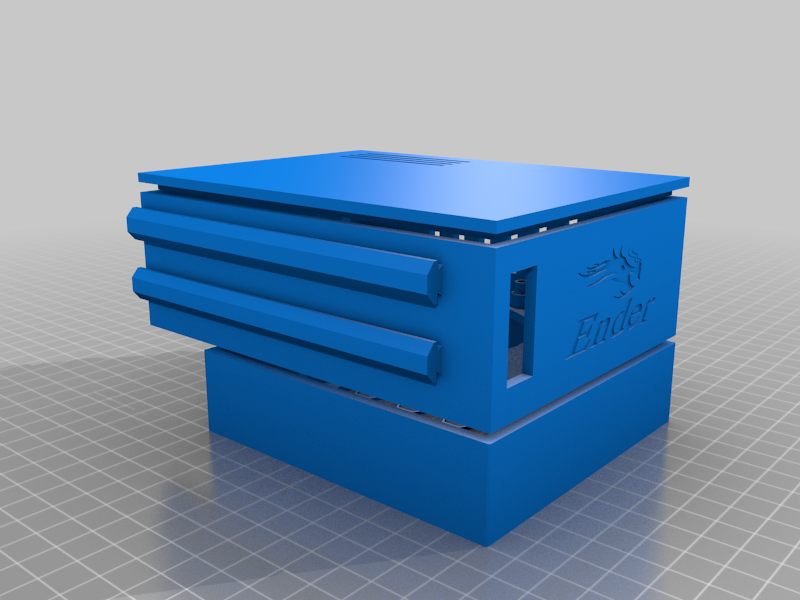
Ender 3V2/Pro/5 Motherboard box 80mm Noctua fan
thingiverse
Ender 3V2 Motherboard box. Printer needs extended feet my design is here https://www.thingiverse.com/thing:5363599 required, Noctua 80/25 fan Buck converter M3 insets x4 30mm M3 bolts x4 cable for switch change electrical connectors I got totally fed up with turning my printer upside down to do any mods and having to remove stuff from it to do that. I couldnt find anything i liked that suited my needs so I made my own Its a 3 piece print, box, lid, and fan housing, so not to have any complicated prints with shit loads of stressful supports to remove. been fitted now over a month, its nice to lift a lid to do anything you need to do. It also has power switch converted to the front support is required, touch build plate only It doesnt have any access to usb or SD as I have a Usb to my Pi 5 inch Screen box I designed. its here https://www.thingiverse.com/thing:5350626 All my prints are sent networked, it is a bit fiddly but sd cards can be put in and out for firmware flashing. (even with my pitshovel hands) Cabling is tight but all fits with some patience. do the 24v feed, hot end, and bed, then attach motherboard to the box and the rest of the wiring can all be done with it in place. As stated, I have this alongside my Pi Screen box so all my fan cabling is to there and controlled before feeds to fans. your own configurations will be as your setup requires :D Note: you do have to take the rubbers off the Noctua fan to fit it or increase the Z height in your Slicer by 0.5mm I think should be enough fits very snug though without the rubbers no vibration or rattling
With this file you will be able to print Ender 3V2/Pro/5 Motherboard box 80mm Noctua fan with your 3D printer. Click on the button and save the file on your computer to work, edit or customize your design. You can also find more 3D designs for printers on Ender 3V2/Pro/5 Motherboard box 80mm Noctua fan .
