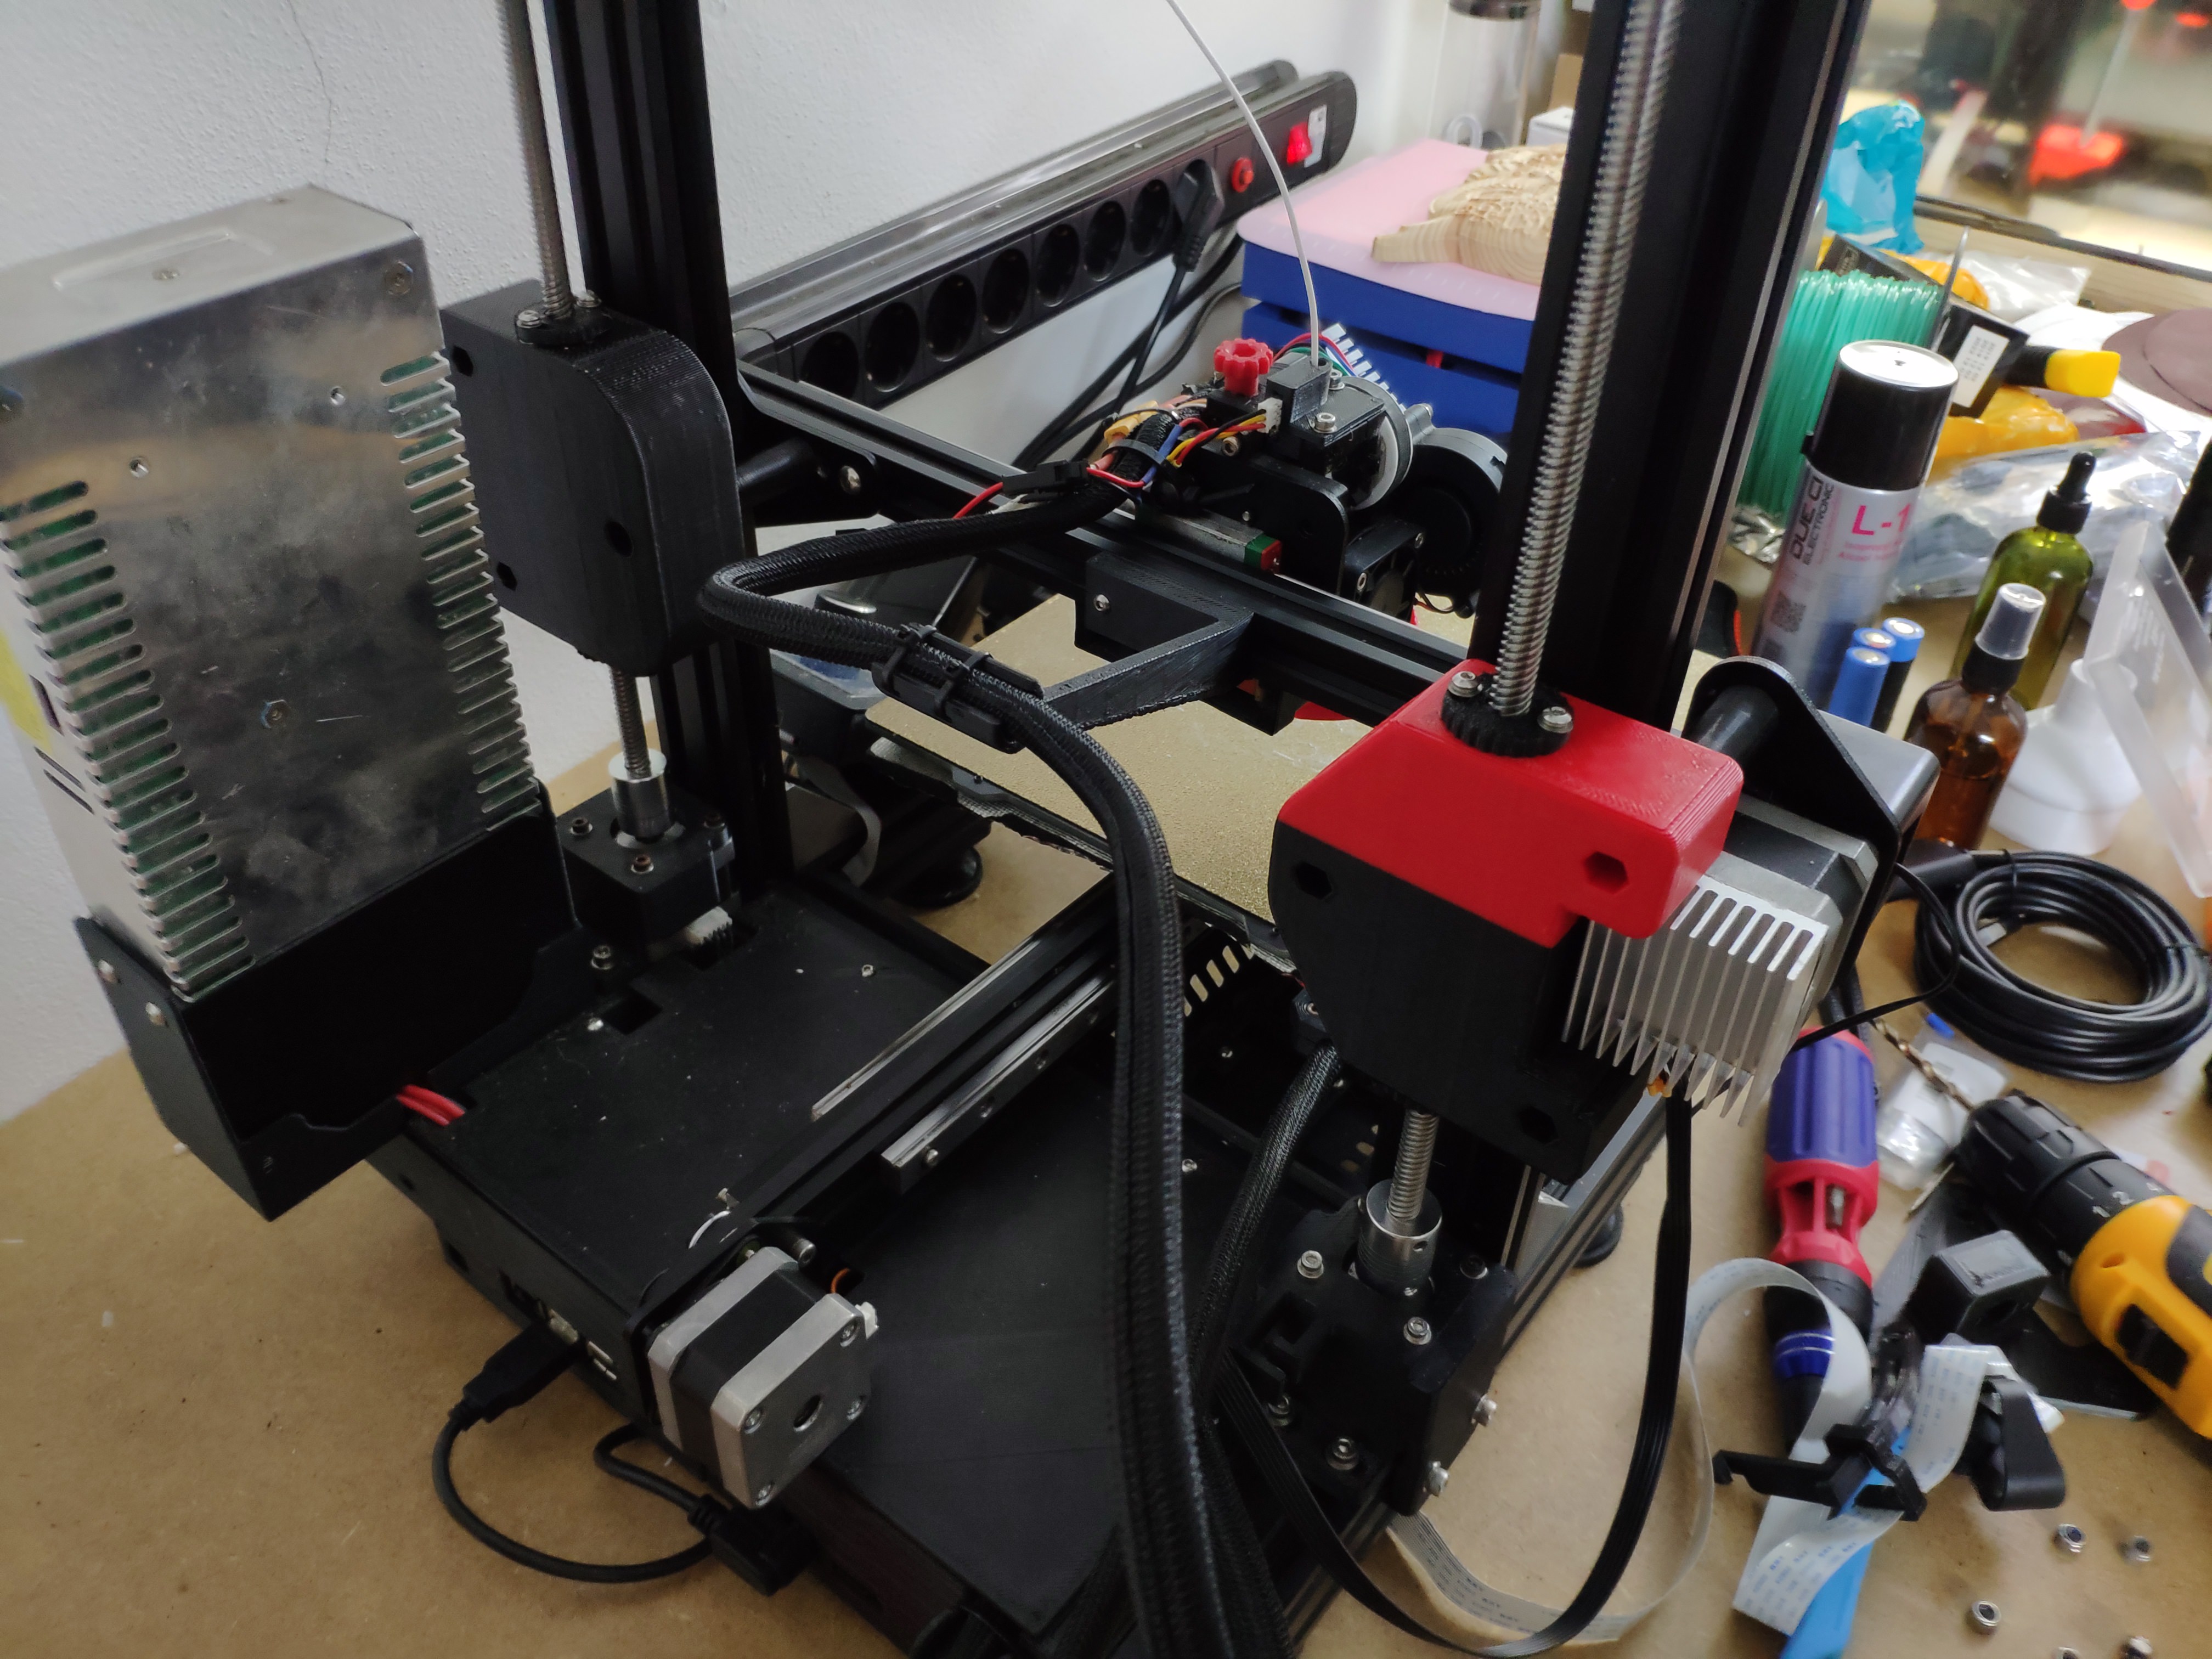
Ender 3 Z1 & Z2 Axis Plate for Dual Motor Z
prusaprinters
<p>Remix this to give more strength to the part. Thin parts will bend and for small increments the axis will not move, for example z-hop. Rocksolid part now.</p> <p>Need longer screws and an ajustable motor mount like: <a href="https://www.thingiverse.com/thing:3603432">https://www.thingiverse.com/thing:3603432</a></p> <p>Z1 Plate is the mirrored version of Z2 with clearance for X Motor, it also removes Extruder motor, this is only for Direct Drive or relocated extrusion systems.</p> <p><strong>Beefy Version:</strong></p> <ul> <li>Require 2 backlashes per part</li> <li>4x or 8x per part m3x4mm OD3.7mm thread inserts</li> </ul> <p><strong>## NOTE:</strong><br/> <strong>If you edit z1 ipt you need to mirror the output at X.</strong><br/> From 26/03/2020 i recommend you opt for the beefy version, it will solve all your z problems!<br/> From 16/05/2019 i recommend use only the custom backslash version, much better fit into thread without play, some brass alternatives sucks, this is a much better way. Lube the thread.</p> <p><strong># Changelog</strong><br/> <strong>26/03/2020:</strong> Added a beefy version, 0 backlash and 0 flex, end of Z problems.<br/> <strong>16/05/2019:</strong> Modify to use custom backslash</p> <h3>Print instructions</h3><p>4 Perimeters</p> <p><strong>Backslash:</strong></p> <ul> <li>0.1 layer height</li> <li>3 perimeters</li> <li>turn off: ensure vertical wall thickness</li> <li>turn on: avoid crossing perimeters</li> <li>Seam: aligned</li> <li>infill: honeycomb, then 20%</li> <li>Filament: cooling on full</li> <li>printer: 0.1 lift Z</li> </ul> <p>Print two backlash per each of beefy version</p>
With this file you will be able to print Ender 3 Z1 & Z2 Axis Plate for Dual Motor Z with your 3D printer. Click on the button and save the file on your computer to work, edit or customize your design. You can also find more 3D designs for printers on Ender 3 Z1 & Z2 Axis Plate for Dual Motor Z.
