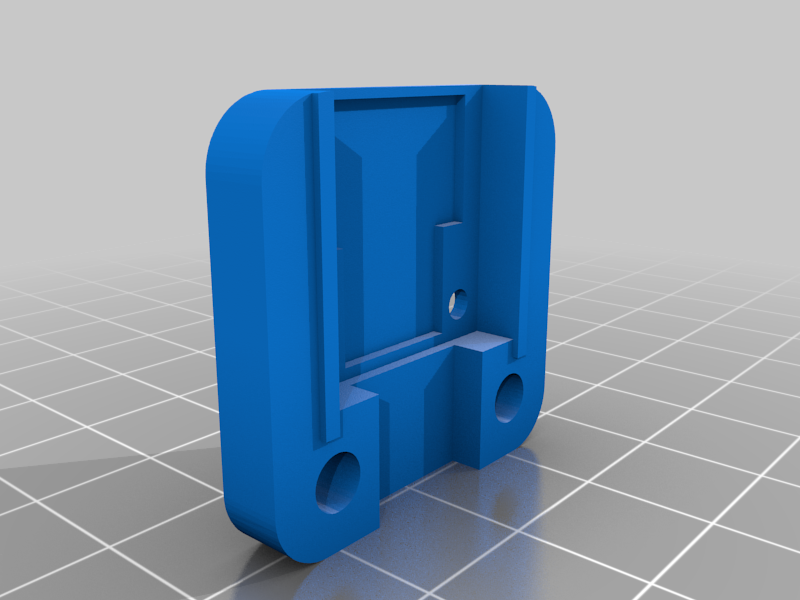
Ender 3 Z Limit Switch Move
thingiverse
I'm using an Ender 3 Pro with a custom control box that utilizes a main board and a Raspberry Pi 4. However, there's a catch - the control box requires the entire left rail to close properly, which means the Z limit switch needs relocation. It's worth noting that you might want to create a small scratch on the rail so you can easily identify where to install this with the same screws used for the pcb. Additionally, you'll likely need to trim the solder leads on the back of the pcb using a rotary tool - or cut them flush. I've created two versions: one with a backing board for those who prefer not to trim the solder leads, and another version without the backing for those who'd rather use tape to prevent grounding issues.
With this file you will be able to print Ender 3 Z Limit Switch Move with your 3D printer. Click on the button and save the file on your computer to work, edit or customize your design. You can also find more 3D designs for printers on Ender 3 Z Limit Switch Move.
