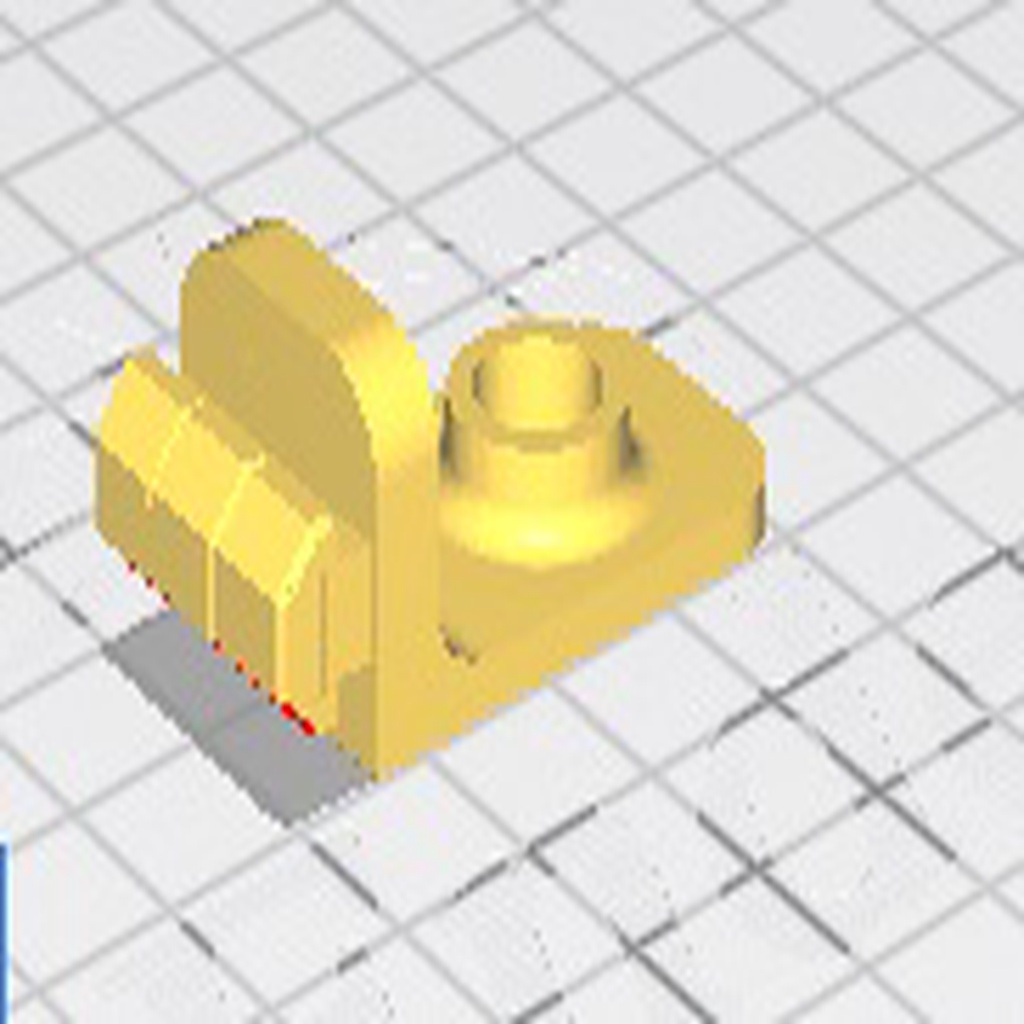
Ender 3 Z Axis Upgrade - Threaded Rod Spacer Guide | No Screws
thingiverse
The Stock Ender 3 Attachment Guide: A Step-by-Step Solution Are you looking for a simple and hassle-free way to attach your trod guide to the stock Ender 3? Look no further! This comprehensive guide provides a straightforward, step-by-step approach to ensure a smooth installation process. First and foremost, make sure you have all the necessary components at hand. You'll need the trod guide, the stock Ender 3, and a few basic tools. Don't worry; we've got you covered! **Step 1: Prepare Your Stock Ender 3** Begin by carefully removing any existing screws or attachments from your stock Ender 3. This will give you a clean slate for attaching your trod guide. **Step 2: Attach the Trod Guide** Next, take your trod guide and align it with the corresponding slot on the stock Ender 3. Gently push the guide into place until it clicks securely. Make sure it's snug but not too tight – you want a comfortable fit! **Step 3: Secure the Attachment** Now that your trod guide is in place, it's time to secure it using the included screws or clips. Simply screw them in firmly, making sure they're not over-tightened. That's it! With these easy steps, you'll be enjoying a perfectly attached trod guide on your stock Ender 3 in no time. Happy printing!
With this file you will be able to print Ender 3 Z Axis Upgrade - Threaded Rod Spacer Guide | No Screws with your 3D printer. Click on the button and save the file on your computer to work, edit or customize your design. You can also find more 3D designs for printers on Ender 3 Z Axis Upgrade - Threaded Rod Spacer Guide | No Screws.
