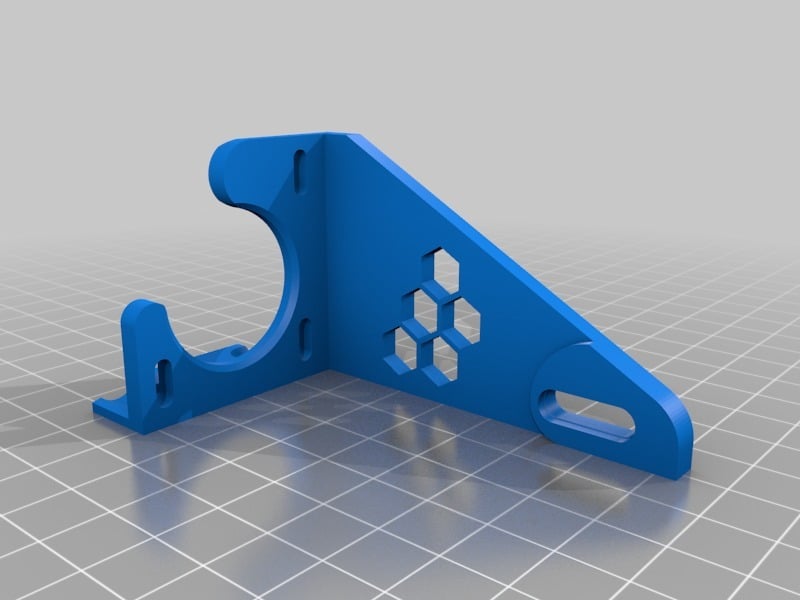
Ender 3 Z-axis support & damper
thingiverse
Update - 24/01/2019 I removed the dual-wing V2 as it doesn't fit properly. I uploaded a refined version of the single wing support, which seems to be more durable and fits exactly in the v slot on my Ender 3. Update - 19/12/2018 Please don't use V2 because it doesn't fit with the horizontal extrusion (see comments). I'll update this as soon as possible. Update - 05/12/2018 V1 works fine, but it's a bit prone to bending on one side and getting stuck in the profile slots. So, I added a U-shaped version (2 brackets, one for each side). ###Why I wanted to add a damper to my Z-axis stepper motor. At the same time, I needed some shim to compensate a slight bend of the axis. I found the print&try attempts to find a good shim a bit too tinkerly for my taste, so this is an attempt to solve both problems in one go. ###How it works The support can scroll into the V-slot, down until near the z-axis stop switch. Its height can be regulated on the side, so the motor (or the motor+damper, if installed) doesn't touch the frame at the bottom. At the upper part of the support, there are 3x M3 slots that could be used to attach either the stepper or a vibration damper attached to it. The distance from the Z-frame can then be adjusted to compensate the bending of the Z-axis lead screw. ###Files included - V2 version: refined version of the single wing support. It seems to be more durable and fits exactly in the v slot on my Ender 3. With or without deco on the side. I used M4x8 screws and T-nuts to attach it to the frame. Please ensure it aligns in every direction before securing the screws. - V1 version (legacy): either plain or with deco, with or without ridges. Depending on the printing orientation and settings you choose, this might result in supports needed (that looked a bit ugly for me, like the ones in the pictures). Hex deco on the side. I left this one in for those who want to compare or like the ridges, but it doesn't align properly so please use V2 instead. This works well for me, but please leave me a comment if it doesn't for you! ###Suggested hardware required - 2/3x M3 screws to attach damper or motor - 1x M4x12 screw for the wing - 2x M4x6 screws for back side to frame - 3x M4 T-nut
With this file you will be able to print Ender 3 Z-axis support & damper with your 3D printer. Click on the button and save the file on your computer to work, edit or customize your design. You can also find more 3D designs for printers on Ender 3 Z-axis support & damper.
