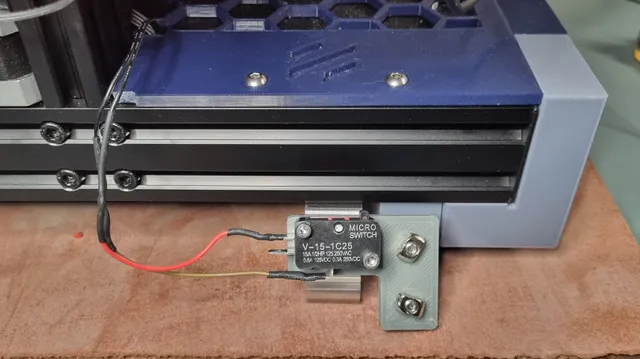
Ender 3 Z axis endstop with Omron Style Switch
prusaprinters
After the countless times that the Z axis endstop failed to activate on my Ender 3 Pro, I decided that I would search for another switch that I could use instead. I took inspiration for the design of the switch mount when I took the original off an rotated it by 45 degrees in order for me to attach an Omron style switch, which seemed to be the best value and alternative switch that I could find. The switch can be found here - https://www.amazon.co.uk/gp/product/B07VQ5YVV2/ref=ppx_yo_dt_b_search_asin_title?ie=UTF8&th=1 There is some soldering required in order for this mod to work. You will need to solder wires to the NC (Normally Closed) and COM parts of the switch and then you can either solder those wires to the corresponding wires on the original Z axis loom, or obtain a junction box of some kind to join the 2 male JST connectors together. Installation is fairly easy - Solder the appropriate wires to the switchScrew the switch to the mount as per the photos with some M3 x 18mm (or longer) bolts and nutsThen attach the mount to the frame in the original position of the original endstop using the original M5 hardware used to mount the original endstop switch.Then perform your preferred bed levelling process.
With this file you will be able to print Ender 3 Z axis endstop with Omron Style Switch with your 3D printer. Click on the button and save the file on your computer to work, edit or customize your design. You can also find more 3D designs for printers on Ender 3 Z axis endstop with Omron Style Switch.
