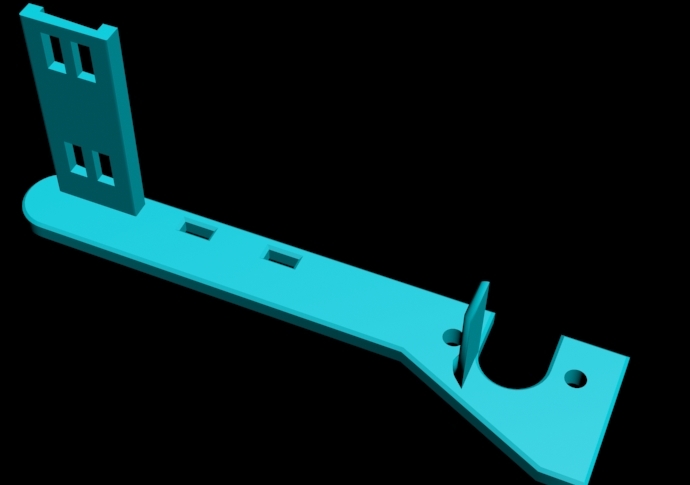
Ender 3 Z-Axis Cable Support
thingiverse
UPDATE 3/20/2020 - New pics, install notes. Big thanks to Worelock for coming up with the original design that inspired this creation. TO INSTALL PROPERLY: 1- First off on the print, clean the slot around the lead screw thoroughly to give yourself extra space to work with. Securely screw down the print now. 2 - Move the X gantry all the way to the top of the printer and position the printhead assembly as far right as possible - These are the most extreme positions, so you know exactly how much slack you need to accommodate. 3 - Use thin zip ties to secure everything in place tightly. EDIT: Tolerances can get quite tight on this remix, so be sure to clean your print thoroughly before installation. Yes, the inner surface of the vertical tab is angled by design for a reason. A remix of Worelock's support design, thanks again to him: https://www.thingiverse.com/thing:3241556 - that original design works perfectly if you're running a standard setup, but I'm not. Slightly modified to suit my needs, I added a vertical support for those with heavy wire harnesses that need the run on the vertical point due to weight and space constraints. Mine was sagging down and getting caught on the back clips of the build plate before, so I made some adjustments. Since I have a direct extruder setup, my harness is heavier than usual with everything running through the same point. I also added about 1mm of thickness for extra stability.
With this file you will be able to print Ender 3 Z-Axis Cable Support with your 3D printer. Click on the button and save the file on your computer to work, edit or customize your design. You can also find more 3D designs for printers on Ender 3 Z-Axis Cable Support.
