Ender-3 Y-Axis Linear Rails Conversion Parts
thingiverse
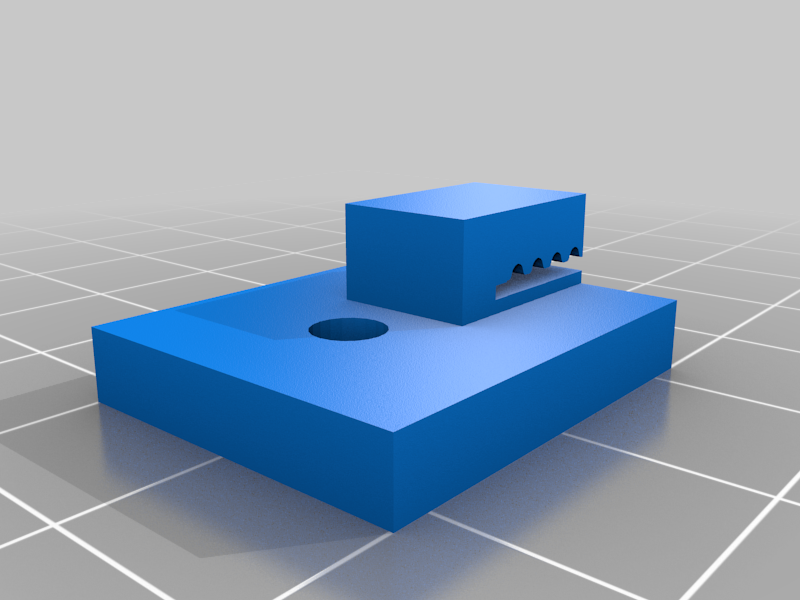
This is the Linear Align clips from another person. The rest is what I came up with to make the rails work. With the least trouble and money. Put the adapters on the linear rails with (4) 3 mm screws. Center plate on adapters. Make from below for holes. Then drill out holes and mount plate on adapters. The belt adapters mount flush to the edge and drill holes and mount them. Belts slide in. Use a drop of super glue to hold them. Or they WILL work there way out later. The end stop adapter. Lay switch on it and thread screws into it. I did not drill them out in the STL file. I used 300 mm MGN-12 Linear Rail Guide with MGN-12H Carriage Block for 3D Printer and CNC Machine.
With this file you will be able to print Ender-3 Y-Axis Linear Rails Conversion Parts with your 3D printer. Click on the button and save the file on your computer to work, edit or customize your design. You can also find more 3D designs for printers on Ender-3 Y-Axis Linear Rails Conversion Parts.
