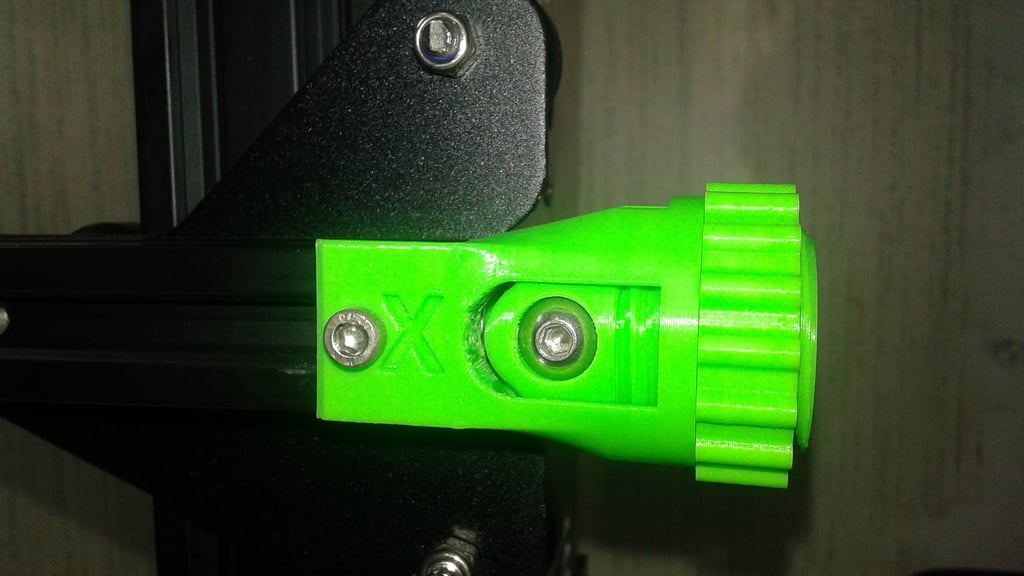
Ender 3 XY Belt Tensioner
thingiverse
I spent some time reworking this design because all my previous attempts gave me problems. There are two versions of the Y-axis, with version 2 featuring extra support (which might be overkill). Installation: You'll need 2 M5x22 button head screws and nuts for this project. To get started, you'll have to print two spacers for each axis. For both X and Y axes, as well as the V2 of the Y-axis, you will require some M4x8 screws and hammer nuts. You should end up with a few extras after removing the stock belt holders. Next, assemble the inner shaft by combining 2 pulleys, 2 spacers, an M5x22 screw, and its corresponding nut before inserting it into the outer shell. Make sure to use the correct inner shaft for the X-axis or else you won't have enough space for the pulley and belt to pass through.
With this file you will be able to print Ender 3 XY Belt Tensioner with your 3D printer. Click on the button and save the file on your computer to work, edit or customize your design. You can also find more 3D designs for printers on Ender 3 XY Belt Tensioner.
