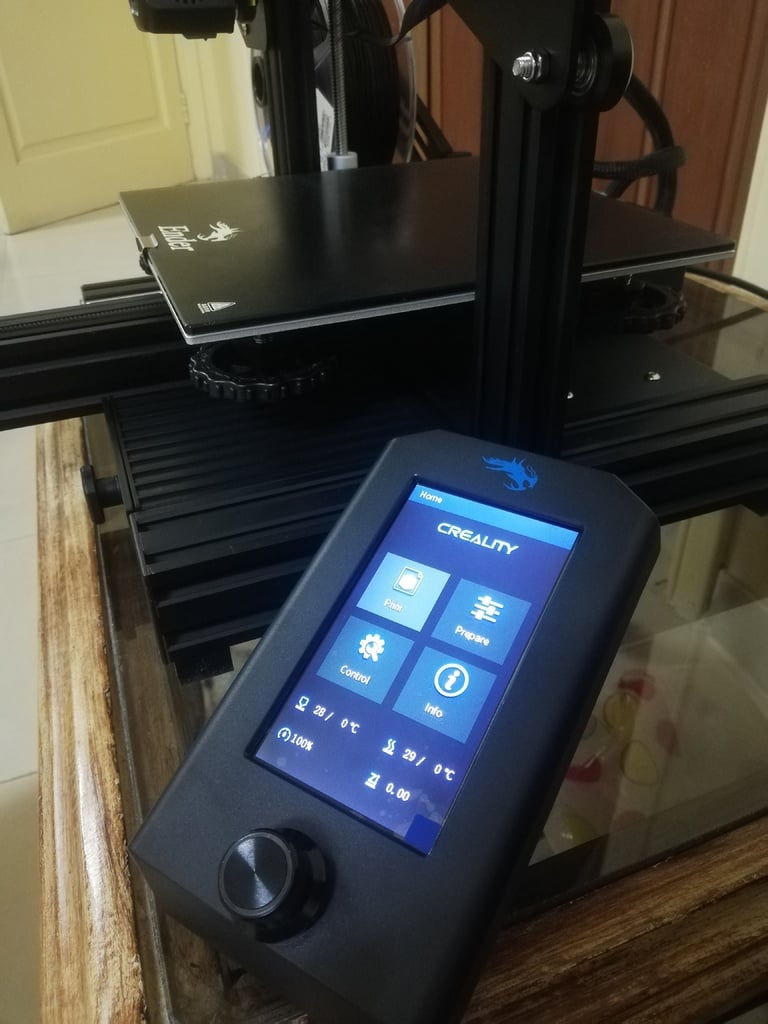
Ender 3 V2 screen stand
thingiverse
I design a super simple screen stand for the new Ender 3 V2. No additional screw or tool is required. UPDATE: I redesign the full stand (not tested yet, please let me know if it fits or not). No more screws or glue are needed - just print it and you're ready to plug in your screen! If you want to waste material, go ahead and download the STL file. I'll post a picture of how to print it with minimal support needed. FOR WHO wants to save material and print only one side that comes with the printer, continue with these steps: You'll need a glue gun (which is easily removable). Here's what you do: 1. Print the STL file. 2. Unscrew the screen from the printer and remove it. 3. Keep one of the screws - that's all you'll need. 4. Assemble the mount and the printed part, tightening by hand. 5. Make sure there's no gap between the stand and the mount (from the side). 6. Apply glue to the bottom corners (four of them) to prevent slipping, then adjust it to balance on the ground. 7. Put some glue between the stand and the mount from the inside. 8. Now put your screen back in place and reconnect the cable. I've posted pictures for each step and how you should print it - yes, with support.
With this file you will be able to print Ender 3 V2 screen stand with your 3D printer. Click on the button and save the file on your computer to work, edit or customize your design. You can also find more 3D designs for printers on Ender 3 V2 screen stand.
