Ender-3 V2 Front Electronics Housing
prusaprinters
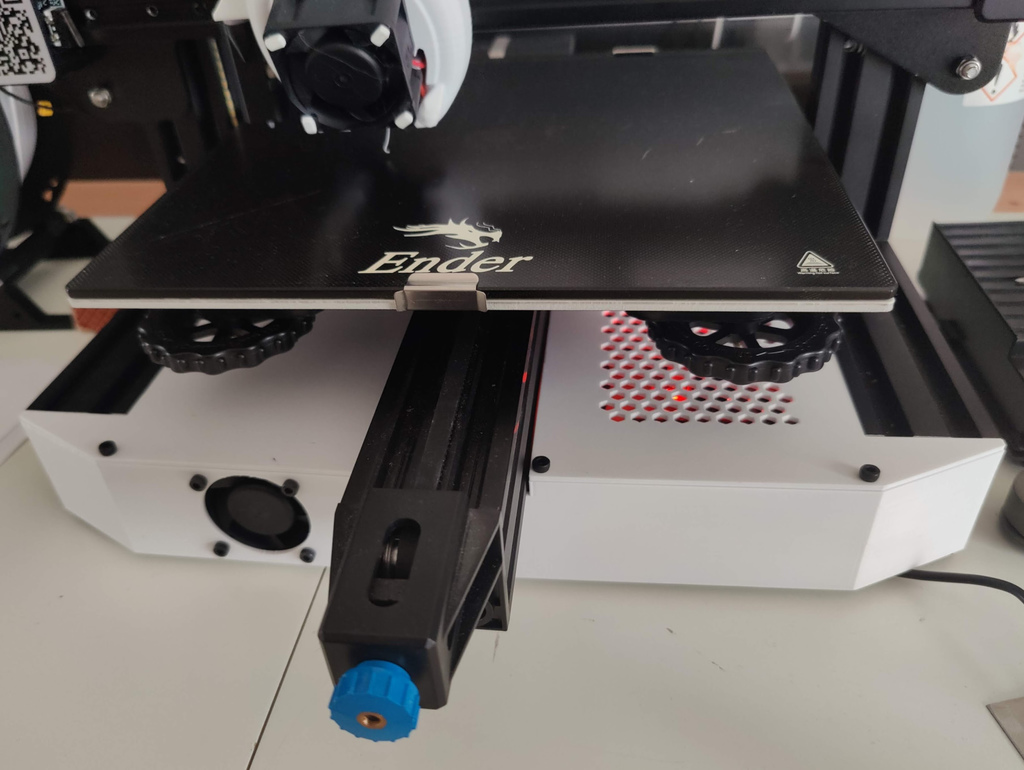
<p>Based on the awesome work of Synyster1911 here: <a href="https://www.thingiverse.com/thing:4812842">https://www.thingiverse.com/thing:4812842</a></p><p>UPDATED 03/09/2021: The "_v49" have the box lowered 2mm so that the covers are aligned with the extrusions, the rest is identical to the original version.</p><p>The sample pictures show "_v49" that I printed and am currently using in my own Ender-3 V2.</p><p>There are 2 options for left side bottom, you only need to print one:</p><ul><li>left_bottom_e3_board.stl - For the Creality stock board, SKR 3 Mini board, or similar</li><li>left_bottom_skr2_board.stl - For SKR 2 board or similar</li></ul><p>Make sure to check the orientation of the two top parts, those should be printed upside down (so that the flat bit is directly on the bed, thus not needing any support)</p><p>The bottom bits need to be printed with support for the frontal v-slot bits, here are the Cura settings I recommend:</p><ul><li>Generate Support: checked</li><li>Support Structure: Tree</li><li>Support Overhang Angle: 50.0</li></ul><p><strong>Note:</strong> due to the small space between the board and the fan, it can be very tricky to connect a USB cable to it (especially on a board like the SKR-2) so I recommend using a serial connection directly to the Raspberry Pi pin headers instead (very easy to configure if you are using Klipper firmware!)</p>
With this file you will be able to print Ender-3 V2 Front Electronics Housing with your 3D printer. Click on the button and save the file on your computer to work, edit or customize your design. You can also find more 3D designs for printers on Ender-3 V2 Front Electronics Housing.