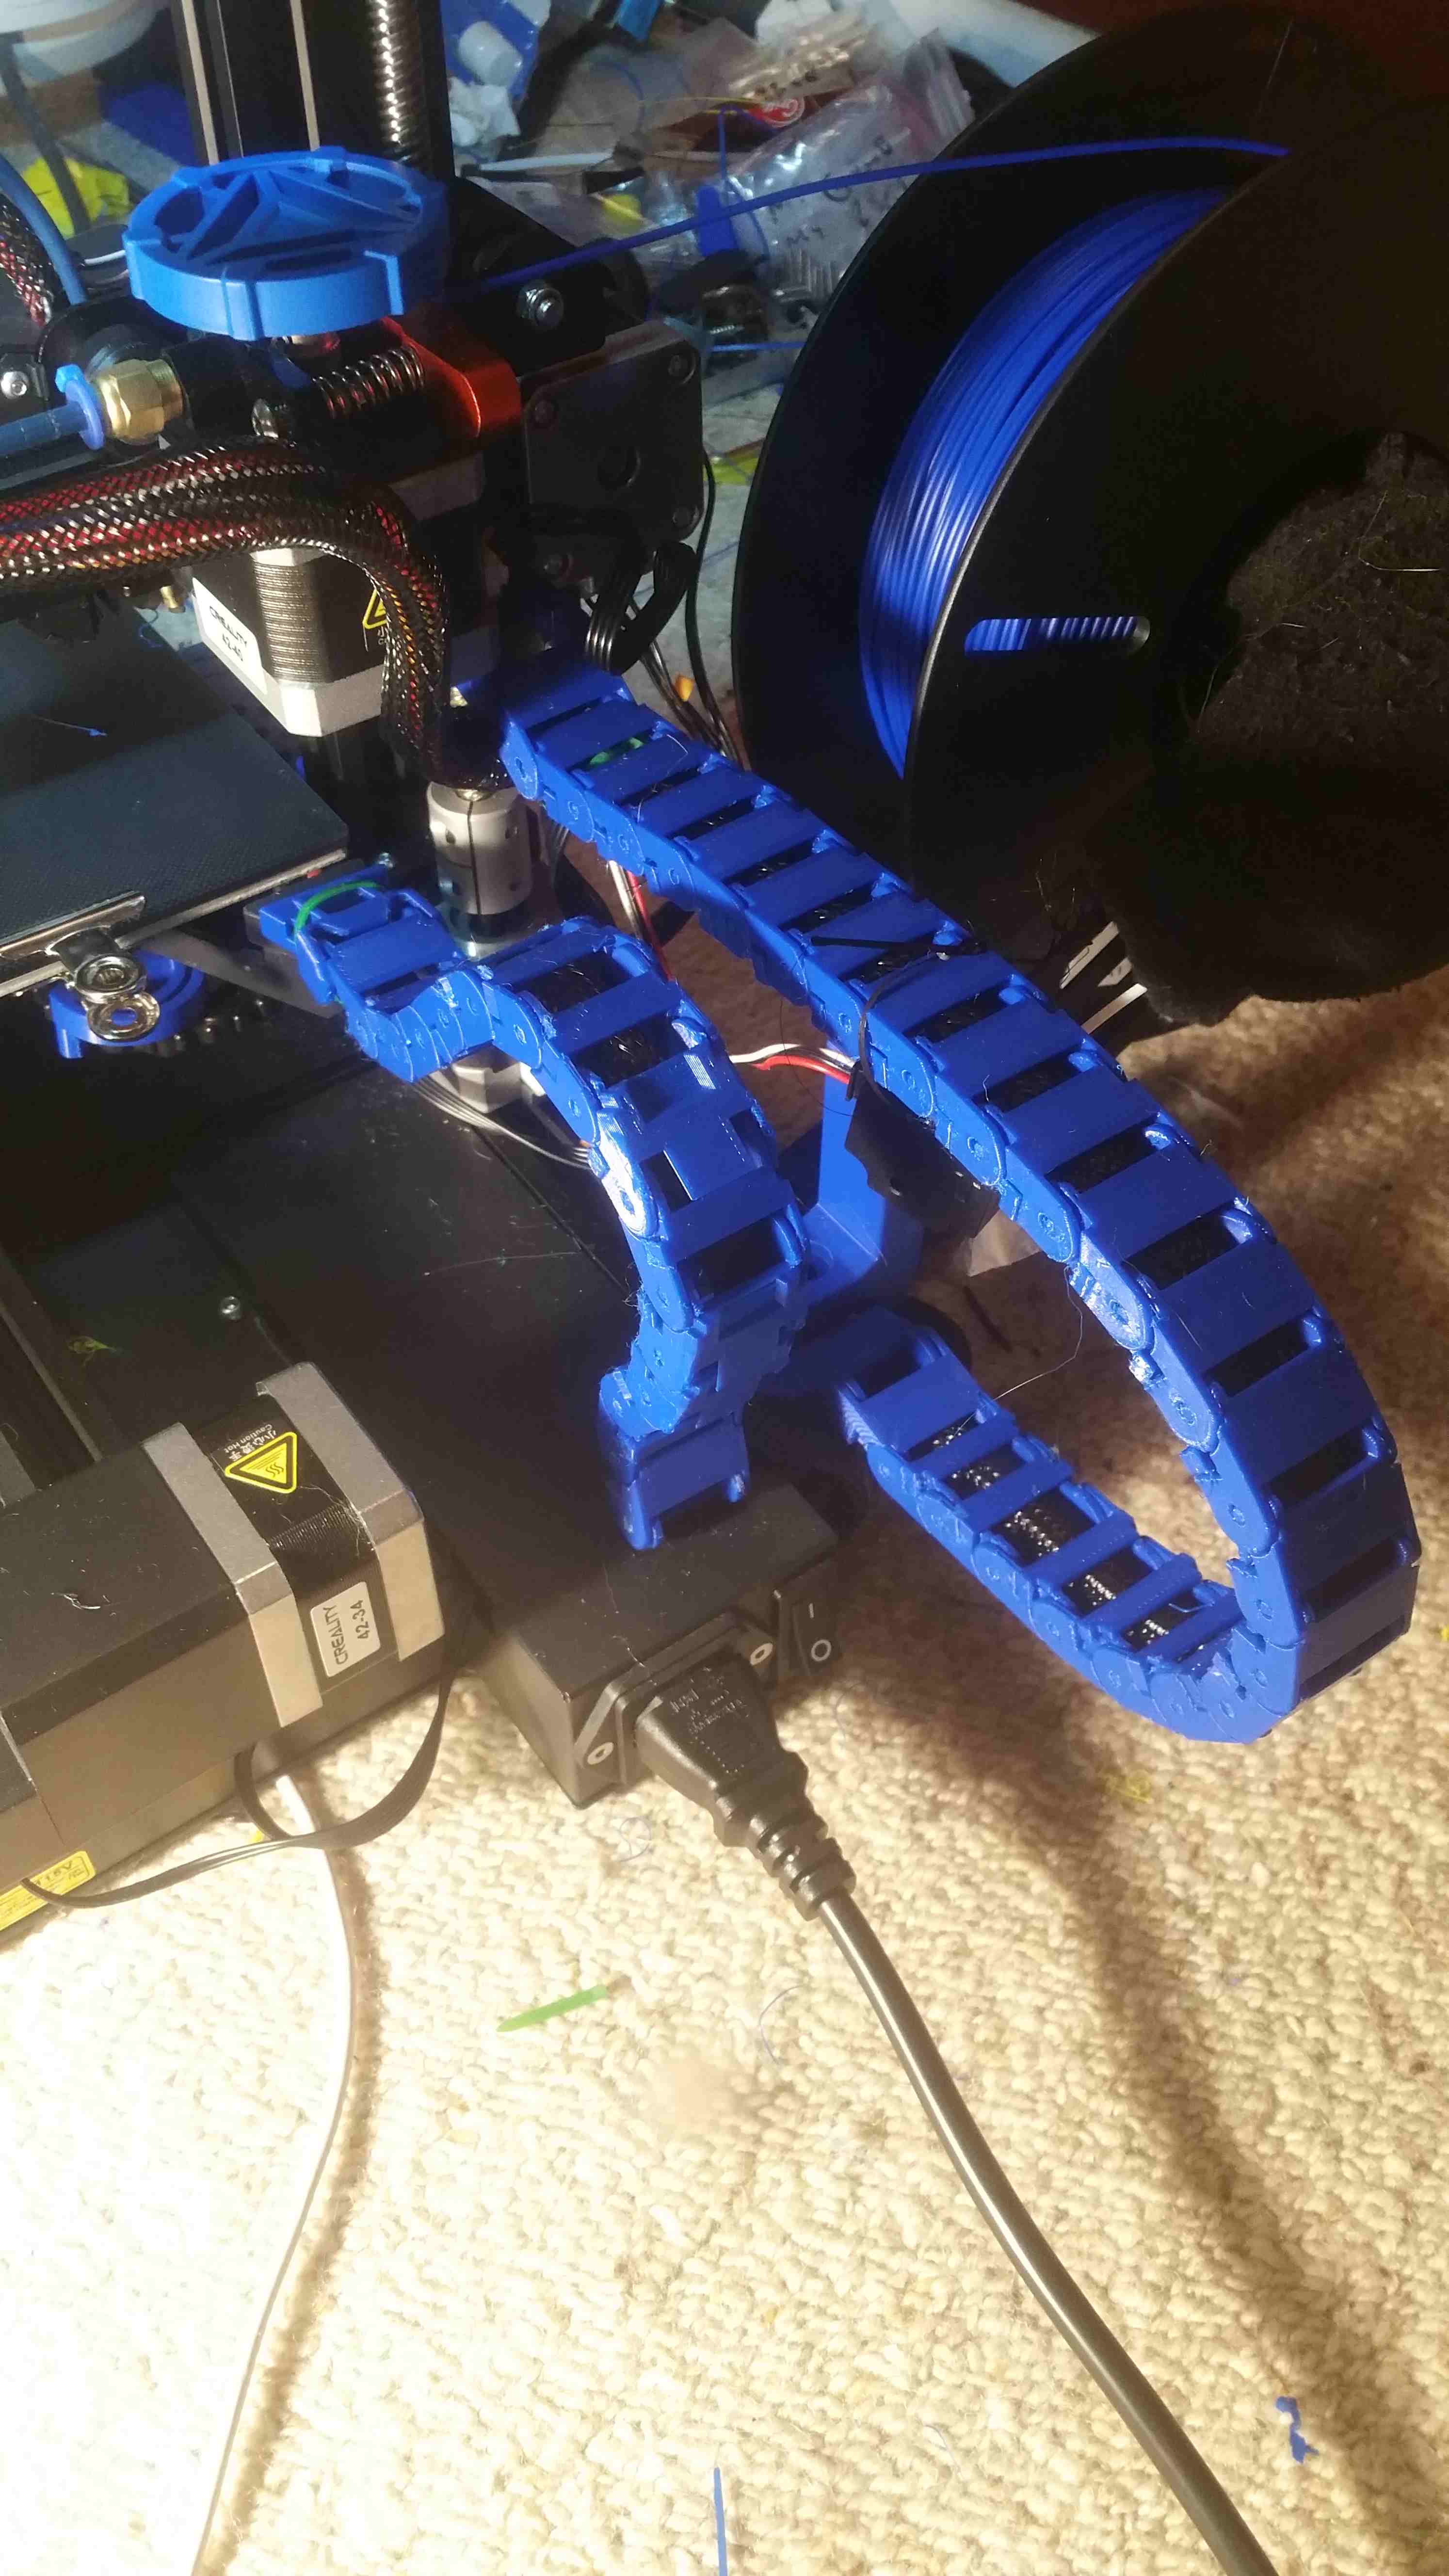
Ender 3 V2 cable chain mount along with all other relevant V2 cable chain parts (no unscrewing required!)
prusaprinters
<p>This is a modified cable chain end mount for the Ender 3 V2, allowing the chains to be mounted so they run nicely parallel to each other and the printer. I've also added all the other bits you need to print a cable chain for the Ender 3 V2, as it took me quite a while finding V2 relevant solutions when I was printing my one - and I had to hunt all around and take bits from everywhere to meet my criteria. </p><p>The mount I made is a simple remix of MrWraith2's v2 end cap <a href="https://www.thingiverse.com/thing:4562734">https://www.thingiverse.com/thing:4562734</a></p><p>I simply extended the bed mount so that the cable is routed to the side of the power supply, so it cannot hit the power button (this also gives it a bit more potential travel). This extension also means that the chain now aligned correctly and is no longer angled, which put more friction on the links than I liked. I also moved the other mount to line up better with the Z axis mount I used.</p><p>When I was selecting these chain parts, I used these criteria which I considered important:</p><ul><li>No removing screws, hotbeds, extruders, or anything really etc is required.</li><li>Ability to limit the bend, to preserve minimum bend radius for the cables.</li><li>Freely moving enough to cause no printing issues.</li></ul><p>These are the people whose work makes up almost all these files (apologies if I missed or misattributed anyone).</p><p>MrWraith2 - looser chain links and v2 end cap <a href="https://www.thingiverse.com/thing:4562734">https://www.thingiverse.com/thing:4562734</a>. This guy had the collection of V2 parts that got me closest. I especially like his looser chain links, and it was his end cap that I modified to fit better for the setup I went with.</p><p>johnniewhiskey - ender 3 cable chain <a href="https://www.thingiverse.com/thing:2920060">https://www.thingiverse.com/thing:2920060</a>. The original cable chain guy I believe most of the other designs are based on.</p><p>ld3300 - cable chain with limiter <a href="https://www.thingiverse.com/thing:3761960">https://www.thingiverse.com/thing:3761960</a>. Nice cable chain parts that have a limiting platform that stops them making too tight a bend.</p><p>durham777 - fix to above cable chain <a href="https://www.thingiverse.com/thing:4073042">https://www.thingiverse.com/thing:4073042</a>. Not even sure if it was necessary but I used the 'fixed' version just to be sure.</p><p>Tonton_Macoute - cable chain bed connector <a href="https://www.thingiverse.com/thing:3374333">https://www.thingiverse.com/thing:3374333</a>. This isn't actually designed for the V2, and doesn't fit perfectly. If anyone knows a better one that doesn't require removing the bed or mount, please let me know. This one looks like it fits but will just pop free, unless you add a zip tie to it. I did and it works great (and has done for about a year or so by now).</p><p>benawhite - z axis cable chain end <a href="https://www.thingiverse.com/thing:3577620">https://www.thingiverse.com/thing:3577620</a>. This is the best design of the lot, IMHO. Save yourself some head scratching and feeling like an idiot, the shim goes on the outside. Check out the elegance of it, no screws, removing extruders, or anything required.</p><p>Installation Instructions:</p><ul><li>Print enough chain links and link covers (I used 36, 22 on the Z axis chain and 14 on the bed chain), connect those up and work them to make sure they work well.</li><li>When assembling the chain, clip the bits together, put the cable inside (or outside, depending on which way around you put the chain), and snap on the link covers.</li><li>Attach the Z axis mount. Shim goes on the outside.</li><li>Clip the bed mount on as best you can, then secure it with a zip tie.</li><li>Remove the left rear end cap and attach the bottom chain mount.</li><li>Connect the chains to the mounts.</li></ul><p>I advise printing the looser links for the hotbed. For the Z axis, I don't think it matters.</p><p>I waved the chain around and worked the links till they were fairly loose before install. I also advise swapping links in and out if necessary, you can use the bend restricting ones with the others as long as you have them bending so they face out of the cable, not into it (which I am pretty sure is the right way to set them up, but as long as you get the right radii it doesn't matter). I played around moving the head and bed so I could check the cable was never bending only at one point, which would damage the cable more quickly.</p><h3>Print Settings</h3><p><strong>Printer Brand:</strong></p><p>Creality</p><p><strong>Printer:</strong></p><p>Ender 3 Pro</p><p><strong>Rafts:</strong></p><p>No</p><p><strong>Supports:</strong></p><p>Doesn't Matter</p><p><strong>Resolution:</strong></p><p>0.20</p><p><strong>Infill:</strong></p><p>100%</p><p><strong>Filament:</strong> eSun PLA+</p><p>Blue</p><p><strong>Notes:</strong></p><p>I printed links with and without supports, both worked ok. I'd print one of each and see which is your best option. I'd print the links etc at 100% infill, 3 shells. The end cap chain mount should be printed at 30% to 100% infill.</p><p>Category: 3D Printer Parts</p>
With this file you will be able to print Ender 3 V2 cable chain mount along with all other relevant V2 cable chain parts (no unscrewing required!) with your 3D printer. Click on the button and save the file on your computer to work, edit or customize your design. You can also find more 3D designs for printers on Ender 3 V2 cable chain mount along with all other relevant V2 cable chain parts (no unscrewing required!).
