Ender 3/Pro/V2 Z Axis Stabilizer and Timing Belt
prusaprinters
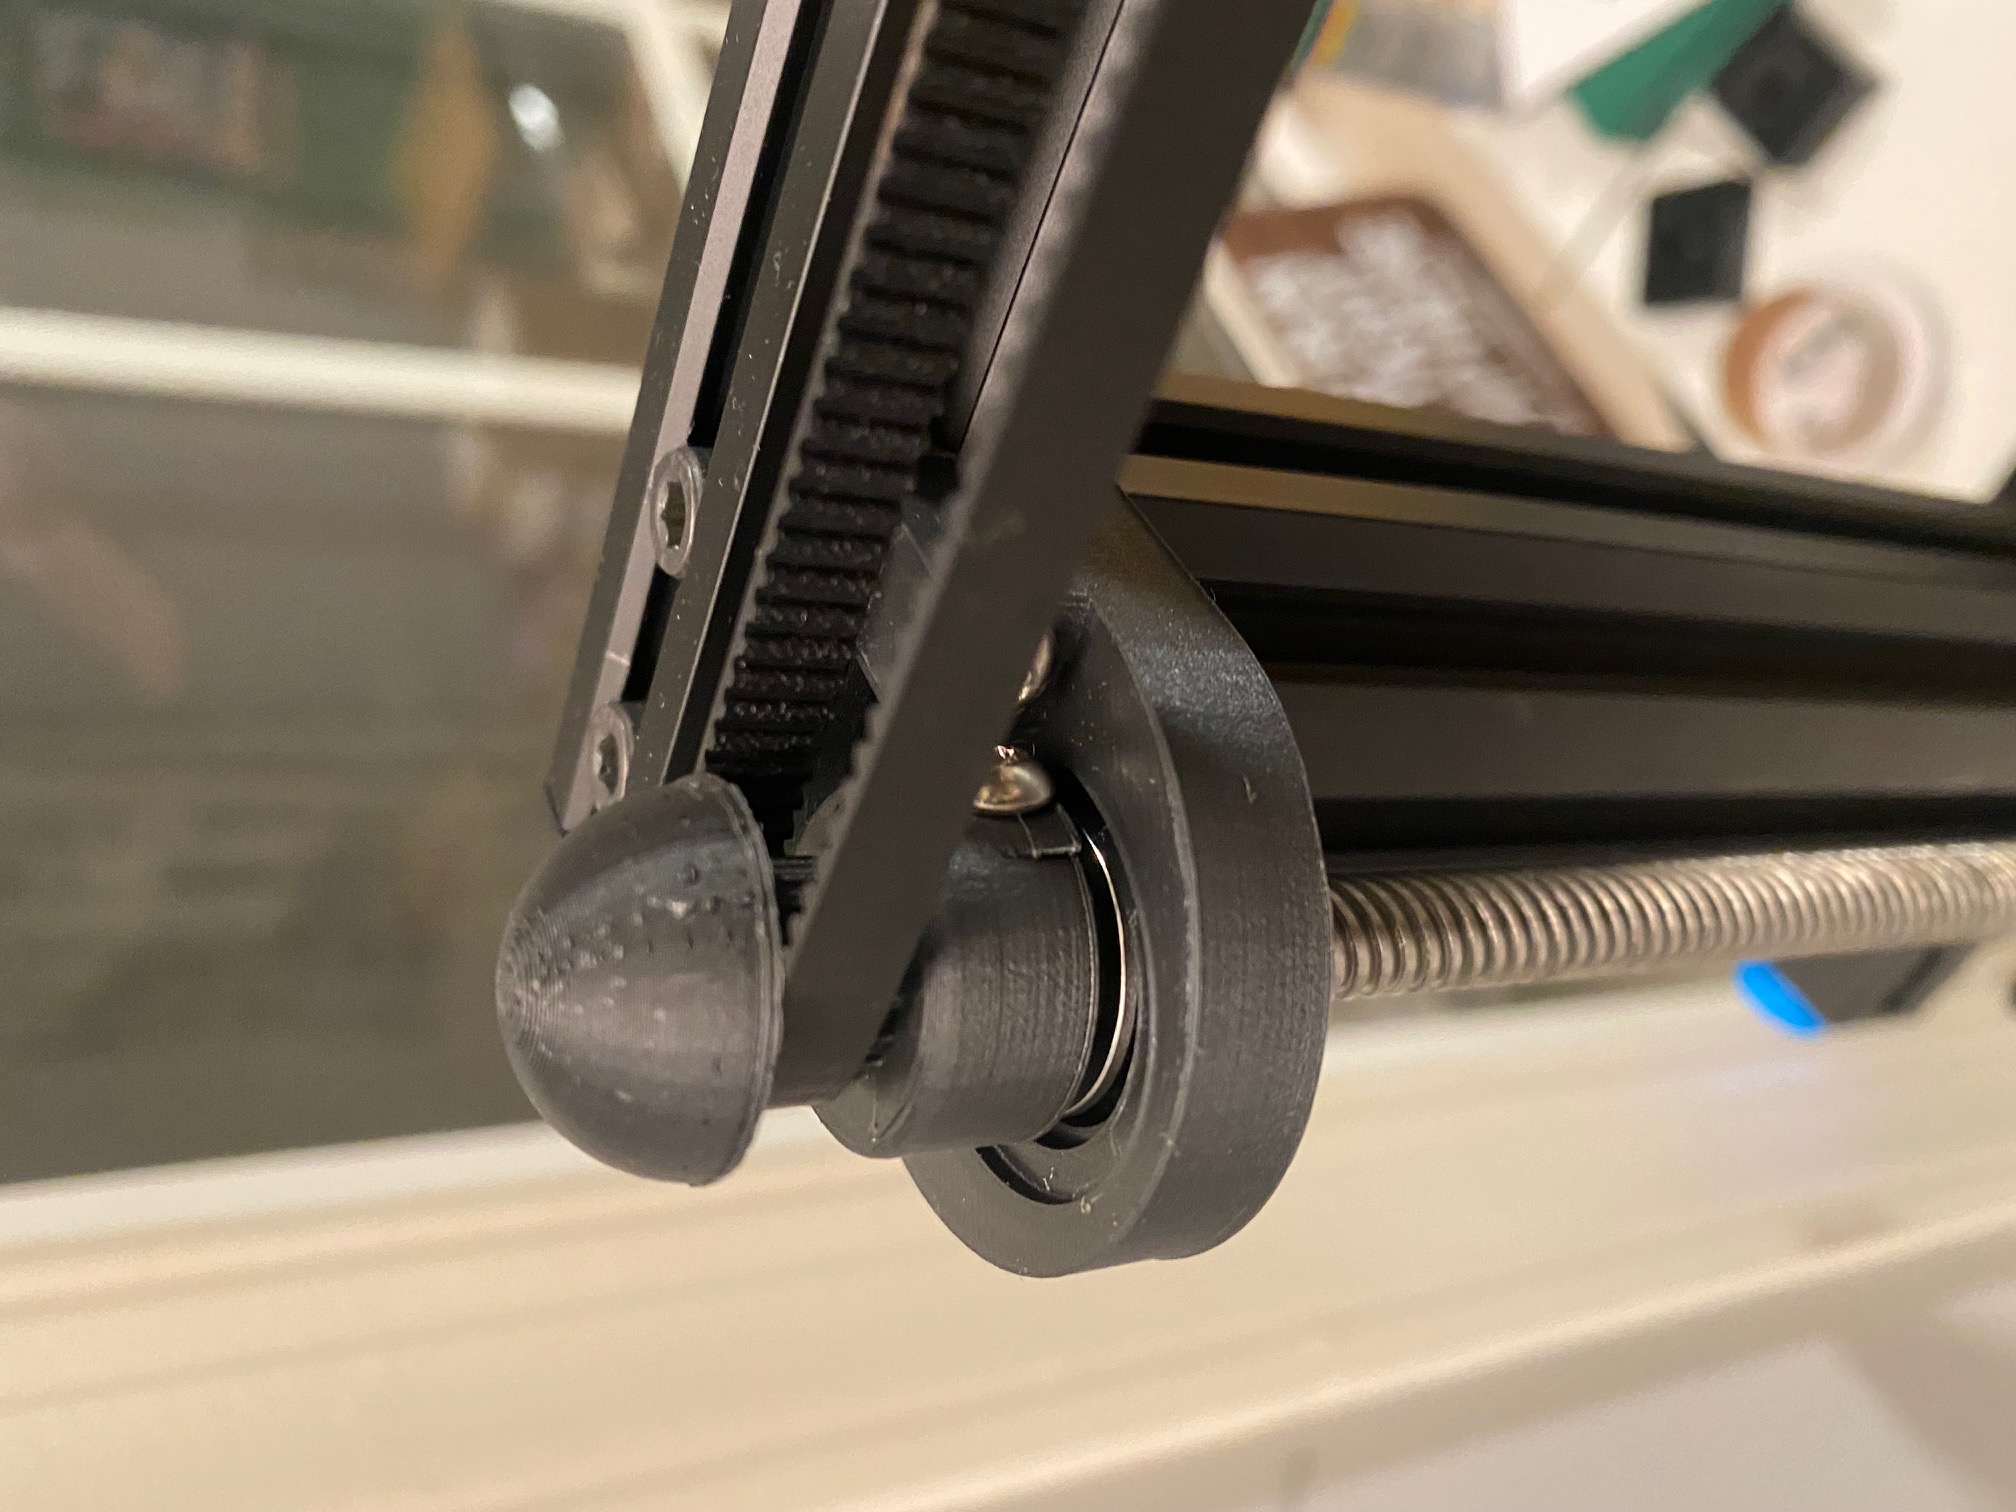
<p>I was having some problems with my X axis sagging on the side that had no Z screw, so I purchased a dual Z axis kit and printed the parts to stabilize and synchronize the two Z axes.</p><p>Here is the Timing Belt on Amazon:</p><p><a href="https://www.amazon.com/gp/product/B08JHVCZ8D/ref=ppx_yo_dt_b_search_asin_title?ie=UTF8&psc=1">https://www.amazon.com/gp/product/B08JHVCZ8D/ref=ppx_yo_dt_b_search_asin_title?ie=UTF8&psc=1</a></p><p>The Ball Bearings:</p><p><a href="https://www.amazon.com/uxcell-Bearing-8x16x5mm-Shielded-Bearings/dp/B07Z3F68H4/ref=sr_1_2?crid=QBHLE4T96YZH&keywords=small+flanged+ball+bearings+8mm+x+16mm+x+4&qid=1665970053&s=industrial&sprefix=small+flanged+ball+bearings+8mm+x+16mm+x+4%2Cindustrial%2C83&sr=1-2">https://www.amazon.com/uxcell-Bearing-8x16x5mm-Shielded-Bearings/dp/B07Z3F68H4/ref=sr_1_2?crid=QBHLE4T96YZH&keywords=small+flanged+ball+bearings+8mm+x+16mm+x+4&qid=1665970053&s=industrial&sprefix=small+flanged+ball+bearings+8mm+x+16mm+x+4%2Cindustrial%2C83&sr=1-2</a></p><p>I had some extra screws and hardware lying around, I used all 8/32'' screws and nuts, along with some spare Creality parts for anchoring.</p><p>To assemble, take the round cap and the flat cap and glue the flat sides together. then that piece should fit snugly into the top of the sprocket. Refer to the photos for reference.</p><p> </p>
With this file you will be able to print Ender 3/Pro/V2 Z Axis Stabilizer and Timing Belt with your 3D printer. Click on the button and save the file on your computer to work, edit or customize your design. You can also find more 3D designs for printers on Ender 3/Pro/V2 Z Axis Stabilizer and Timing Belt.