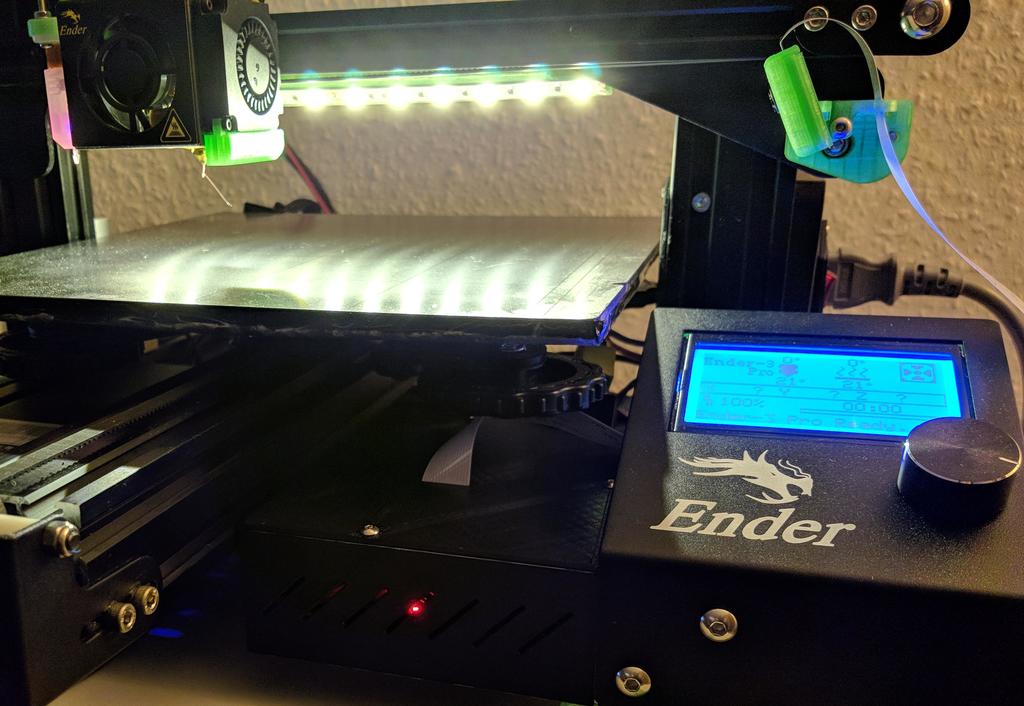
Ender 3 (Pro) - Raspberry Pi Model A+ Case for OctoPrint with Relay Control
thingiverse
Disclaimer: I am not responsible for any damage you might cause, proceed at your own risk. This design adds a case to your Ender 3 (Pro) that fits a Raspberry Pi 3 Model A+, a 10A relay (for switching LEDs on/off), a 30A relay (for switching printer on/off), a buck converter (for powering the Raspberry Pi from the Ender 3's PSU) and a 4010 fan. There is a hole in the lid to optionally fit the Pi Camera ribbon cable. This design was inspired by [giacomo30196](https://www.thingiverse.com/giacomo30196)'s beautiful [AiO Ender 3 Octoprint Set Up](https://www.thingiverse.com/thing:3063845) design, but completely made from scratch for Ender 3 Pro and Raspberry Pi 3 Model A+. **Notes of caution**: (We do not want to introduce fire hazards or fry our RPi)**: - Use good cables (your cables going from PSU to the printer should not be too thin) - Use a 30A relay to switch your printer - Do not power the Raspberry Pi over its GPIOs: Small voltage fluctuations can destroy it, because all the protections are bypassed. Instead, cut a micro USB cable and solder the open end to the buck converter. - We do not want the Raspberry Pi to power the printer's mainboard when the printer's relay is switched off. To avoid this, cover the USB-A connector's 5V pin with tape (see image). **Parts that I used**: - Raspberry Pi 3 Model A+ - 1x female XT60 connector (input to the case), 1x male XT60 connector (output to the printer) - LM2596 buck converter to go from 24V to 5V (from PSU to Raspberry Pi) - SLA-05VDC-SL-A 30A Relay Module (should be searchable on eBay etc., switches printer) - SRD-05VDC-SL-C 10A Relay Module ([this specifically](http://sensorkit.en.joy-it.net/index.php?title=KY-019_5V_Relais_module), but other manufacturers make identical ones. Switches LEDs) - 4010 5V fan (40mm x 40mm x 10mm). You can use a 24V fan and attach it directly to PSU instead of the buck converter, but it seems 5V fans are easier to get (especially silent ones). - 24V LED strip, attached to this design: [Creality Ender 3 LED strip holder](https://www.thingiverse.com/thing:3226818). You can use a 5V LED strip, when you power it from the buck converter instead of directly from the PSU. - 9x M3 8mm screws (relays, buck converter, lid), 2x M3 12mm screws (fan), 11x M3 nuts, 2x M2.5 20mm screws, 2x M2.5 nuts (for RPi, alternatively M2 screws + washers are more common) - Cables, solder, heat-shrink tubes A STEP file for modifications is included. This design was updated on January 12, 2019 to include information on how to add on/off actions to OctoPrint. **Updates** - 2019-01-12: Information on how to add on/off actions to OctoPrint was added. - 2019-01-09: Wiring was updated. It is better for the RPi power supply to power the relays directly from the buck converter instead of RPi's GPIO. - 2019-01-07: Schematic (fritzing) was added to show how everything is wired. To add on/off actions to OctoPrint, follow these steps: 1. Open your config.yaml file in a text editor. 2. Add the following lines to the end of the file: ``` system: actions: - action: printer_on command: gpio export 2 out && gpio -g write 2 1 name: Printer ON - action: printer_off command: gpio export 2 out && gpio -g write 2 0 confirm: This will power off your printer. name: Printer OFF - action: divider - action: leds_on command: gpio export 3 out && gpio -g write 3 1 name: LEDs ON - action: leds_off command: gpio export 3 out && gpio -g write 3 0 name: LEDs OFF ``` 3. Save the file and restart OctoPrint. Note: Make sure to follow all safety precautions when working with electronics and electricity.
With this file you will be able to print Ender 3 (Pro) - Raspberry Pi Model A+ Case for OctoPrint with Relay Control with your 3D printer. Click on the button and save the file on your computer to work, edit or customize your design. You can also find more 3D designs for printers on Ender 3 (Pro) - Raspberry Pi Model A+ Case for OctoPrint with Relay Control.
