Ender 3 (Pro) - Hot end cover - with LM2596
thingiverse
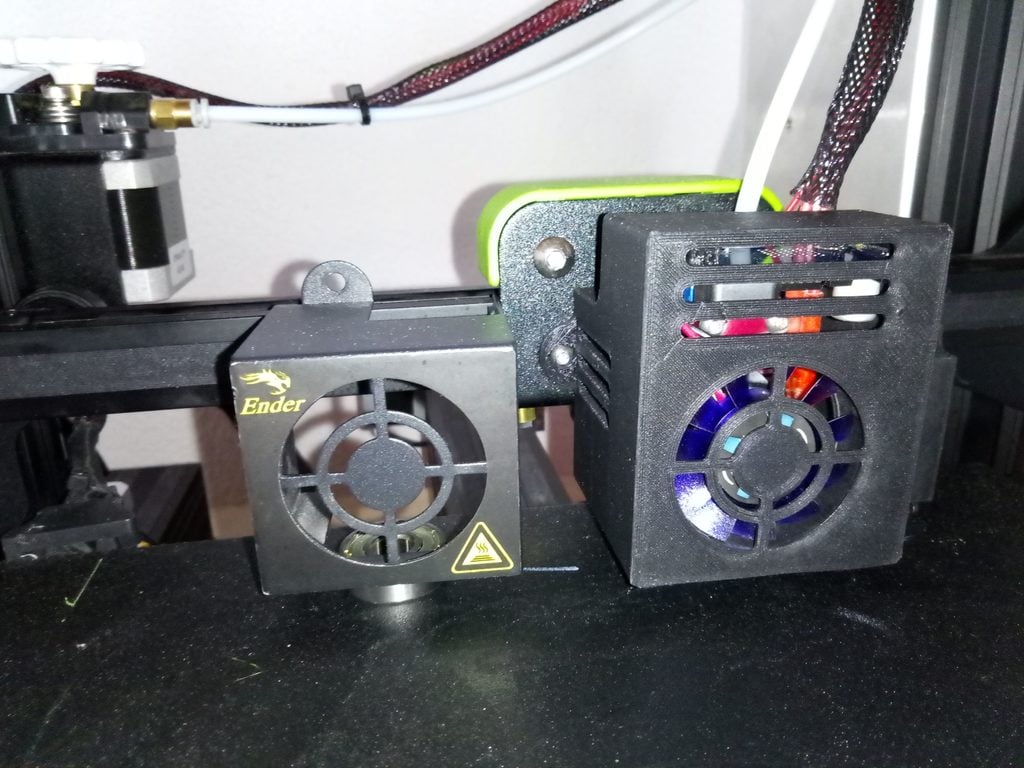
<h1> Silent Hot End - Ender 3 (Pro) </h1> To give my Creality - Ender 3 Pro a quieter sound, I replaced the hotend cooling fan with the Noiseblocker XM2. This is a 12V fan that needs a step-down converter to run on the printer's 24V system. I used an LM2596 Module to make it work. To fit the new fan and module onto my Ender, I redesigned the original metal hotend cover to hold them along with the radial fan for part cooling. All you need is a soldering iron to assemble everything. Here are the steps: 1. Print my custom hotend cover. 2. Remove the original hotend cover and fans from your printer (don't lose the screws). 3. Cut off the cable of the original hotend cooling fan close to the fan. 4. Solder the cable to the input side of the LM2596 module. 5. Cut the new fan's cable to a length that allows for good cable management in the 3D printed cover (about 7-8cm). 6. Solder the cables of the new fan to the output side of the LM2596 module. 7. Mount the LM2596 module in the 3D printed cover using two of the fan screws. 8. Mount the new hotend cooling fan with the remaining two screws in the 3D printed cover. 9. Mount the part cooling fan on the new cover using the original screws. 10. Attach your new hotend cooling assembly to the printer using the original screws. Now you can start printing again with a much quieter printer. **Silent Mainboard Tip** If you buy a multipack of LM2596 modules, consider buying another 40x40x10mm fan and replacing the mainboard fan. There's enough space in the original mainboard case to fit an additional LM2596 module. Also, check out my other designs on Thingiverse. Printed with 3D Jake - ecoPLA
With this file you will be able to print Ender 3 (Pro) - Hot end cover - with LM2596 with your 3D printer. Click on the button and save the file on your computer to work, edit or customize your design. You can also find more 3D designs for printers on Ender 3 (Pro) - Hot end cover - with LM2596.
