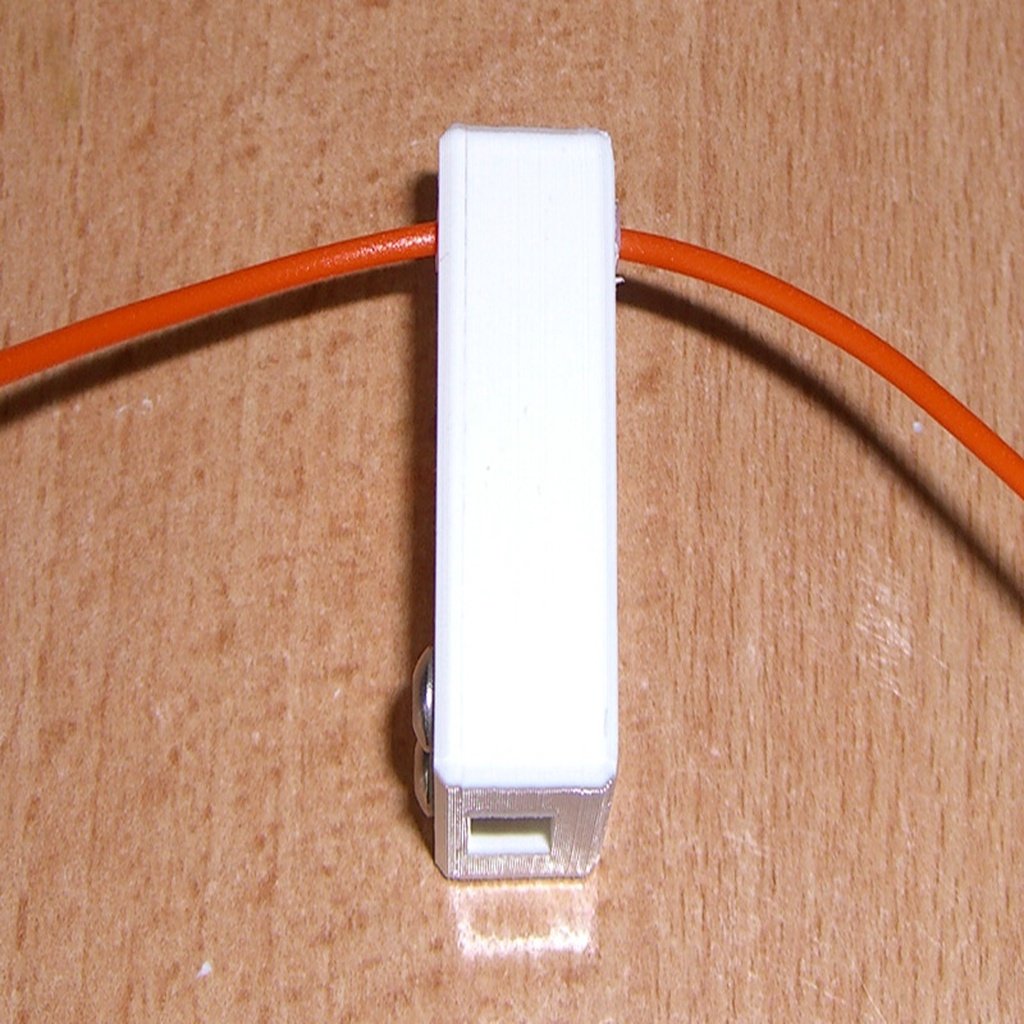
Ender 3 (Pro) Filament Runout Sensor V2
thingiverse
Since I recently installed a BLTouch on my Ender 3 Pro, I no longer need the mechanical Z-axis end switch. I have now converted it into a filament runout sensor and designed a small housing for it. This one is a modification of my 1st version (https://www.thingiverse.com/thing:3829371). I rotated the filament path 90 degrees: The filament no longer runs along the microswitch, but across it. This makes it much easier to thread in the filament, because the path has become much shorter. To thread in the filament, simply press down the lever of the microswitch with the "switch", push the filament through, release the switch, and that's it. For the electrical connection to the mainboard of the printer and the necessary adjustments in Marlin I recommend the corresponding video by Teaching Tech: https://youtu.be/gwHpXaj2 Two very short pieces of PTFE tubing are required to guide the filament (about 2 mm each): One in the case, one in the lid. Otherwise, four short M3 screws are needed: Two to fix the small circuit board in the case, two to fix the cover. UPDATE 01.10.2019: I finally decided where and how to attach it. I made a holder that goes into the TUSH2 (https://www.thingiverse.com/thing:2853619) and a new lid. Please post your make. Thank you.
With this file you will be able to print Ender 3 (Pro) Filament Runout Sensor V2 with your 3D printer. Click on the button and save the file on your computer to work, edit or customize your design. You can also find more 3D designs for printers on Ender 3 (Pro) Filament Runout Sensor V2.
