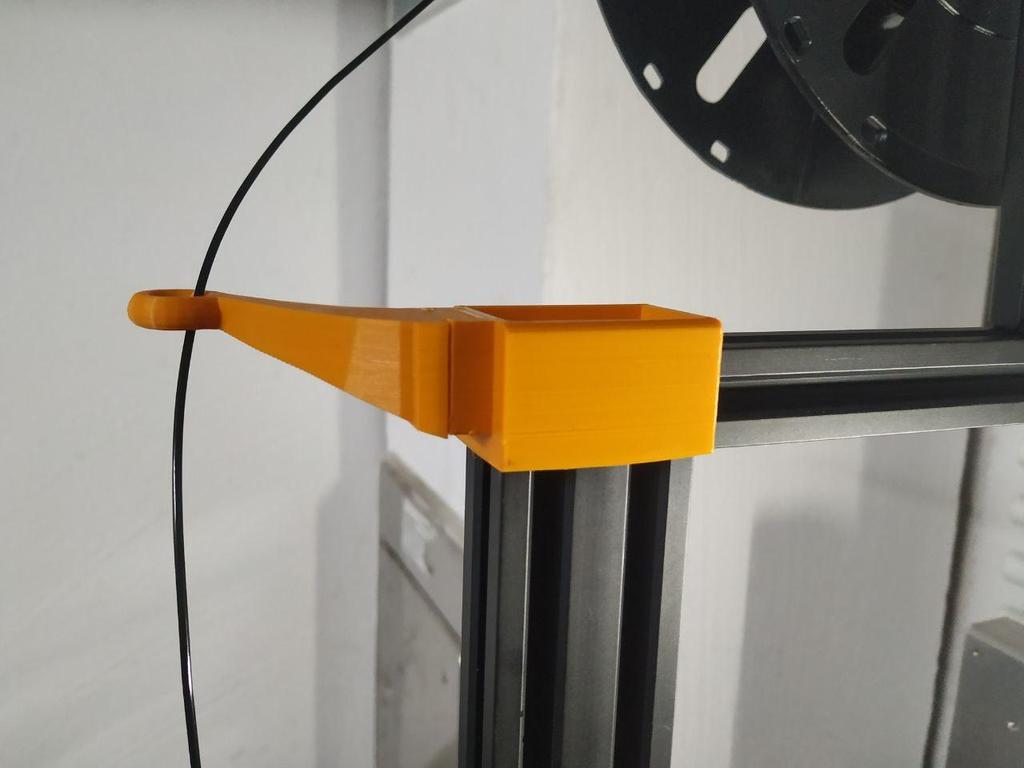
Ender 3 Pro Filament Guide Remix
thingiverse
The Ultimate Guide to Printing with Your Ender 3 Pro - A Step-by-Step Tutorial Are you ready to unlock the full potential of your Ender 3 Pro? Look no further! This comprehensive guide will walk you through the process of loading and printing with filament, ensuring a seamless experience from start to finish. **Preparing for Print** Before we dive into the nitty-gritty details, make sure you have the following essentials: * A fresh roll of high-quality filament (we recommend PLA or PETG) * The Ender 3 Pro printer itself * A steady hand and a patient mindset **Step 1: Unboxing Your Filament** Carefully remove your filament from its packaging and inspect it for any visible damage. If you notice any issues, do not proceed with the installation. **Step 2: Loading the Filament** Locate the Ender 3 Pro's extruder and gently push the filament into the hotend until it reaches the desired tension. Secure the filament in place using the provided clip. **Step 3: Printing Your Masterpiece** With your filament loaded, select the desired print settings from your slicer software (we recommend Cura or Slic3r). Choose a suitable print speed and temperature for your chosen material. **Tips and Tricks** * Always use a level surface to ensure accurate prints. * Regularly clean your extruder and hotend to prevent clogging. * Experiment with different filament types and colors to find your favorite. By following these simple steps, you'll be well on your way to creating stunning prints with your Ender 3 Pro. Happy printing!
With this file you will be able to print Ender 3 Pro Filament Guide Remix with your 3D printer. Click on the button and save the file on your computer to work, edit or customize your design. You can also find more 3D designs for printers on Ender 3 Pro Filament Guide Remix.
