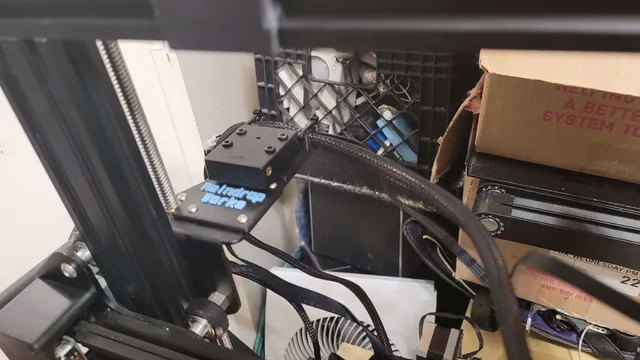
Ender 3 Pro Direct Drive Runout adapter
prusaprinters
Bought a Creality branded v2 runout sensor (from here) before realizing that none of the mounting adapters for use with direct drive were sized to fit it (the old V1 was a thinner design and had a different switch)Other parts needed4x M3x8 screws4x M3x25 screws2x thin zip ties4x M3 nuts (optional, but recommended) AssemblyMount the thinnest part over top the old extruder mount. Connect using the M3x8 screws.(Recommended) Thread the zip ties through just the first set of holes by the cable channel (see images for example). If you don't do it now, it may be more difficult later due to clearance from the runout sensor.Mount the runout sensor using the M3x25 screws.Attach sensor cable.Run cable through just the outside side of the cable channel. Then lay the cables from the direct drive in the cable channelFeed zip ties through the second set of holes. They're only providing a cover to hold the cables in the channel, so they only need to go over top.Tension the zip ties, snip, and finish running the runout sensor connector to the mainboard.Don't forget to update your firmware/enable runout sensor!If you have requested changes, feel free to comment on this! I know this worked for my printer, but if others have thicker cable bundles from the extruder, I could see where issues come from. SCAD file is attached in case you want to edit yourself (including the text), or let me know and I can work on it.If you edit the SCAD file, you'll need the write.scad (mirror) libraries installed first.
With this file you will be able to print Ender 3 Pro Direct Drive Runout adapter with your 3D printer. Click on the button and save the file on your computer to work, edit or customize your design. You can also find more 3D designs for printers on Ender 3 Pro Direct Drive Runout adapter.
