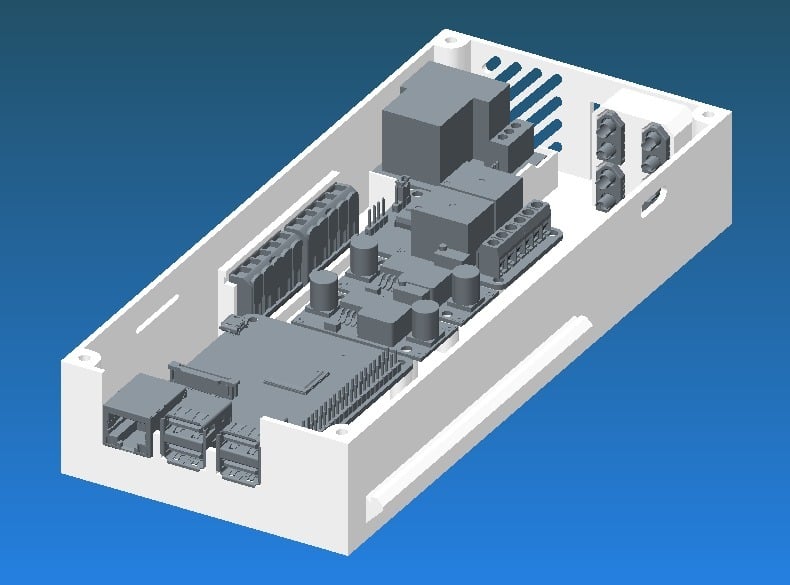
Ender 3 OctoPI Control Box
thingiverse
This is a Remix of https://www.thingiverse.com/thing:3072566. Based on comments from others there, I wanted a 5V rail in addition to the 12V and 24V rails. Furthermore, I preferred isolated grounds. As my wiring diagram only needed three ports for the 12 and 24 volt rails, I used Wago221-413 for these voltages and Wago221-415 for the 5V lines. This resulted in a slightly longer Wago Line. Besides the Wago change, I made some minor structural changes. This is still a work in progress, and things may change. Update Log: Latest Update (08/15/2019) No changes. Final update. The bottom has been printed, and it works. My bolt holes were a tad loose, but that was all. I have since decided to move on to a rear-mounted box as seen in a recent Teaching Tech video. (06/11/2019) There was an issue with the 1x10 dupont slot on the right-hand side box. I moved it more to the left to correct it. (06/06/2019) I decided I would rather have the box on the right-hand side of the machine. This way, the box is largely hidden by the display. Right now, this means the USB cable has to go around or under most of the machine. When I switch to an SKR 1.3, this won't be an issue. As such, I basically mirrored the box. Obviously, leaving the RasPi cutouts in the same orientation. My only issue is that the cable for the Pi camera now has to go over or under the whole board to get to the port. I'm not sure if there's a fix for this. Both box versions are available. (05/24/2019) Minor Update: Added text to the XT60 ports so that the 24V in and 24V and 12V out are all specified. This way, you won't have to remember which one you hooked up to which. (05/15/2019): I moved the 5V Wago line to the opposite side. My theory is this will open up the box some and make wiring easier. By moving the 5V line to the other side, the 24V line now sits directly in front of the DC-DC converters, and the 12V line sits in front of the Double relay. My only concern is that the 5V buses are fairly close to their respective pins, and the power for the Pi has to go over or under the board. I'll mull over the design and see which way I want to go. Next update will add some wiring guides to the base of the box to try and keep wiring clean. I'm just trying to determine where they would best be placed. Comments and thoughts are welcome.
With this file you will be able to print Ender 3 OctoPI Control Box with your 3D printer. Click on the button and save the file on your computer to work, edit or customize your design. You can also find more 3D designs for printers on Ender 3 OctoPI Control Box.
