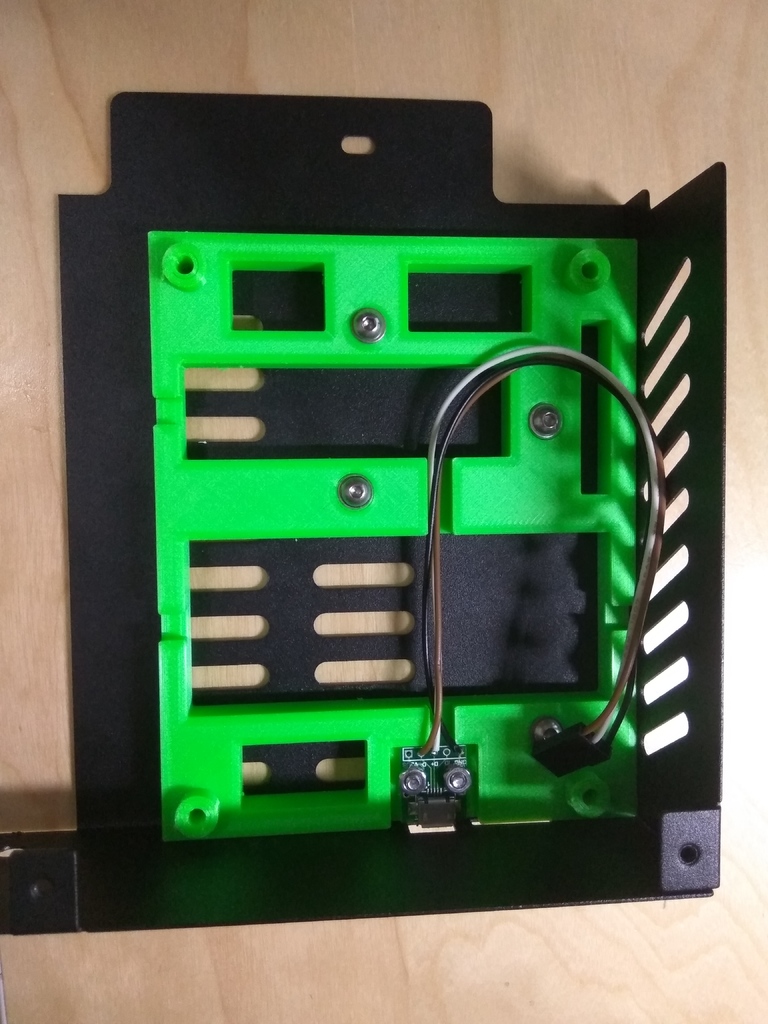
Ender 3 MKS Gen L frame with micro USB connector
thingiverse
To create a frame for the Ender 3 that holds a MKS Gen L board and has a USB micro connector, you'll need to follow these steps: First, you'll need to attach the USB module to the frame. To do this, you will require two M3 nuts and two M3 bolts (8 mm long). Next, attach the frame to the Ender 3 metal support using four M3 bolts (6 mm long) and four M3 washers. After that, secure the board to the frame by tightening four M3 nuts on the bottom of the frame. Use four M3 bolts (12 mm long) to do this job.
With this file you will be able to print Ender 3 MKS Gen L frame with micro USB connector with your 3D printer. Click on the button and save the file on your computer to work, edit or customize your design. You can also find more 3D designs for printers on Ender 3 MKS Gen L frame with micro USB connector.
