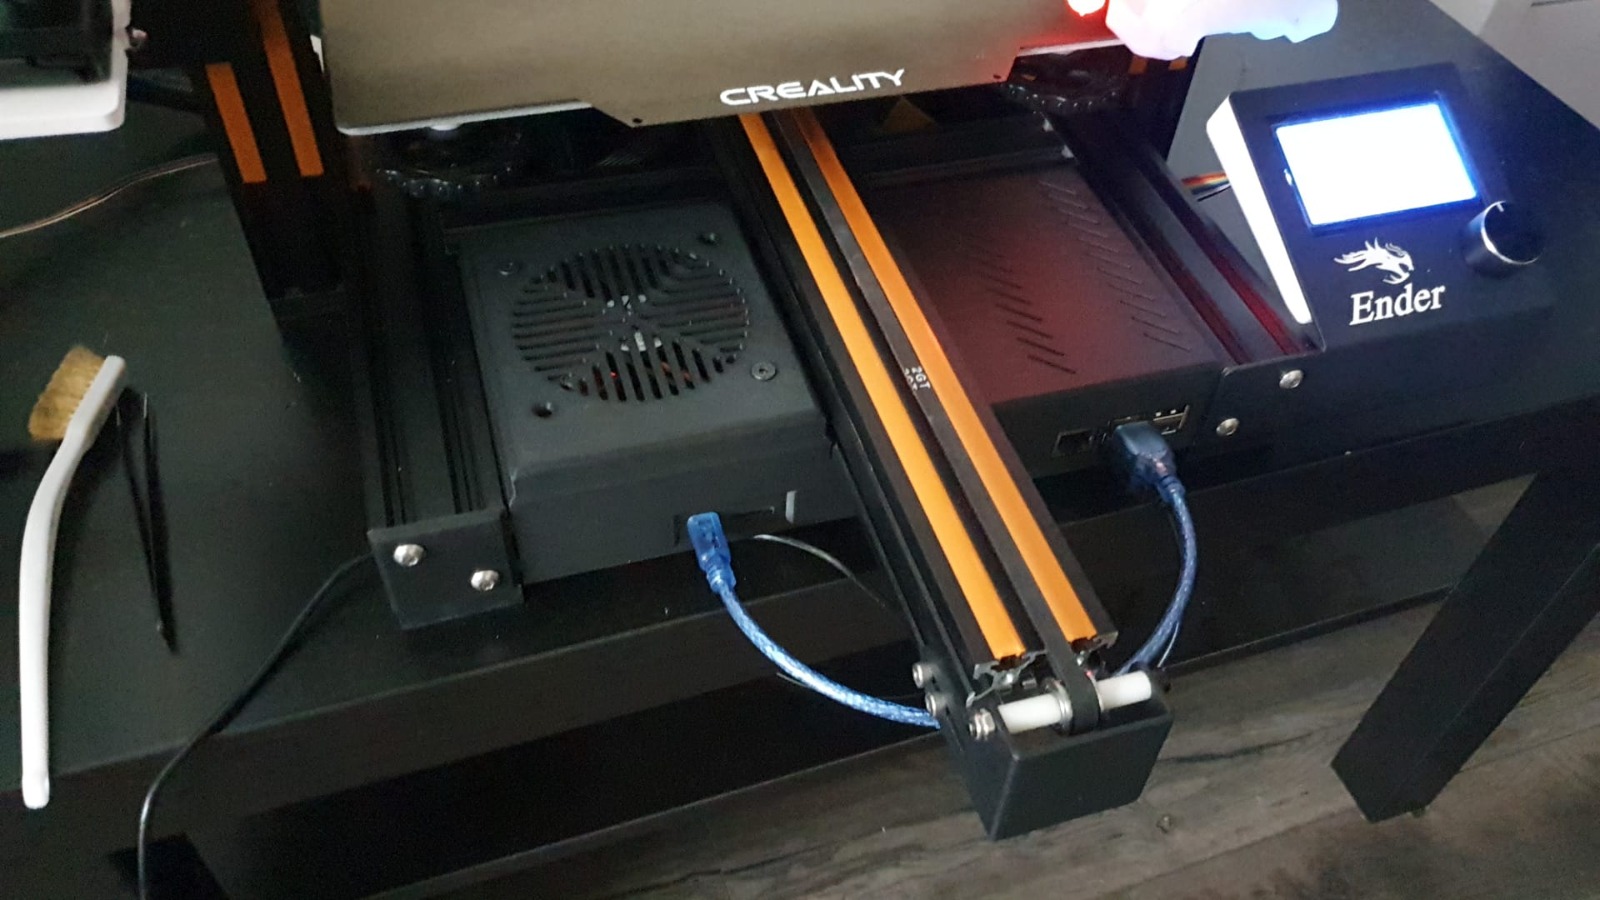
Ender 3 MAX Front Electronics Box
prusaprinters
<p>This is a remix of <a href="https://www.thingiverse.com/vinceformosa">Vince Formosa</a>'s Ender 3-MAX electronics box: <a href="https://www.thingiverse.com/thing:4916320">https://www.thingiverse.com/thing:4916320</a></p><p><strong>Description</strong></p><p>The original box is intended to clean up the look of your 3d printer, by putting your electronics in a box. The components he (and I) used are as follows:</p><ul><li>1x SKR Mini E3 V2.0 (has the same screw holes as creality boards)</li><li>1x Raspberry Pi 3+ (any Pi 3 should work)</li><li>2x LM2596 Buck Converters, check the pictures of Vince on thingiverse which one he bought.</li></ul><p><strong>Improvements I made</strong></p><ul><li>Reduced the need of supports drastically<ul><li>I did so, by using a chamfer for the V slotting instead of the accurate profile of the extrusion</li></ul></li><li>Redrawn the the V slotting in the center to be more accurate. See the video below how good it now fits, you can just easily slide it in:</li></ul><figure class="media"><oembed url="https://youtu.be/iCpC-S1858Y"></oembed></figure><ul><li>Increased electronics holes to 4mm and the wall size to 2mm.<ul><li>I really like threaded inserts instead of screwing into the plastic. I use M3 threaded inserts by Ruthex: <a href="https://www.amazon.de/-/en/ruthex-Threaded-Insert-RX-M3x5-7-Ultrasonic/dp/B08BCRZZS3">https://www.amazon.de/-/en/ruthex-Threaded-Insert-RX-M3x5-7-Ultrasonic/dp/B08BCRZZS3</a></li></ul></li><li>Added some chamfers at the back of the Pi side for the electronics cable</li></ul><p><strong>Instructions</strong></p><p><strong>Print the box</strong></p><ul><li>Use supports, change the overhang threshold to 20 and slice again. This is how it should look like:<img src="https://media.printables.com/media/prints/244843/rich_content/0fd74eee-1805-46f7-a57e-bb0b25e2cf6b/prusa-slicer_zoyevqat6l.png#%7B%22uuid%22%3A%22908207ff-6f76-40ea-aa6a-4940de0a2fb8%22%2C%22w%22%3A1390%2C%22h%22%3A899%7D"></li><li>You can use support enforcers to remove the unnecessary supports in the slots for the IO of the electronics (it works by bridging)</li><li>I printed it at 0.3mm layer height, 10% infill.</li><li>If your bed is too small, you can split the model in prusa slicer and print both sides separately.</li></ul><p><strong>Print your lids</strong></p><p>Vince designed some awesome lids that still work with this remix. You have to print two of them to close the box.</p><ul><li>Vent cover (I used this for the Pi side)</li><li>40mm Fan Cover</li><li>4020mm Fan Cover</li><li>80mm Fan Cover (I used this for the mainboard side)</li><li>92mm Fan Cover</li></ul><p>Also print the 4040 extrusion cover to cover the extrusion on the left and hold the box in place. The right side is being held by the display mount.</p><p><strong>Put it all together</strong></p><ul><li>Put the M3 threaded inserts into the box</li><li>Flip the printer on the left side</li><li>Unscrew the display</li><li>Unscrew the original mainboard housing</li><li>Unscrew the Y axis belt fastener</li><li>Unscrew the mainboard from the original housing</li><li>Now you should be able to access the 3 extrusions to slide the box in (this is the step from the video above)</li><li>Slide the box in while holding the mainboard with its cables where it should go (this can be a bit tricky!)</li><li>Once the box is all the way in, you can start by screwing in 2 screws into the mainboard, so it stays in place.</li><li>Do the cable management now. Make sure the height of the cables is not too high. There will be a fan on top of it which can block the fan.</li><li>If the cabeling is good, you can screw in the rest of the screws</li><li>Screw on the 4040 cover on the left side</li><li>Screw on the display on the right side</li><li>At this point, you can flip the printer back on its feet</li><li>Tighten the Y axis belt (use a screwdriver to tension the belt, while screwing in the screws. If you never did this, you can watch a youtube video)</li><li>Done!</li></ul><p><strong>Remember to check that everything is still working before your next print. If you were not careful, you might have unplug a cable or damaged it.</strong></p><p>Have fun!</p>
With this file you will be able to print Ender 3 MAX Front Electronics Box with your 3D printer. Click on the button and save the file on your computer to work, edit or customize your design. You can also find more 3D designs for printers on Ender 3 MAX Front Electronics Box.
