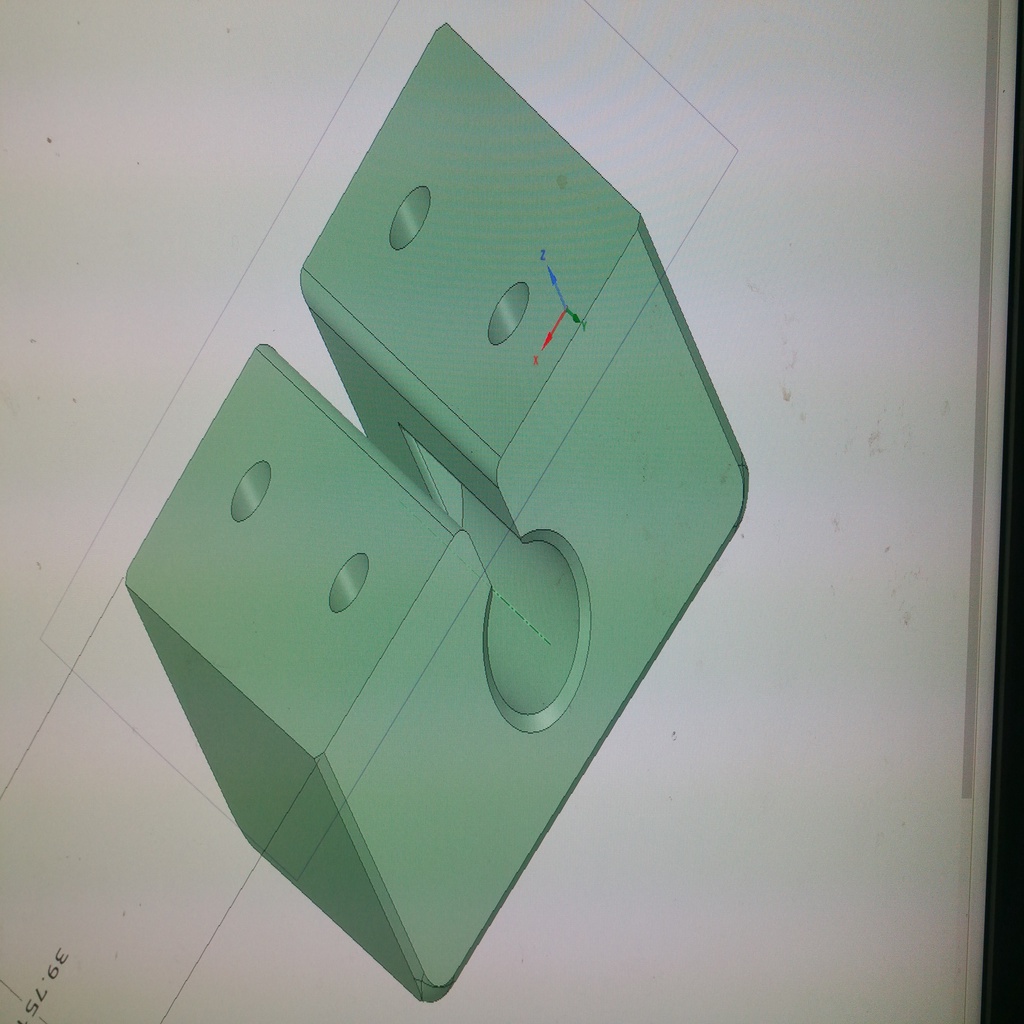
Ender 3 Light Bracket
thingiverse
This bracket attaches a flexible light to the back of your Ender 3 and Ender 3 Pro. To attach it, tap four holes in the extrusion on your Ender 3 using an M5x0.8 tap. The large hole in the part is tapped to a 1/8NPT27 thread to allow the light to screw into it, but the thread type may vary depending on your specific light. After printing, drill the small holes to fit the bolts by enlarging them to a #10 size. You can also open these holes up before printing in CAD software, but I prefer a clean drilled hole for a neater finish. It's extremely important to make sure you set a large enough wall line count when designing your bracket, or you risk damaging it while tapping the holes. This could ruin your printed part entirely. Here are the Cura settings I used: * Infill percentage: 30% * Wall thickness: 1.2mm * Wall line count: 10 * Top and bottom thickness: 0.8mm * Number of top and bottom layers: 6
With this file you will be able to print Ender 3 Light Bracket with your 3D printer. Click on the button and save the file on your computer to work, edit or customize your design. You can also find more 3D designs for printers on Ender 3 Light Bracket.
