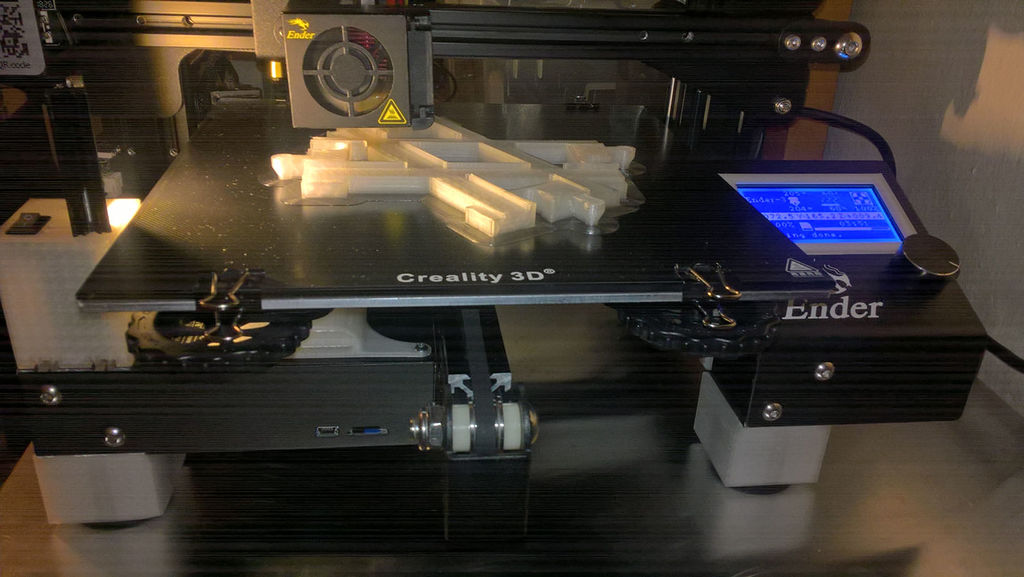
Ender 3 LED BOX
thingiverse
A specially designed enclosure contains the DC/DC converter necessary for powering the COB LED. I utilized a high-powered LED, specifically 5W/12Vdc (http://bit.ly/2ROKqGn), which I secured to a vertical heatsink that I had conveniently salvaged from my junk box. The DC/DC converter is expertly housed within a box crafted to fit snugly on the Ender-3 rail system. To regulate the output, I employed a LM2596 DC-DC converter (http://bit.ly/2RQlLBs), adjusting its trimmer to produce approximately 10V and thereby dimming the light as desired. A parallel connection was established between the 24V input and the main board's 24V connection. The wires were carefully routed along the top of the rail for optimal visibility and accessibility. To provide a convenient means of switching the power on and off, I mounted a KCD11 switch (http://bit.ly/2E1q4WH) in series with the 24V positive line. In order to secure the enclosure to the Ender-3 control board housing, it was necessary to unscrew the existing housing and then slide the box into place along the rails. Unfortunately, the hinges on the enclosure proved to be insufficiently flexible to allow for a smooth top-mounted installation.
With this file you will be able to print Ender 3 LED BOX with your 3D printer. Click on the button and save the file on your computer to work, edit or customize your design. You can also find more 3D designs for printers on Ender 3 LED BOX .
