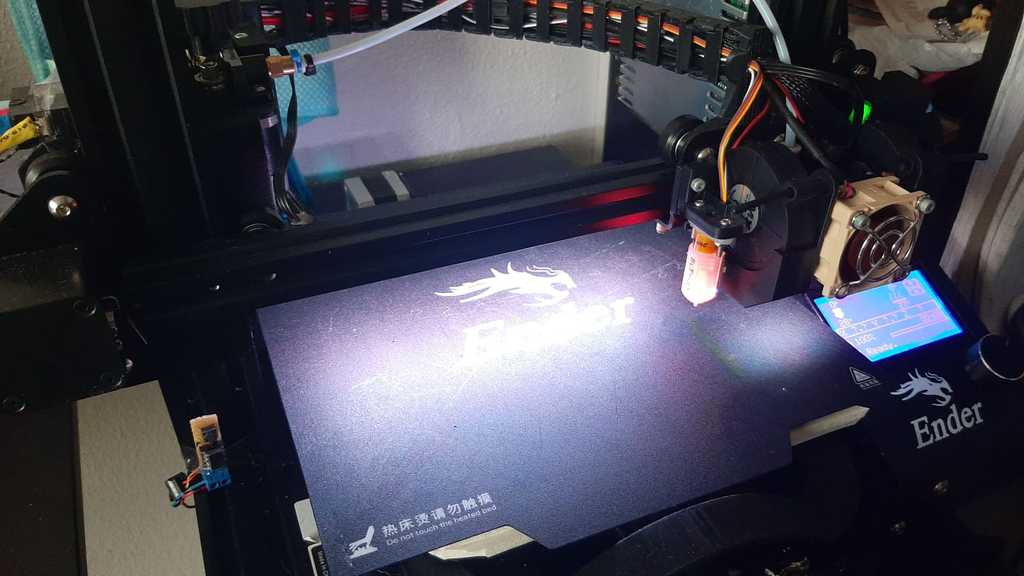
Ender 3 LED bar (+source inventor)
thingiverse
Mount the big surface flat, then rotate it 90 degrees and secure it to the back of the X-axes on your Ender 3 printer. There's ample space for installing an LED strip along the bottom, plus a bit of cable management room on the side to combine the cable runs with the Extruder. To install the mounting hardware, you'll need two bolts and v-screw nuts that fit into the provided holes. When choosing an LED strip, select one that operates at 24V white since your Ender 3 printer is also powered by 24V. If you opt for a different voltage, consider using a step-down converter to safely power the LED strip. Most LEDs come with two connections: + (24V/high) and - (min/ground). Simply follow an online tutorial specific to your chosen LED strip model for proper connection procedures.
With this file you will be able to print Ender 3 LED bar (+source inventor) with your 3D printer. Click on the button and save the file on your computer to work, edit or customize your design. You can also find more 3D designs for printers on Ender 3 LED bar (+source inventor).
