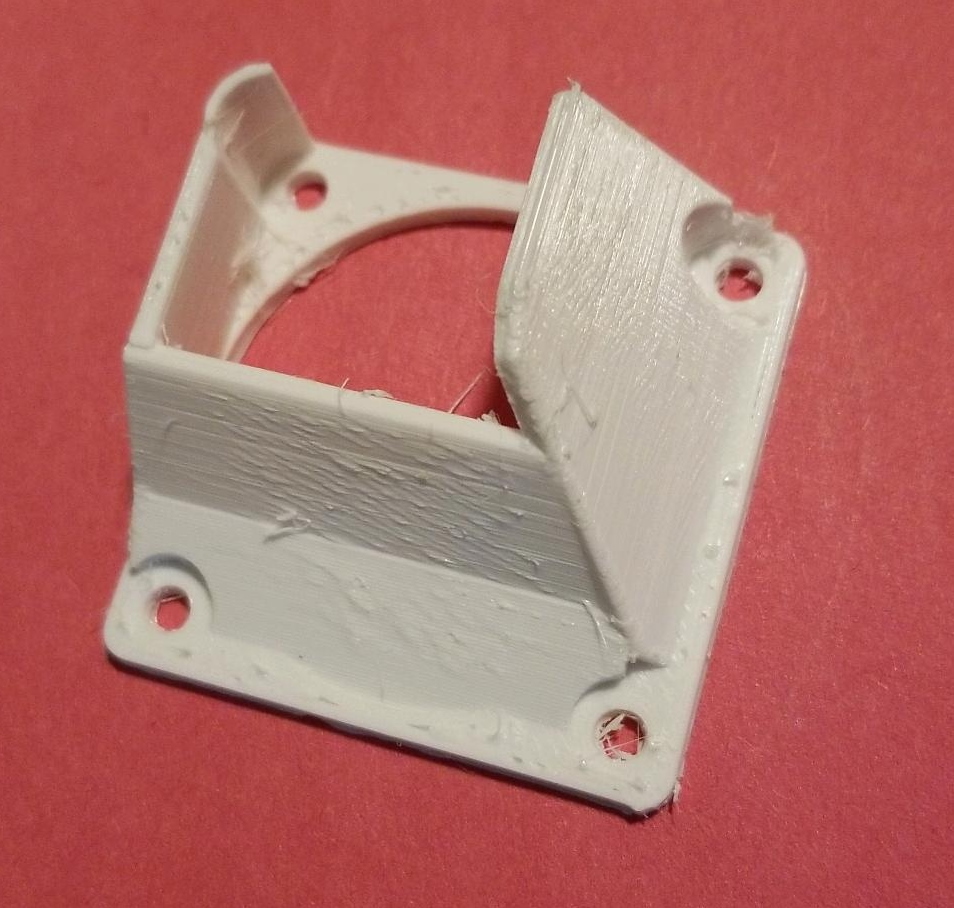
Ender 3 Hotend Cooling Correcting Duct
thingiverse
The Creality hotend assembly fan is left uncontrolled, resulting in less targeted cooling for the actual fins and a significant amount of air leaking downwards to cool the hotend itself, as well as adding unwanted cooling to the part being printed, which can be problematic in certain situations. I prefer smaller upgrades that do not add excessive weight but still enhance the printer's performance while utilizing standard fans. This duct fits snugly between the cooling fan and the heatsink area, directing almost all of the air directly into it, rather than having it blow randomly around it as is the case with the stock setup. To install this modification, remove the metal cover surrounding the hotend, take out the screws holding the fan in place, and insert this duct with its thinnest part at the top. The original screws will still work effectively and can be used to secure both the duct and the fan together. I have been utilizing mine for an extended period without encountering any issues. Although I am unable to provide definitive proof that it enhances performance due to a lack of comprehensive before-and-after testing, I do know that it significantly improves hotend cooling fan efficiency by minimizing air loss. I printed mine using PETG, but the initial version was made from PLA, which showed no adverse effects from the heat in the area. The constant airflow through it confirms its functionality. EDIT: After disassembling the duct, I discovered that my revised design was exerting pressure on the silicone seal of the hotend. Reverting to my original design resolved this issue.
With this file you will be able to print Ender 3 Hotend Cooling Correcting Duct with your 3D printer. Click on the button and save the file on your computer to work, edit or customize your design. You can also find more 3D designs for printers on Ender 3 Hotend Cooling Correcting Duct.
