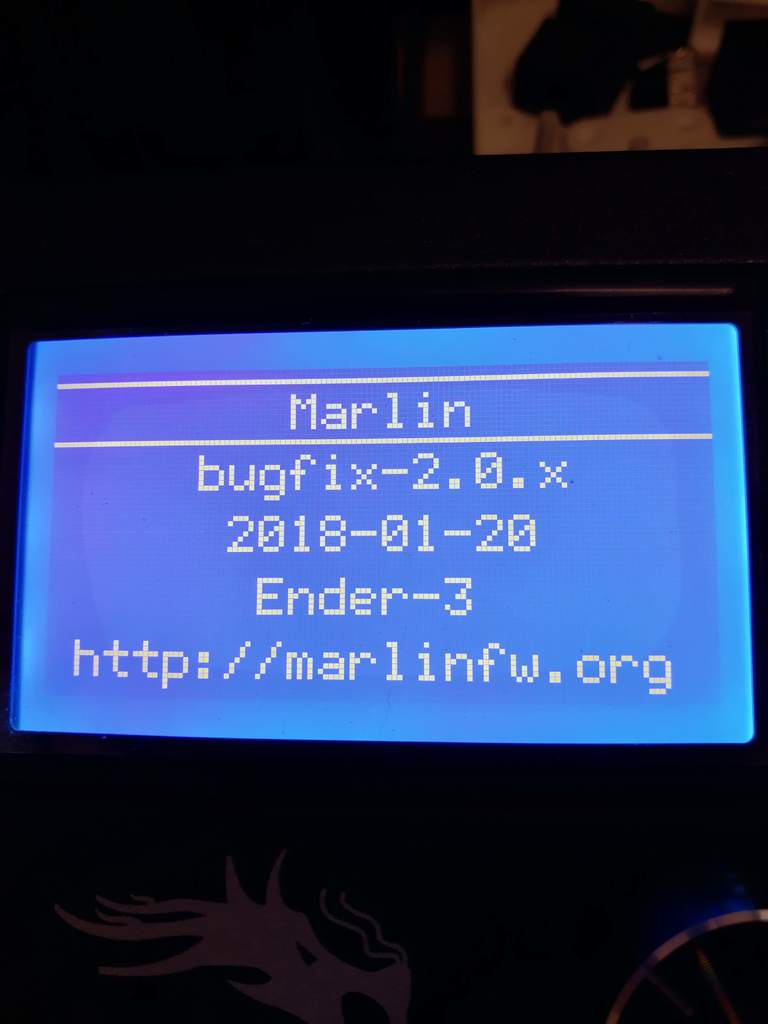
Ender 3 firmware, Marlin 2.0.x alpha snapshot (xvalerix)
thingiverse
Important notice: I am not responsible for any risks, malfunctions, damage or loss of any kind that may occur. Do not attempt this procedure if you are not experienced in these operations. _____________________________________________________________________ This procedure is only valid for MELZI boards with BOOTLOADER already installed. _____________________________________________________________________ July 4, 2019. This release is outdated. I recommend downloading the latest bugfix versions from http://marlinfw.org/meta/download/ and using the parameters below for compilation. Release of March 20, 2019 for Ender 3 stock Melzi board The sketch uses 129740 byte (99%) of available space for programs. The maximum is 130048 byte. Global variables use 5031 byte (30%) of dynamic memory, leaving 11353 byte free for local variables. The maximum is 16384 byte. To conserve space on the new board, I have removed some unnecessary items such as the boot screen, logo in status screen, and annoying beeps. Marlin 2.0 introduces JUNCTION DEVIATION instead of Jerk, which I have disabled and re-enabled combined with S_CURVE_ACCELERATION, https://github.com/synthetos/TinyG/wiki/Jerk-Controlled-Motion-Explained. This is because with JUNCTION DEVIATION, I was unable to achieve perfect angles. It's a premature function and we need to find the correct values for our machine. For more information, search Google or https://reprap.org/forum/read.php?1,739819 In exchange, I have activated the classic 4-point bed leveling with paper sheet, as well as 9-point bed leveling with manual adjustment. Yes, you read that right. Even without EZABL, BLTOUCH, or other sensors, this procedure allows you to perfectly calibrate the bed. **************************************************************************** PAY ATTENTION to where you placed the clips holding the bed **************************************************************************** First, perform the usual 4-point "Level corners" leveling with paper sheet check. Then, perform the "Level bed", which will place the carriage at a distance of 0.2 mm from the previous calibration, with a thickness of 0.2mm. You can adjust the planarity of the plate in all 9 points by rotating the knob and raising or lowering the Z-axis. --- Repeat and emphasize that with "Level bed", do not use the usual 0.10 mm paper sheet but at least double to ensure all 9 points have the same distance from the first point ---. Create a thickness equivalent to the distance between the nozzle and plate of the first point, then use it to calibrate the other 8 points. If you have previously calibrated the plate with "Level corners", you will only need to adjust the central ones. Let me know what you think and if you've achieved any improvements or deteriorations compared to your firmware.
With this file you will be able to print Ender 3 firmware, Marlin 2.0.x alpha snapshot (xvalerix) with your 3D printer. Click on the button and save the file on your computer to work, edit or customize your design. You can also find more 3D designs for printers on Ender 3 firmware, Marlin 2.0.x alpha snapshot (xvalerix).
