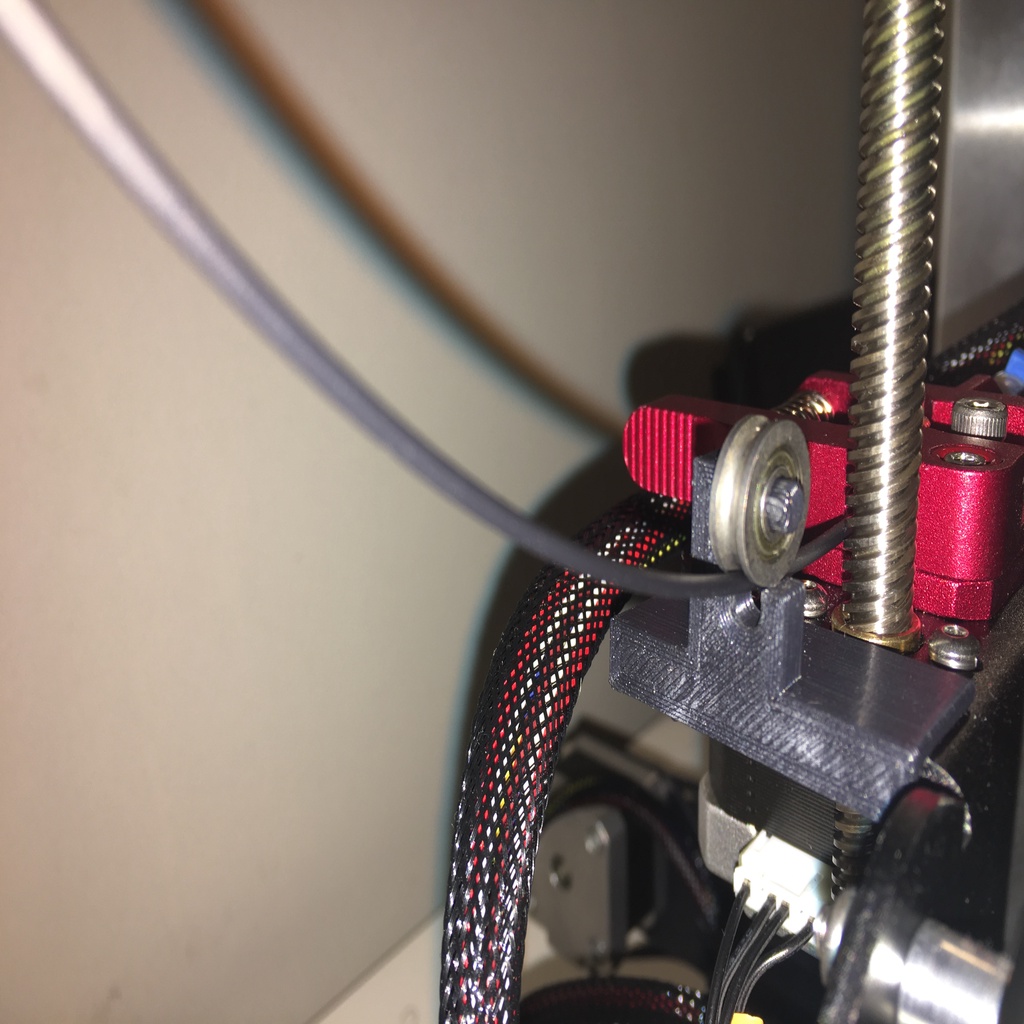
Ender 3 Filament Guide Bottom
thingiverse
Ender 3 Filament Guide Bottom: A Beginner's Step-by-Step Guide to Achieving Perfect Prints Every Time Introduction The Ender 3 is a popular and affordable 3D printer that has gained a reputation for producing high-quality prints, but getting the bottom layer right can be a challenge. In this guide, we will walk you through the process of setting up your Ender 3 for perfect bottom layers every time. Step 1: Leveling the Bed To achieve perfect bottom layers, it's essential to level the bed correctly. Start by turning off the printer and unplugging it from the power source. Next, locate the four leveling screws on the left side of the printer. Use a screwdriver to tighten these screws in a clockwise direction until they are snug. Step 2: Adjusting the Z-Axis Now that your bed is leveled, you need to adjust the Z-axis to ensure it's properly aligned with the nozzle. Locate the Z-axis adjustment screw and turn it counterclockwise until the bed is about 0.1mm below the nozzle. This will give you a good starting point for adjusting the filament tension. Step 3: Adjusting Filament Tension To achieve perfect bottom layers, you need to adjust the filament tension correctly. Locate the extruder adjustment screw and turn it clockwise until the filament is pulled through the hotend at a steady rate. You can use a thermometer to check the temperature of the nozzle, but for most filaments, 200°C is a good starting point. Step 4: Printing with Perfect Bottom Layers Now that your printer is set up correctly, you're ready to start printing. Begin by loading your filament into the extruder and setting the correct temperature. Next, select your print settings and start the print job. As the print begins, monitor the bottom layer closely to ensure it's adhering properly to the bed. Tips and Tricks Here are a few tips and tricks to help you achieve perfect bottom layers every time: * Use a high-quality filament that is designed for 3D printing. * Make sure your printer is levelled correctly before starting each print job. * Adjust the filament tension regularly to ensure it's set correctly. * Experiment with different print settings, such as layer height and infill density, to find what works best for you. Conclusion Achieving perfect bottom layers on your Ender 3 can be a challenge, but by following these steps and tips, you'll be well on your way to producing high-quality prints every time. Remember to experiment with different print settings and filament types to find what works best for you.
With this file you will be able to print Ender 3 Filament Guide Bottom with your 3D printer. Click on the button and save the file on your computer to work, edit or customize your design. You can also find more 3D designs for printers on Ender 3 Filament Guide Bottom.
