Ender 3 Dual Z Axis with Meanwell LRS-350-24
thingiverse
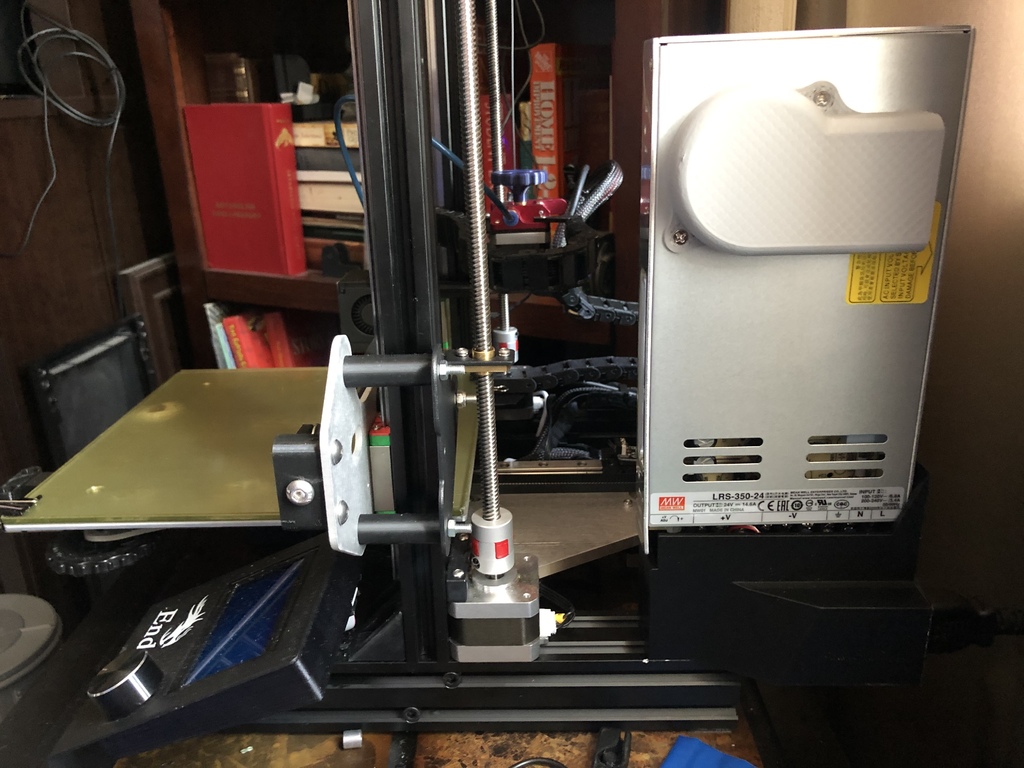
I updated the mounting design, making it more straightforward for users to insert into the extrusion, my apologies to those who experienced difficulties. No additional hardware required. To print: Place the fatter side facing down, where the switch would be mounted, with support. A zig-zag support at 8% worked exceptionally well. I upgraded to dual Z motors using a Comgrow CR-10 kit on my Ender 3, which necessitated a PSU mount and led me to design a simple one. This should smoothly slide into the extrusion and securely fasten to the PSU with two bolts mounted on the tallest side wall. Please inform me about the fitment so I can make adjustments as needed.
With this file you will be able to print Ender 3 Dual Z Axis with Meanwell LRS-350-24 with your 3D printer. Click on the button and save the file on your computer to work, edit or customize your design. You can also find more 3D designs for printers on Ender 3 Dual Z Axis with Meanwell LRS-350-24.