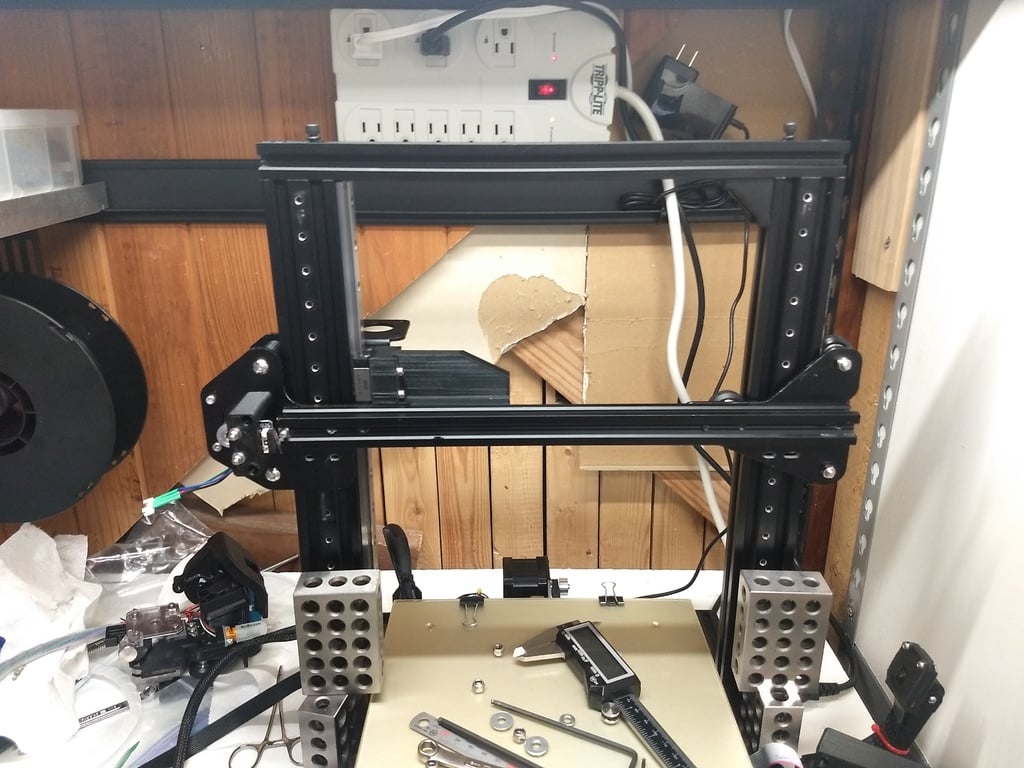
Ender 3 CR-10 Z axis linear rail conversion
thingiverse
It's incredibly challenging getting two linear rails perfectly aligned for a Z-axis conversion. Most conversions only work because they utilize low-cost rails that have enough play to compensate for misalignment. As a result, this conversion focuses on adjusting the more critical extruder side and leaves the v-slot wheels intact on the other side. This conversion also has the advantage of requiring only a single pre-existing hole to be enlarged, without needing any additional drilling or cutting. It allows for highly accurate and effortless X gantry alignment. The eccentric wheel's hole on the front plate needs to be expanded to 9/32 inches, using a stock bolt with a washer under its head. To align the gantry, loosen all the bolts holding the rail adapter block in place, then carefully lower the gantry onto alignment blocks resting on the frame. Finally, re-tighten the bolts. I've included printable alignment blocks for your convenience.
With this file you will be able to print Ender 3 CR-10 Z axis linear rail conversion with your 3D printer. Click on the button and save the file on your computer to work, edit or customize your design. You can also find more 3D designs for printers on Ender 3 CR-10 Z axis linear rail conversion.
